

Pizza Steel Temperature Guide for the Perfect Crust
You pull a beautiful pizza from the oven, slide it onto a board, and feel the disappointment immediately. The edges have puffed nicely, the cheese looks promising, but the base is pale, floppy, and damp underneath. You preheated the oven, so what went wrong?
Often, the oven dial isn't the actual problem. Pizza steel temperature depends on the oven setting, the time the steel has spent heating, the temperature across its surface, and how quickly it recovers after cold dough lands on it. Once you understand those pieces, “preheat until hot” becomes a repeatable method instead of a hopeful guess.
Table of Contents
- Why Pizza Steel Temperature Matters
- How a Pizza Steel Moves Heat Differently Than Stone
- The Ideal Pizza Steel Temperature Range
- Preheat Times and Reading Your Steel Correctly
- Steel Thickness and Heat Recovery After Launch
- Oven vs Grill Temperatures for Pizza Steel
- How Temperature Shapes Crust and Bake Time
- Safe Handling and Final Takeaways
Why Pizza Steel Temperature Matters
A kitchen oven can announce that it's ready while your steel is still charging. The air reaches the set temperature first, but the dense slab needs much longer to absorb and distribute that heat. If you launch dough too soon, the steel may feel hot to your hand through an oven mitt while still lacking the stored energy needed to brown the underside.
That's why a ten-minute preheat can produce such a confusing result. The toppings receive heat from the surrounding oven, yet the dough's wet underside pulls energy from the steel faster than the steel can replace it. The pizza looks finished on top before the base has developed the crisp, structured texture you wanted.
The oven dial tells you about the air. Your steel's surface tells you about the bake.
A useful way to think about temperature is as a four-part system:
- Oven setting: Use the highest practical temperature your oven supports for fresh pizza.
- Soak time: Give the steel enough time to heat through, not just warm at the surface.
- Surface readiness: Check the steel directly if you have an infrared thermometer.
- Recovery: Allow the slab to rebuild its heat after each cold dough launch.
The target isn't just “as hot as possible.” A thin, dry dough may benefit from very forceful bottom heat, while a thicker or wetter dough may need more time for the top and center to catch up. A steel that's too aggressive can leave you with a black underside and a pale middle.
By the end of this guide, you'll know when to aim for the commonly recommended 500–550°F range, when a lower-temperature oven can still benefit from steel, why 45–60 minutes is a reliable soaking window, and how thickness affects the temperature drop after launch. You'll be reading your steel like a baking surface, not treating it like a passive tray.
How a Pizza Steel Moves Heat Differently Than Stone
The first bite can reveal the difference: a browned, crisp underside from steel, or a softer base from stone, even when both baked in the same oven. The oven setting stayed constant. What changed was how quickly the baking surface delivered heat to the dough.
A stone works like a heat sponge. It absorbs energy from the oven and releases that energy gradually. Steel behaves more like a heat battery with a fast discharge. It stores heat, then sends it into cold dough rapidly when the two surfaces meet.
The key property is thermal conductivity. Steel moves heat far more efficiently than traditional stone or ceramic. That does not mean it becomes hotter than the oven. It means the steel transfers its available energy into the dough faster, especially during the first contact.
A cold dough ball meeting a hot metal surface faces an immediate burst of energy. A ceramic surface gives up heat more gently. The comparison is similar to placing an ice cube on warm ceramic and then on a hot metal plate. The metal transfers energy more aggressively. Dough is not ice, but the example shows why one oven setting can produce a stronger bottom bake on steel.
Conductivity handles the first contact
The underside needs energy for several jobs at once. Water must evaporate, the dough must set, and the base must brown without becoming tough. Steel delivers heat quickly into that contact zone, helping the underside crisp while the dough expands.
Stone releases heat more slowly. That can make a bake more forgiving, but it may also delay browning on the bottom. The contrast becomes clearer with wetter dough or a thicker center, where the steel's rapid transfer can matter more than a small change in oven temperature.
Thermal mass keeps the battery charged
Conductivity is only half the story. Thermal mass describes how much heat the steel has stored before launch. A thin steel can transfer heat quickly, while a thicker slab usually stores more energy and resists cooling when cold dough lands on it.
The steel therefore needs to heat through its full thickness, not merely warm at the surface. A properly heated slab can help a home oven imitate some of the intense bottom heat associated with equipment operating around 700°F or higher, even when the home oven is set around 500°F, as explained in this guide to baking pizza with steel.
Stone and steel can share the same oven, but they do not deliver the same heat to the dough. Steel's speed is its strength, yet that speed depends on a charged slab. Launch too early, and the surface may look ready while the heat battery still lacks the stored energy needed for a crisp, evenly baked base.
The Ideal Pizza Steel Temperature Range
A pizza can bake well on a steel without reaching one magic number. For most fresh pizzas, aim for 500–550°F on the steel surface, while setting the oven as high as it can operate for the bake. Comparative pizza-steel testing places this range at the center of reliable home-oven performance, especially when you want a crisp base and fast browning. The same guidance recommends soaking the steel for 45–60 minutes before launch. See the Serious Eats pizza steel comparison for that temperature and preheat guidance.
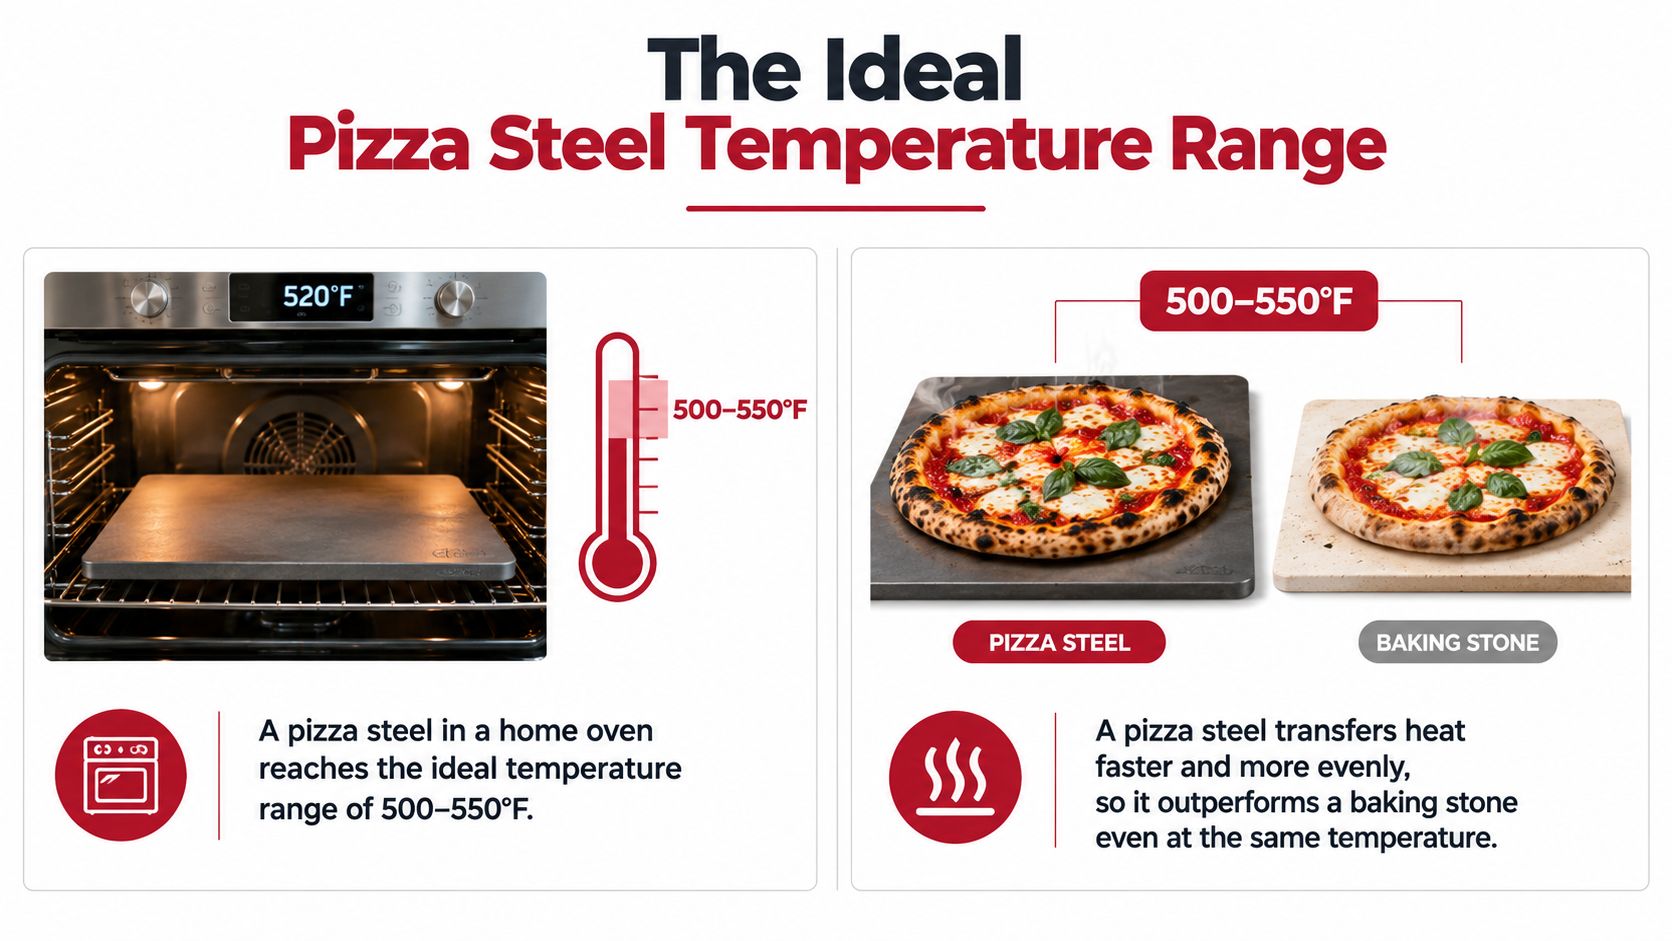
Treat 500°F as a useful target, not a pass-or-fail line. A steel can still outperform a baking sheet in an oven limited to around 450–475°F. The reason is simple: metal moves heat into the dough more effectively than a thin pan. Lower-temperature steel baking has shown gains at 475°F, and comparisons note that a steel at 500°F can hold much more heat than a sheet. The NerdChef pizza steel resource discusses those comparisons.
When the last 25–50°F matters
The final 25–50°F matters when you want a very fast bake, pronounced spotting, or the difficult balance of a fully risen rim with a moist interior. Neapolitan-style dough gains more from the upper end because it depends on strong oven spring and rapid browning. A sturdy thin crust, designed to bake evenly, has less need for that extra heat.
Moisture changes the calculation too. Wetter dough must release more water before its base turns crisp, so stronger steel heat can shorten the drying time. A thin, relatively dry crust contains less moisture and may brown quickly at a lower surface temperature.
Choose the target according to the crust you want:
- Neapolitan-style rim: Aim toward the upper end when the oven, steel, and top heat can keep pace.
- Crisp thin crust: The full range works. A lower setting can prevent the underside from racing ahead of the toppings.
- Thicker or wetter dough: Preheat thoroughly and provide enough top heat for the center to cook before the base becomes too dark.
- Oven capped below 500°F: Use the steel. Keep the dough reasonably thin, extend the bake as needed, and judge the finished base instead of abandoning the tool.
The steel does not create heat that the oven lacks. It delivers the available heat more efficiently. After launch, the surface cools as it gives stored heat to the dough, then begins recovering from the oven's heat. A hotter, well-soaked slab starts with more room for that drop. Below 500°F, the steel remains worthwhile for a firmer, crisper base. The upper range matters most when speed, spotting, and maximum expansion matter more than just cooking the pizza through.
Preheat Times and Reading Your Steel Correctly
The oven can beep while the pizza steel is still catching up. Its air sensor has reached the selected setting, but the slab may still be cool beneath the surface. A steel works like a heat battery: it needs time to charge through its full thickness before it can send a strong, steady wave of heat into the dough.
Allow 30 minutes as a practical minimum. For a more dependable thermal soak, give the steel 45–60 minutes in a home oven. The testing summarized in Baking Steel's pizza temperature guide explains why the extra wait matters. One tested steel reached an average surface temperature of 517°F after 30 minutes in a 500°F oven. A well-heated slab also has more stored energy available when cold dough lands on it.
Use the thermometer as a lie detector
An infrared thermometer checks the steel itself rather than relying on the oven's air sensor. Aim at several spots across the cooking surface. One reading can land on a warm area and hide a cooler zone elsewhere.
Use this routine:
- Place the steel in the oven before preheating.
- Set the oven to the highest suitable temperature for your dough.
- Wait at least 30 minutes, preferably 45–60 minutes for a thorough soak.
- Scan multiple areas of the steel.
- Launch the pizza when the surface fits your intended bake.
A perfectly identical reading across the entire slab is unnecessary. Look for a reasonably consistent surface, then match that heat to the dough. Thick, wet dough may need more patience or gentler bottom heat. Thin dough can brown rapidly as soon as it touches the steel, so a very hot surface may darken the base before the toppings finish.
Benchmarks for calibration
Use these figures as reference points, not guarantees. Steel thickness, rack position, oven calibration, and thermometer angle can all change the result. The 517°F reading came from testing in a 500°F oven. The other entries describe practical readiness guidance.
| Preheat Duration | Oven Setpoint | Measured Steel Surface Temp |
|---|---|---|
| 30 minutes | 500°F | Average of 517°F in one test |
| 45 minutes | 500–550°F | Approaching a ready baking range |
| 60 minutes | 500–550°F | More uniform thermal saturation |
The last 25–50°F can matter when you want faster baking, stronger browning, or more oven spring. It matters less when the goal is just a cooked pizza, especially with a thin crust or an oven capped below 500°F. In that situation, the steel still improves heat transfer. Readiness comes from a charged, reasonably even surface, not from the oven beep alone.
Steel Thickness and Heat Recovery After Launch
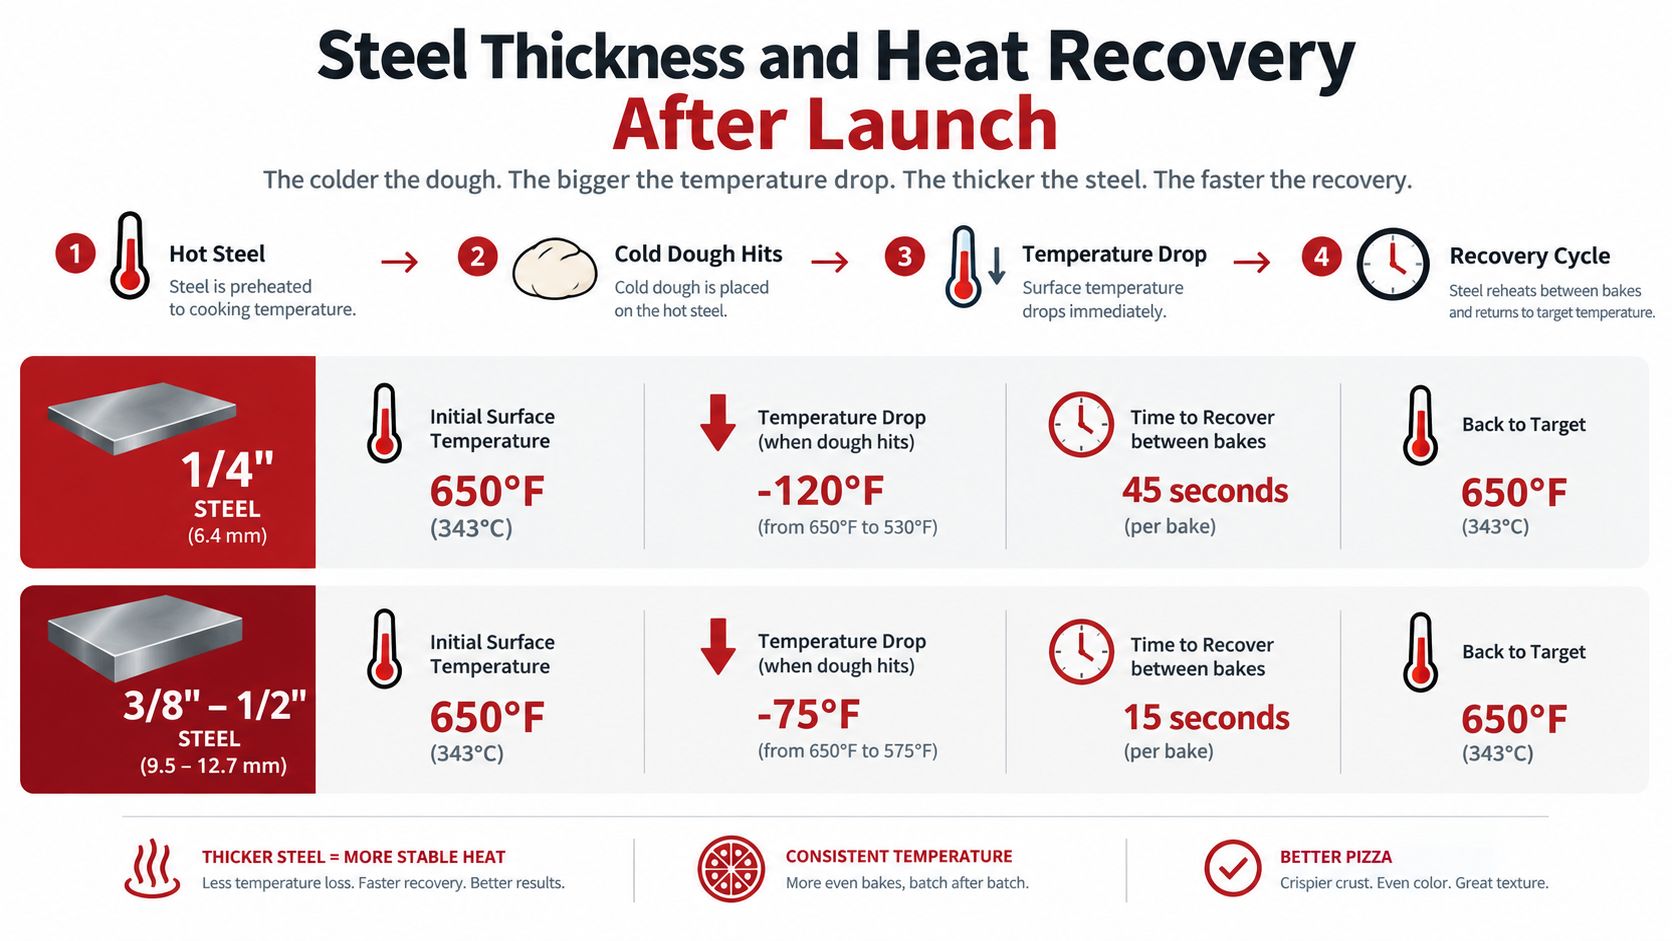
Load a second pizza soon after the first, and the steel has to give up another burst of stored heat. Cold dough hits the surface, moisture draws energy away, and the temperature falls before the oven can replace it. A thicker slab works like a larger heat battery, so its surface usually loses less heat during that first shock.
Comparative testing found that a 1/4-inch steel dropped about 40°F after loading cold dough, while a 3/8-inch steel dropped about 25°F under similar conditions. Another test recorded a 20°F drop, followed by recovery to 490°F within five minutes as the pizza finished baking. These figures come from this pizza steel temperature and recovery guide.
The 1/4-inch choice
A 1/4-inch steel offers a practical balance. It stores enough heat for strong bottom browning and can handle back-to-back baking without the added mass of a thicker plate. For a household making one or two pizzas, that balance may matter more than recovering every last degree.
The lighter plate is also easier to lift, position, and store. That matters when the steel is hot and the oven is crowded.
The 3/8-inch advantage
A 3/8-inch steel holds its temperature better after launch. In tests summarized by this comparison of pizza steel thicknesses and the Hans Grill guide to pizza steel thickness, thicker steel maintained a stronger thermal buffer and kept its surface above 700°F for longer in certain testing conditions. The advantage shows most clearly during repeated bakes, when each pizza asks the steel to recharge quickly.
The tradeoff is weight and a longer warm-up. Choose thicker steel for consistent recovery across several pizzas. Choose the thinner option when easier handling, storage, and a manageable preheat matter more.
A thicker steel doesn't make every pizza better. It makes temperature loss less dramatic when the baking schedule gets busy.
Oven vs Grill Temperatures for Pizza Steel
A kitchen oven gives you a relatively controlled chamber. The air surrounds the steel, the heating elements cycle, and the door opening causes a familiar temperature loss. A covered grill or BBQ creates a different environment, with heat coming from burners or coals below and hot air held under the lid.
That difference changes how you judge readiness. In an oven, the steel can warm gradually through the surrounding air and nearby elements. On a grill, direct heat may create a very hot underside while the lid and upper air lag behind. The steel can be ready for the base before the top of the pizza has enough energy to brown.
Working with a kitchen oven
Place the steel where the balance suits your pizza. A higher position can help the top finish sooner, while a lower position emphasizes bottom heat. If the underside darkens before the cheese and rim are ready, move the steel farther from the lower heating element or reduce the intensity of the bake.
For an oven that reaches 500–550°F, use a long soak and verify the surface when possible. For an oven limited to 450–475°F, the steel remains useful because it transfers heat more efficiently than a baking sheet. Keep the dough thinner, avoid overloading the pizza with wet toppings, and accept that the bake may need more time.
Working with a grill
A grill rewards attention to zones. Preheat the steel with the lid closed, then check how the top and bottom are progressing during the bake. If the base races ahead, move the steel away from the strongest direct burner or coal heat. If the top stays pale, raise the lid temperature through airflow and fuel management rather than just leaving the steel over a hotter fire.
The Hans Grill guide to using a pizza steel on a grill offers equipment-specific context for adapting steel baking to a BBQ. The important idea is to balance direct bottom heat with enclosed top heat. A grill can reach a powerful steel temperature, but that doesn't automatically produce an evenly baked pizza.
A lower-temperature oven isn't a reason to discard the steel. Change the dough thickness, topping load, rack position, and patience before changing tools. The steel still gives the underside a stronger heat transfer than a basic pan can provide.
How Temperature Shapes Crust and Bake Time
Temperature changes the rhythm of the entire bake. A hotter steel sets the underside quickly, pushes expansion through the dough, and encourages dark spots where bubbles and thin areas meet intense heat. A cooler steel gives the pizza more time in the oven, which can favor an even, dry crispness rather than dramatic blistering.
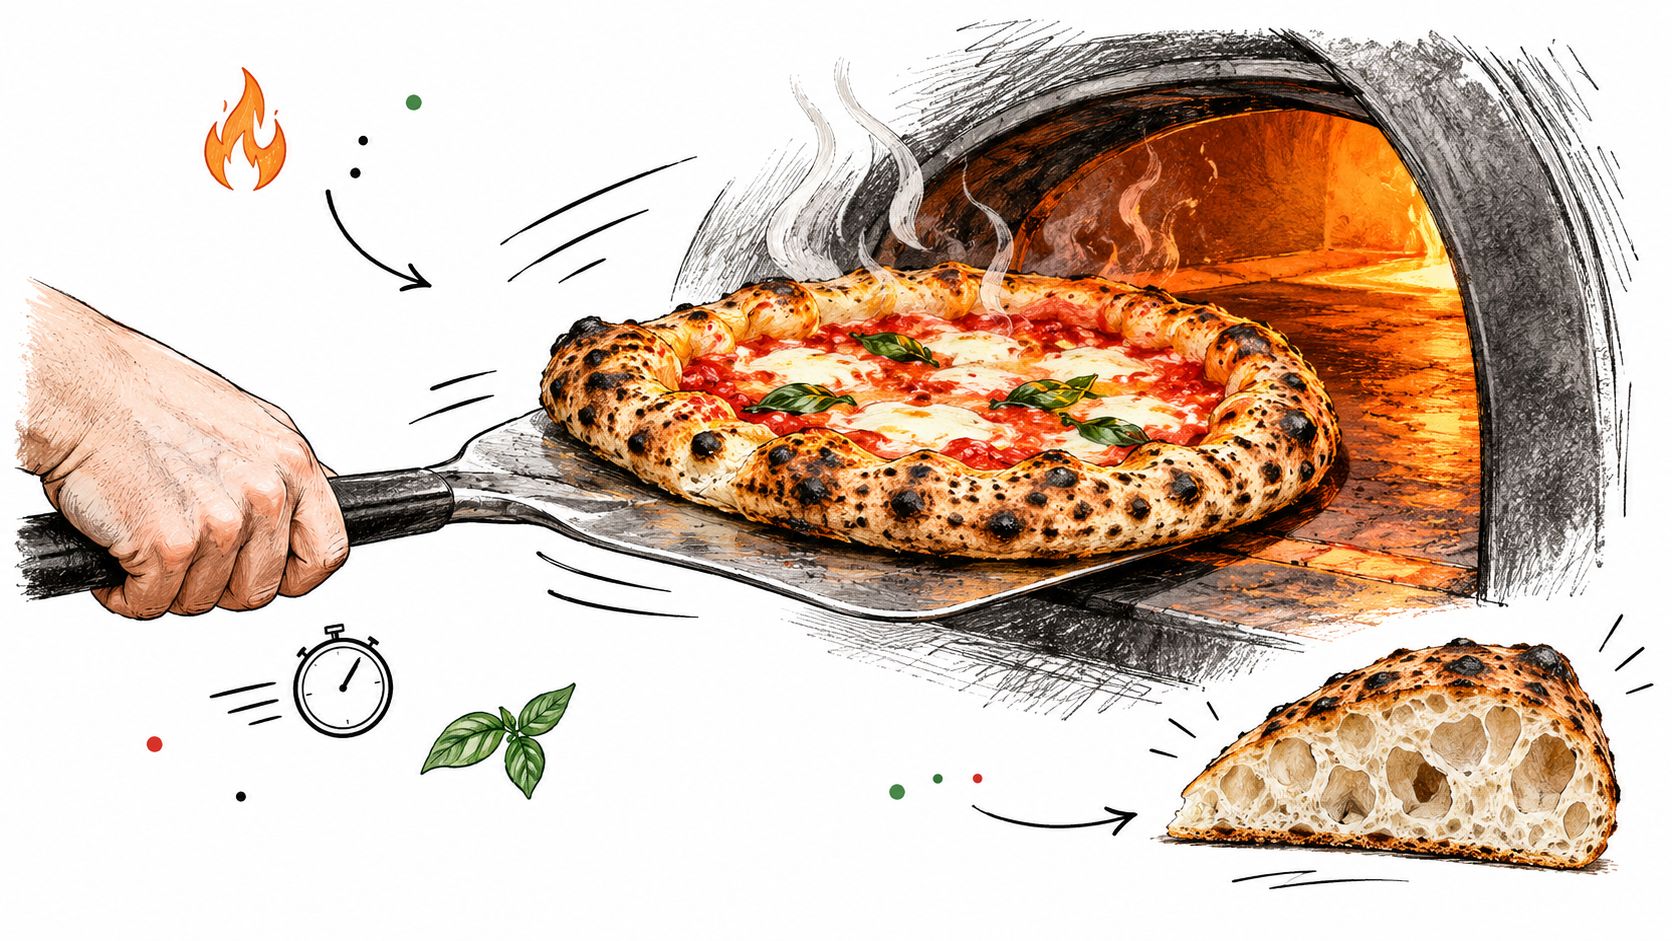
Your dough determines how much of that energy it can use. A thin crust has little thickness to protect from aggressive bottom heat, so it may become crisp quickly. A wetter, thicker dough needs enough time for moisture to escape from the center, and it needs top heat that can keep up with the steel.
Read the evidence on the crust
A pale underside usually points to insufficient steel heat, a short soak, or a launch that happened before the slab had charged fully. It can also come from too much dough or too many wet toppings, which ask the steel to do more work than the bake can support.
A dark or burned bottom with a soft top tells a different story. The steel is transferring heat successfully, but the oven's upper environment isn't finishing the pizza at the same pace. Move the steel higher, reduce the oven setting, or use stronger top heat if your setup allows it.
- Pale and flexible base: Give the steel more soak time or raise the surface temperature.
- Crisp base, raw center: Stretch the dough thinner or reduce the topping load.
- Black underside, pale rim: Reduce bottom intensity or move the steel higher.
- Even crispness without spots: Keep the temperature moderate and allow a longer bake.
The last 25–50°F matters most when you want a shorter bake and pronounced spotting. It matters less when your priority is an evenly crisp thin crust and your dough is already baking cleanly at a lower setting. Treat temperature as a tuning control, not a badge of honor.
Your launch strategy matters too. A well-floured peel, a quick transfer, and a pizza that hasn't absorbed excess sauce all reduce the time the dough spends cooling the steel before it starts baking. The steel supplies the heat, but your dough preparation decides how efficiently the pizza accepts it.
For a visual demonstration of how heat and dough interact during baking, watch the short pizza baking video.
Safe Handling and Final Takeaways
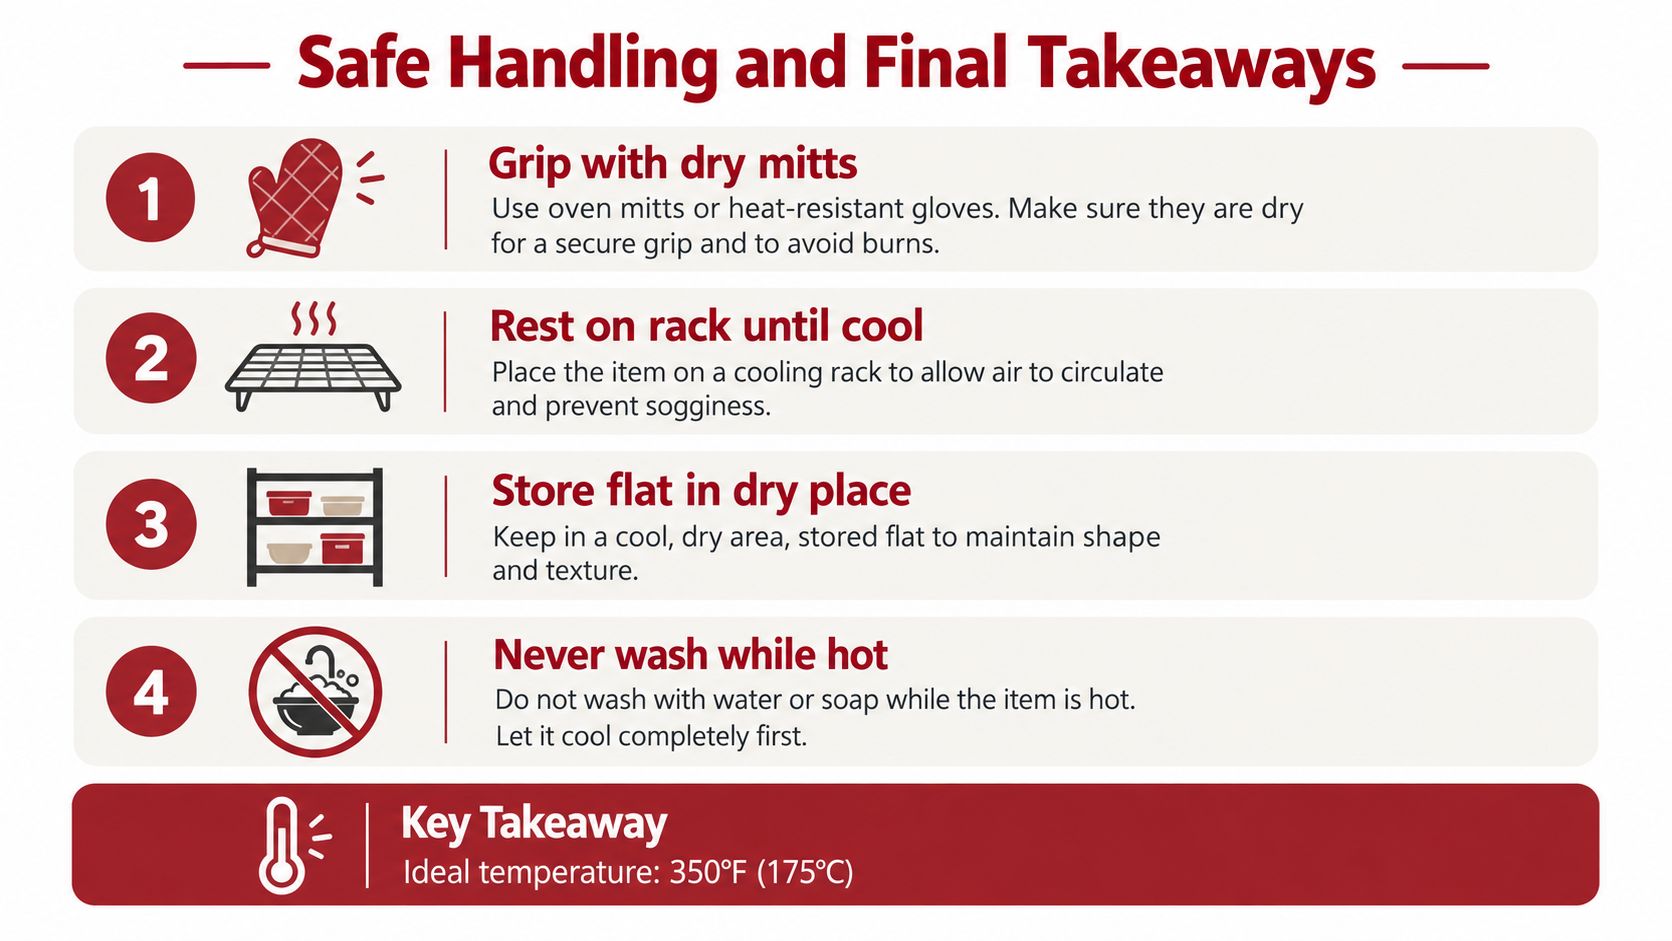
A hot pizza steel stays dangerous long after the oven door opens. It is heavy, it holds heat like a battery, and it can fool you because the surface may look calm before it has cooled. Use dry, heat-rated mitts, keep your forearms clear of the door frame, and clear the path to your counter or cooling rack before you lift it.
Never carry the steel with damp fabric. Moisture moves heat fast, so a wet towel gives you less protection than you expect. Keep the slab off delicate countertops, plastic surfaces, and anything else that can scorch. A sturdy heat-safe surface lets it cool without damaging your kitchen.
Keep the cleanup simple
Let the steel cool fully before you move it for storage or cleaning. Never wash a hot steel, and do not pour cold water over it. A sudden temperature swing can stress the metal, and trapped moisture can leave carbon steel vulnerable to rust.
Once it is cool, scrape off stuck bits or use a suitable brush. Dry the surface well, then follow the manufacturer's instructions for seasoning or protective oil. Store the slab flat or in a stable spot where it cannot slide off a shelf or fall if bumped.
Your pizza steel temperature checklist
- Target surface: Aim for 500–550°F when you want fast baking, strong oven spring, and pronounced browning.
- Lower-limit strategy: If your oven reaches only 450–475°F, the steel can still beat a baking sheet. Adjust dough thickness and bake time instead of abandoning the tool.
- Preheat window: Give it at least 30 minutes, with 45–60 minutes better for a full soak.
- Surface check: Use an infrared thermometer across several spots rather than trusting the oven's ready beep.
- Thickness choice: A 1/4-inch steel balances stored heat and handling, while a 3/8-inch steel gives stronger recovery during repeated bakes.
- Crust diagnosis: Match the steel's intensity to the dough. Faster is not always better if the bottom finishes before the center.
Start your next bake with the steel in mind, not just the oven. Give it time to charge, launch a manageable pizza, and check the underside before changing several variables at once.
If you want to build a more reliable pizza setup for the oven or backyard grill, explore the pizza steels, stones, proofing tools, and tested techniques from Hans Grill. Choose the equipment that fits your baking surface and use the temperature principles above to make each launch more repeatable.


