

Mastering Your Pizza Stone Electric Oven: Crisp Crusts At
You pull the pizza out, slide it onto the board, and the middle sags like wet cardboard. The cheese looks great. The rim has a little color. But the base tells the truth. Your electric oven never gave the dough the burst of bottom heat it needed.
That's the frustration that sends a lot of home cooks searching for a pizza stone electric oven setup that works. And the good news is that a stone can absolutely help. The bad news is that most advice stops at “preheat the stone and bake.” That's not enough if you want a crust that's crisp underneath instead of pale, leathery, or burnt in patches.
The difference comes from understanding why cordierite behaves the way it does inside an electric oven. A stone isn't just a flat hot slab. It stores heat, releases it at a certain pace, and reacts badly when you rush it or place it poorly. Once you understand those trade-offs, pizza night gets a lot more consistent.
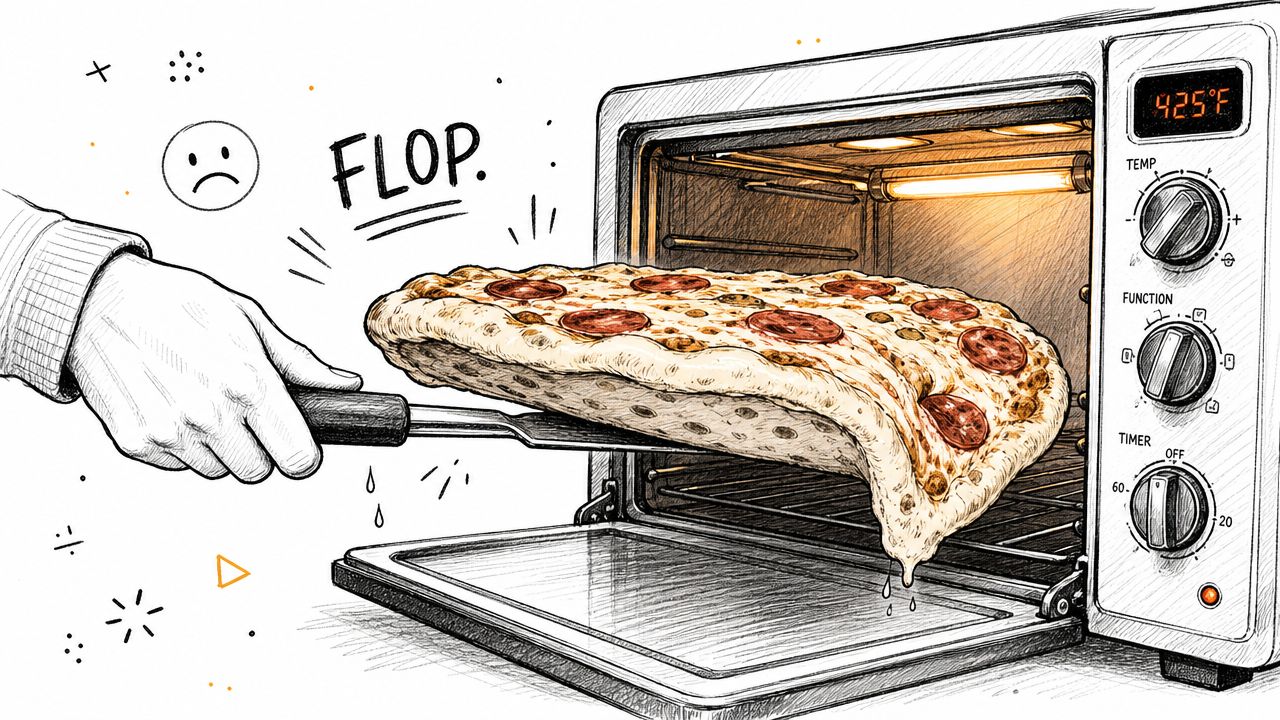
Table of Contents
- Introduction The End of Soggy Bottoms
- Your Pizza Stone and Oven Working Together
- Mastering the Preheat for a Shockingly Crisp Crust
- Techniques for a Perfect Launch and Bake
- Troubleshooting Common Pizza Night Mishaps
- Care Cleaning and Upgrading Your Pizza Toolkit
Introduction The End of Soggy Bottoms
Most home pizza problems start underneath. The toppings get all the attention, but the bottom crust is where an electric oven usually falls short. Air temperature alone won't give you that dry, crackly base. Dough needs direct stored heat from below.
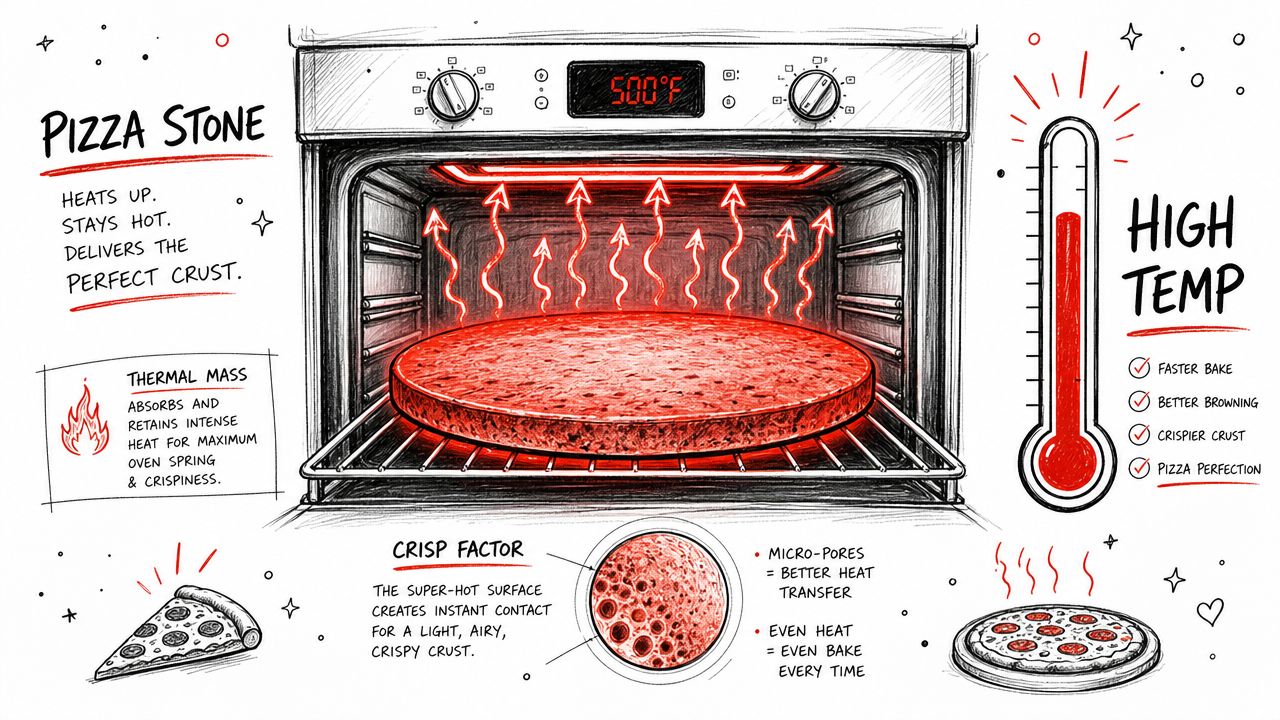
A pizza stone fixes that by acting like a heat battery. You preheat it, load the dough onto it, and the stone transfers that stored energy into the base of the pizza right away. That's the basic idea. The details are where people get tripped up.
The first detail is material. For electric ovens, cordierite is the common choice because it's built to handle repeated baking use. But it isn't fast. It heats gradually, and if you rush the process or place it carelessly, you can get weak crusts or even crack the stone.
The second detail is fit. A stone should sit in the oven with breathing room around it. User reports discussed in this Fresh Loaf discussion of baking stone placement in electric ovens note that stones placed too close to oven walls or heating elements can crack, and that a minimum 1-inch clearance on all sides, with 1.75-inch average clearance, helps prevent uneven thermal expansion and structural failure.
A stone works best when hot air can move around it. If it barely fits, it's the wrong size for that oven.
A good setup starts before the oven is even on:
- Measure the rack space: Check width and depth where the stone will sit, not just the oven cavity.
- Leave airflow room: Keep at least the recommended clearance on every side.
- Avoid direct crowding near elements or walls: Tight spacing creates uneven heating.
- Commit to a slow start: Cordierite rewards patience and punishes shortcuts.
That's when an ordinary kitchen starts turning out pizzas with real structure underneath.
Your Pizza Stone and Oven Working Together
You slide in a pizza that looked promising on the peel, and six minutes later the top is done while the base still needs help. In an electric oven, that usually means the oven and the stone are not working as one heat system.
A pizza stone stores heat. The oven supplies it, cycles it, and browns the top. The result depends on how those two parts balance each other. With cordierite, that balance matters even more because the material is durable and stable under repeated baking, but it transfers heat more slowly than steel. That slower, steadier heat is great for many home pizzas. It is less forgiving if the setup is poor.

Choose a size your oven can heat evenly
A larger stone sounds better until it starts choking airflow or creates hot and cool zones across the rack. I have had better results with a stone that leaves comfortable space around it than with one that nearly fills the oven. You lose a little surface area, but you gain more even baking and fewer headaches.
Rectangular stones are practical in electric ovens because they give you extra room for launching and turning. Round stones work well too, especially in tighter ovens. The better choice is the one that sits flat, heats evenly, and still leaves room to work at the front of the rack.
Use this quick check before first bake:
| What to check | What matters |
|---|---|
| Rack dimensions | The stone should sit flat without overhang |
| Side clearance | Leave space for airflow and expansion |
| Rear clearance | Prevent hot spots and wall contact |
| Front access | You need room to launch and retrieve pizza cleanly |
A crowded setup causes two different failures. The first is uneven baking, because electric ovens need air to move around the baking surface. The second is stress in the stone itself. Cordierite handles normal oven use well, but it does not like sudden temperature differences across one slab.
Placement affects both crust color and stone life
Rack position changes how the pizza bakes from top and bottom at the same time. In many electric ovens, the middle or lower-middle rack gives the best compromise. The stone gets enough bottom heat to set the crust, while the upper cavity still has room to brown cheese and toppings before the base overdries.
The very bottom rack can work for pan pizza or heavier bakes, but it often pushes a thin pizza stone setup too close to the lower element. That can overcolor the underside before the rim has fully opened. The top rack has the opposite problem. Good browning, weak spring, pale base.
The other factor is thermal shock. Cordierite is chosen for pizza stones because it tolerates repeated heating better than many ceramics, but it still has limits. If one area of the stone gets hit with much more intense heat than the rest, or if a hot stone meets a cold surface or liquid, cracking becomes much more likely. Electric ovens can create those harsh zones near exposed elements, fan outlets, or tight contact points against metal.
A few habits prevent that:
- Put the stone in before you turn the oven on: The stone and oven should heat together.
- Center it on the rack: Balanced exposure usually means more even baking.
- Use a middle or lower-middle position first: Adjust only after a few test bakes.
- Keep distance from walls and direct element zones: Uneven heating shortens the stone's life.
- Do not move the stone hot unless you have to: Cordierite is sturdy in normal use, awkward and vulnerable when glowing hot.
Stone and steel also behave differently here, and that comparison matters. A steel transfers heat faster, which is excellent for very thin pizzas and fast leopard spotting in ovens that cannot reach higher temperatures. It also burns dough more easily and can outpace top browning in a standard electric oven. A cordierite stone is slower and gentler. For most home pizza makers baking at typical electric oven temperatures, that trade-off is useful. It gives the dough a wider margin before the bottom scorches, which is one reason brands like Hans Grill have stayed with cordierite for home setups instead of treating steel as the default answer.
Mastering the Preheat for a Shockingly Crisp Crust
A stone can look ready long before it's ready. That's the trap. The oven says it's at temperature, the air feels hot, and the top of the stone might even seem scorching. Then the dough goes on and the bottom turns blond while the cheese races ahead.
Why cordierite needs patience
Cordierite's strength is also its limitation. In a standard 500°F home electric oven, cordierite pizza stones need 32 minutes to reach a surface temperature of 475°F, but 47 minutes to achieve full core stabilization within ±1.5°F of the surface, according to this detailed guide to pizza stone preheating and cordierite thermal behavior. The same source explains that this thermal lag comes from low thermal conductivity of about 1.2 to 1.5 W/m·K and specific heat capacity of roughly 0.85 J/g·°C.
That matters the moment dough touches the stone. The source above notes the stone can drop below 80% of its peak surface temperature within 12 seconds after loading, and then takes 4 to 6 minutes to recover. If the stone's core never fully caught up during preheat, that recovery gets even less forgiving.
This is why “the oven beeped” isn't a useful signal for pizza. The oven tracks air. Your crust depends on the slab.
For a deeper look at the reasoning, this guide on whether you should preheat a pizza stone is worth reading before your next bake.
How to know the stone is actually ready
The most reliable way to stop guessing is to check the stone itself. The verified guidance above recommends using a contact thermometer calibrated to NIST traceable standards and checking three probe points, the center and two diagonals, until they read within ±2°F of target before baking.
That sounds fussy until you've made a few disappointing pizzas. Then it starts sounding efficient.
Use this routine:
- Preheat the oven with the stone already inside.
- Don't trust only the oven display.
- Check the center of the stone first.
- Check two diagonal points after that.
- Bake only when the readings are tightly aligned.
If one part of the stone is ready and another isn't, the pizza will tell you immediately.
The launch is the tense part. You open the door, slide the peel forward, and the dough hits the stone with a soft slap. For a moment, nothing dramatic happens. Then the rim starts lifting, the underside begins setting, and the whole pizza firms up enough that you know the bake is finally happening from the bottom as well as the top.
A quick visual demo helps if you're still getting a feel for that moment:
What works here is patience before action. The better the preheat, the easier everything after it becomes.
Techniques for a Perfect Launch and Bake
A well-heated stone can still be wasted by a bad launch. Most ruined pizzas don't fail because of dough recipe. They fail in the ten seconds between peel and stone.
Set up the launch before toppings go on
Build the pizza with the launch in mind. That means working quickly, keeping the dough moving, and resisting the urge to overload it. Wet sauce, heavy cheese, and a pile of toppings make the dough stick and slow the set of the center.
A few habits make a huge difference:
- Use a peel that matches your style: Some cooks like wood for launching because dough releases easily. Others prefer metal for speed and thinner edges. This breakdown of pizza peel wood or metal differences helps if you're deciding.
- Dust the peel lightly: Flour or semolina can help, but too much burns on the stone.
- Shake the peel before loading: If the dough doesn't move now, it won't move when the oven door is open.
- Top fast: The longer dressed dough sits, the more likely it is to glue itself down.
I like to think of the launch as one clean motion, not a negotiation. Open the door, aim for the center, and give the peel a short forward-back jerk so the pizza settles onto the stone.
Build the pizza so it wants to leave the peel. Don't build one that needs to be peeled off.
Read the bake instead of guessing
Once the pizza is on the stone, your job changes. Don't keep opening the oven every few moments. Let the stone and oven do their work.
Watch for these cues:
| What you see | What it usually means |
|---|---|
| Rim starts lifting early | Good bottom heat and active oven spring |
| Cheese bubbles before crust colors | Stone may be underheated or toppings are too heavy |
| Bottom browns too fast | Stone position may be too low |
| Pale underside with done top | The stone needed more heat before launch |
Bake timing in home ovens varies with dough style, topping load, and how hot your oven really runs. Instead of chasing a fixed minute mark, pull the pizza when the underside is browned enough to support a slice cleanly and the rim has clear color and structure.
If the first pizza is only good and not great, adjust the next one. Use less topping, launch sooner after dressing, or give the stone more time. Pizza night gets better when you treat each pie as feedback.
Troubleshooting Common Pizza Night Mishaps
Even with solid prep, electric oven pizza can still go sideways. Usually the pizza is telling you exactly what went wrong. You just need to read the clues.
When the center stays soft
A soft center usually comes from one of three things. The stone wasn't fully heat-soaked, the dough carried too much moisture, or the toppings weighed the middle down before the base could set.
Fix it by changing the sequence, not just the baking time:
- Preheat longer next round: The first pie often exposes a lazy preheat.
- Go lighter in the middle: More sauce and cheese isn't helping if the base never firms up.
- Stretch more evenly: Thick middle, thin edge is a common beginner pattern.
- Work faster after topping: Waiting on the peel invites sticking and sogginess.
When the bottom burns first
If the underside darkens before the top looks right, your stone is often sitting too close to the lower heat source. Electric ovens can be harsh from below, especially on lower rack positions.
Move the stone up slightly for the next bake. You want strong bottom heat, not punishment. If your oven has aggressive bottom heat cycles, even a small rack adjustment can calm the base without losing crispness.
A burnt bottom can also come from excess bench flour or semolina scorching on the stone. Use just enough to help release the dough.
When the stone starts smelling or staining
A stained stone isn't automatically a problem. Dark marks are part of normal use. The issue is baked-on residue that smells acrid and starts affecting performance.
Most mainstream advice gets this part wrong by treating cleaning as optional or pushing water-heavy methods. For electric ovens, this video explanation of pizza stone burn-off cleaning and frozen pizza risks points out that, unlike gas or wood ovens, electric ovens don't have open flames to carbonize residue naturally. The recommended fix is a burn-off cycle at 500°F+ for 30 minutes, followed by brushing away the char. The same source also warns against putting frozen or pre-baked pizzas directly on a hot stone because the rapid moisture release can create soggy results and may damage the stone.
That frozen pizza warning matters. A hot cordierite stone doesn't shrug off sudden moisture the way people assume. If you want convenience pizza, use a pan or follow the package directions. Don't sacrifice the stone.
Care Cleaning and Upgrading Your Pizza Toolkit
A pizza stone gets better with use if you treat it like a baking surface, not like a dinner plate. You're not trying to make it look new. You're trying to keep it dry, intact, and free of crusted residue that interferes with heat transfer.
Clean the stone without ruining it
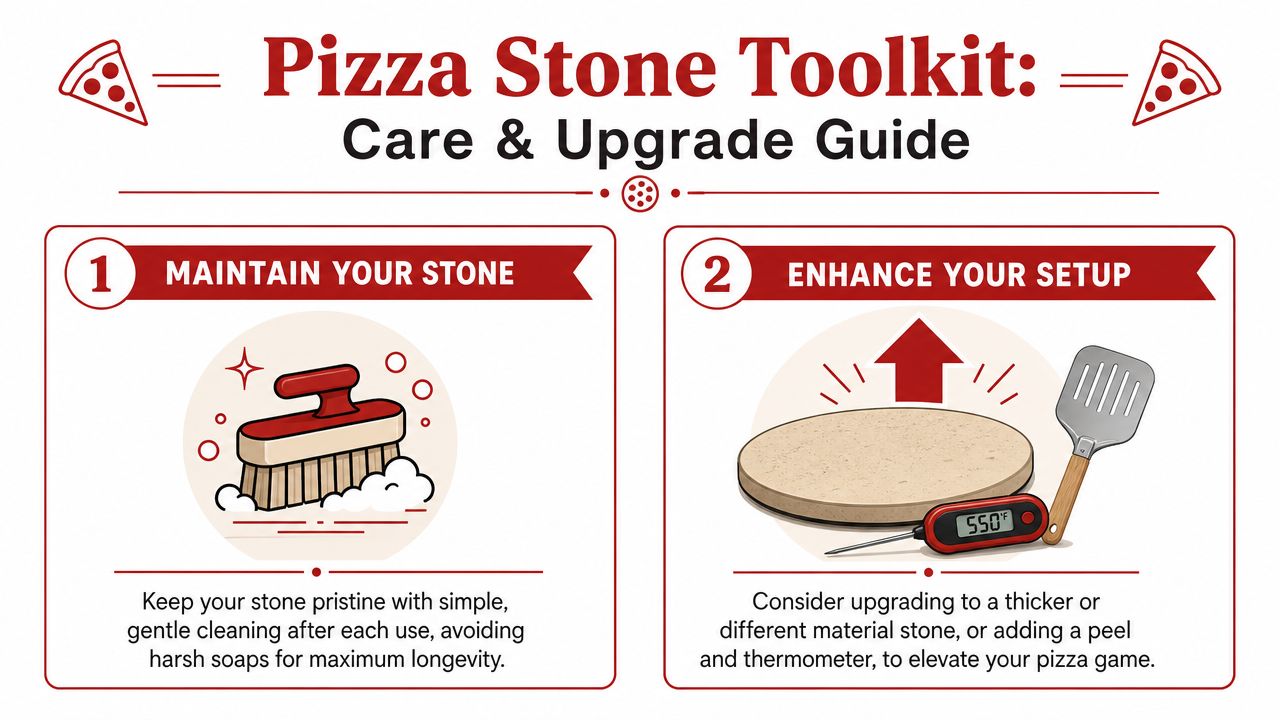
The safest mindset is simple. Scrape, burn off, cool, brush. Don't soak it. Don't soap it. Don't attack it while it's still under thermal stress.
This article on whether you wash pizza stones is a good companion if you've been tempted to scrub the stone like cookware.
Use this care routine after messy bakes:
- Let the stone cool gradually: Sudden temperature swings are harder on cordierite than discoloration ever will be.
- Scrape off stuck bits gently: A bench scraper or stiff brush is enough for most residue.
- Use the burn-off method when needed: Heat the stone hard, let residue char, then brush it away once cool.
- Accept cosmetic stains: Color changes don't mean failure.
A seasoned stone should look used. Clean enough to bake well is the goal.
Know when a stone is right and when steel is better
A stone is a strong tool for home cooks who want steadier, gentler bottom heat. It's especially comfortable with styles that appreciate a little more sustained baking rather than an aggressive blast from below.
But if your goal is blistered, fast, Neapolitan-leaning pizza in a standard home electric oven, steel changes the equation. According to this comparison of pizza stone versus pizza steel heat transfer and baking performance, cordierite stones run 78 to 92°F cooler at the surface than pizza steels after identical 60-minute preheats at a 500°F setpoint. The same source explains that stone conductivity is about 3 W/m·K versus steel at about 50 W/m·K, so steel conducts heat 15 times faster.
That difference isn't abstract. It changes the style of pizza each surface favors:
| Surface | Best fit |
|---|---|
| Cordierite stone | Thicker-crust styles, steadier baking, more forgiving bottom heat |
| Pizza steel | Faster bottom set, stronger oven spring, better for blistered Neapolitan-style results |
The same source notes that, in this electric-oven context, stone's gentler sustained heat is often the better fit for Detroit or Sicilian, while steel is the stronger choice for restaurant-level crispness and blistering in Neapolitan styles.
That's the true upgrade path. Don't think of stone and steel as rivals where one is universally better. Think of them as different answers to different pizza goals. A stone is often the right first tool because it teaches control. A steel becomes attractive when you want more aggressive heat delivery and you already know how to manage dough, launches, and topping restraint.
If your electric oven has been giving you limp crusts, a proper stone setup can change pizza night fast. And if you're ready to go deeper, Hans Grill has the kind of purpose-built gear that makes the jump easier, from cordierite pizza stones to pizza steels, peels, and other tools that help home cooks get closer to true pizzeria results.


