

Pizza Stone for Weber Kettle Grill: The Ultimate Guide
A Weber kettle can produce pizza-quality results with a pizza stone when you treat it as a controlled chamber rather than an open fire, and you should preheat the stone for about 30 minutes before baking. Aim for roughly 450–475°F (232–246°C) at the grill, while remembering that the kettle thermometer measures air, not the stone's actual baking surface.
You're probably here after lifting the lid on a promising pie and finding the cheese bubbling while the underside stays pale and soft. Or perhaps the opposite happened: the crust burned before the toppings had time to cook. That frustration is normal on a charcoal kettle because the fire, airflow, lid, and stone each create a different heat zone.
A pizza stone for a Weber kettle grill works when those zones are managed deliberately. The stone stores heat and conducts it into the dough, while the covered kettle surrounds the top with radiant and convective heat. The setup takes more attention than an indoor oven, but it can deliver a crisp base without buying a dedicated pizza oven.
Table of Contents
- Why Your Weber Kettle Is a Pizza Oven in Disguise
- Choosing the Right Stone or Steel for Your Grill
- Setting Up Your Weber for Indirect Pizza Heat
- Understanding Heat Transfer on the Kettle Grill
- Launching and Baking Your Pizza to Perfection
- Preventing Thermal Shock and Maintaining Your Stone
Why Your Weber Kettle Is a Pizza Oven in Disguise
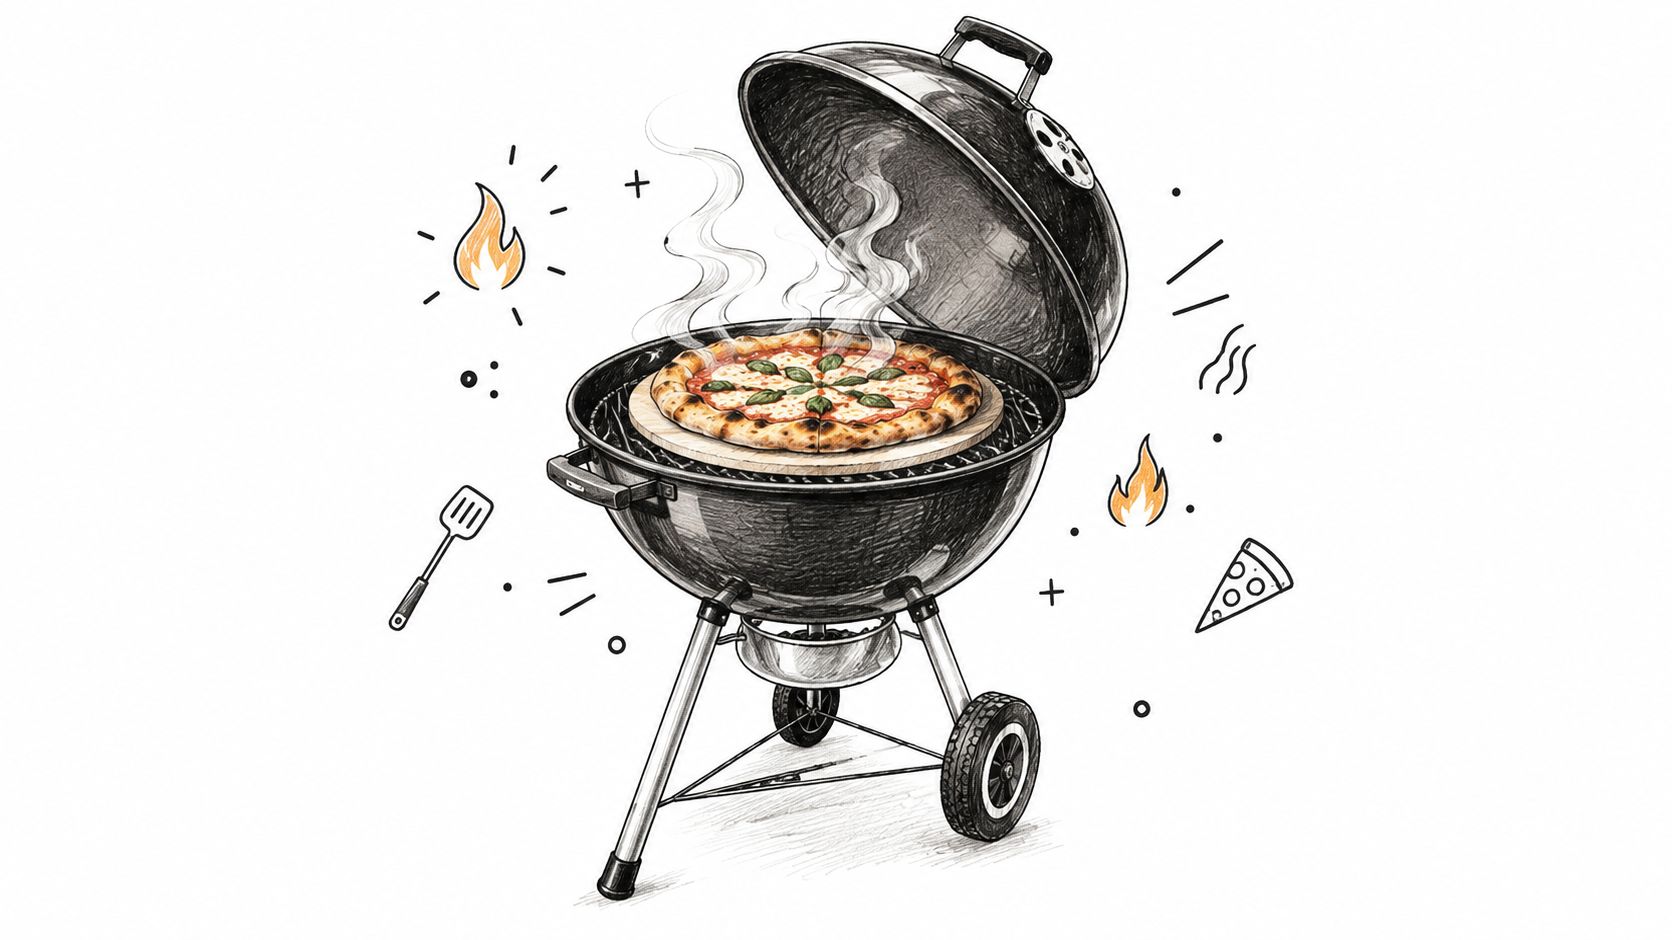
Lift the lid on a kettle and you can see why it works for pizza. The rounded cover holds hot air around the pie while charcoal supplies intense heat below. Add a properly heated baking surface, and the grill becomes a compact baking chamber rather than an open barbecue.
Weber's design has supported this kind of cooking for decades. In 1952, George Stephen adapted the hemispherical shape of a marine buoy while working at Weber Brothers Metal Works in Chicago, then added legs, lower vents, and a lid to form an enclosed charcoal grill. Early kettles came in 18½-inch, 22½-inch, and 26¾-inch sizes, so circular cooking areas were part of the design from the beginning. Weber marked the kettle's 70th anniversary in 2022, and Weber's documented kettle history shows how that architecture developed for controlled outdoor cooking.
The lid solves half the problem
Pizza needs heat beneath the dough and above the toppings. A stone provides the hot contact surface, while the lid holds heated air around the pizza and sends radiant heat toward the cheese and crust. The vents let you adjust charcoal combustion and the movement of hot air.
A kettle still has uneven heat. Charcoal sits in a concentrated zone, the grate is circular, and the lid thermometer measures air in the chamber, not the stone's surface. The hidden problem is bottom heat. One part of the stone may be ready while another remains cooler, or a section over the coals may scorch the crust before the toppings finish. Check the stone itself with an infrared thermometer when possible, and rotate the stone or pie if the fire creates a hot side.
Practical rule: Control the fire, heat the stone evenly, and keep the lid closed during the bake. A kettle cannot compensate for a cold stone or a thick, wet pizza.
The stone also acts as a thermal buffer. It stores energy during heating, then releases that energy into the dough as charcoal output and airflow fluctuate. Pizza heat-transfer research describes convection and radiation reaching the pizza first, with conduction carrying heat inward through the dough. Pizza heat-transfer research supports that sequence. The underlying physics transfers, even though the study tested deck ovens rather than Weber kettles.
Choosing the Right Stone or Steel for Your Grill
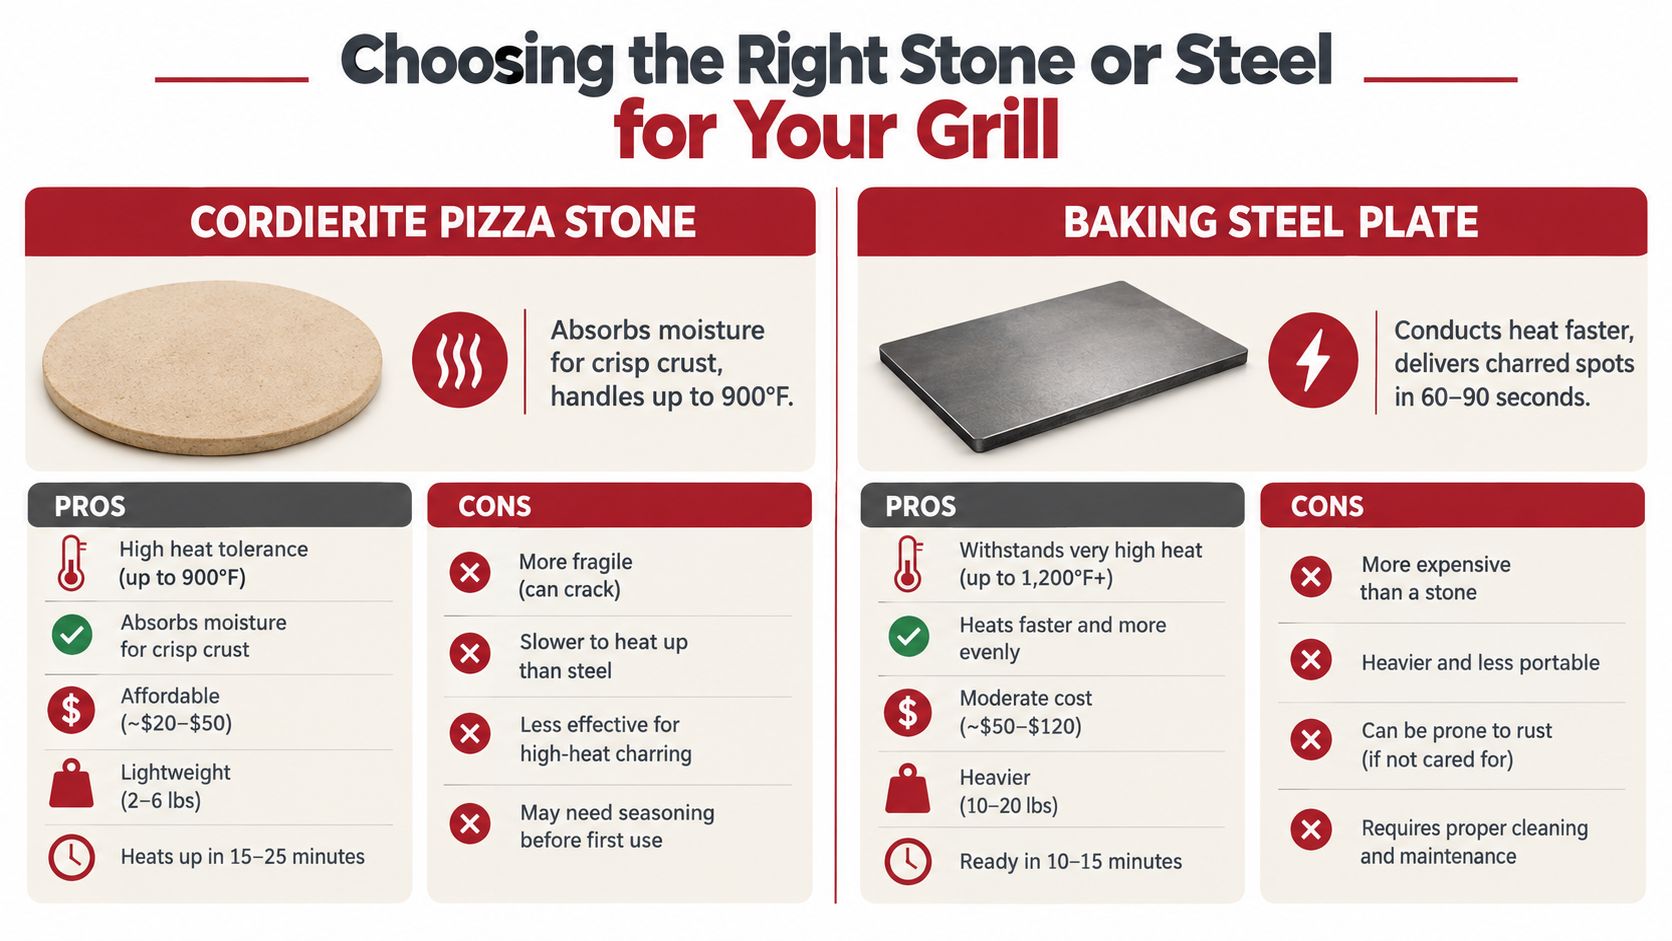
The best baking surface depends on what you want from the crust and how your kettle is shaped. A cordierite stone and a baking steel don't respond to heat in the same way, so choosing between them is more important than just buying the largest surface that fits.
Cordierite stone is the forgiving choice for a traditional crisp base. It absorbs some surface moisture from the dough and stores heat for steady conduction. That stored heat helps when the lid is opened briefly for launching, although a stone still needs a gradual warm-up and firm support.
Baking steel conducts heat more aggressively. It can produce strong browning and charred spots, but it also punishes wet dough, thin areas, and a charcoal hotspot. Steel won't crack from thermal shock in the same way ceramic material can, yet it can make a kettle's uneven fire more obvious.
Shape matters on a round grate
A round stone usually sits naturally on a circular kettle grate and leaves room around its edge for airflow. It can be easier to position securely, especially when you're working with a smaller cooking surface.
A rectangular stone covers more of the indirect zone and gives you a larger landing area for an oblong pizza. The trade-off is support. Check that every corner rests securely and that the stone doesn't bridge unstable grate sections. A surface that shifts during a launch is a safety problem and a recipe for a folded pizza.
Thickness affects recovery. A heavier stone retains heat more effectively, but it also takes longer to warm and adds weight to the grate. A thinner stone responds quickly but loses more heat when the lid opens or when you load several pies in succession.
Use this decision framework:
- Choose cordierite if you want moisture control and steady bottom heat.
- Choose steel if you prefer forceful browning and are comfortable managing hotspots.
- Choose round when secure fit and simple placement matter most.
- Choose rectangular when you need broader coverage and your grate offers dependable support.
A 15-inch circular cordierite stone or a 15 × 12-inch rectangular cordierite stone are examples of formats sold for ovens and solid-fuel BBQs. Hans Grill also offers a 13 × 13-inch pizza steel for BBQ and oven use. Compare dimensions against your actual grate before buying, rather than relying only on the advertised cooking diameter. For a closer material comparison, see this guide to pizza steel versus stone.
Setting Up Your Weber for Indirect Pizza Heat
The round Weber kettle concentrates charcoal heat in one part of the chamber, so setup determines whether the base browns or burns. Build a two-zone fire with the coals banked on one side and the opposite side reserved for indirect cooking. Place the stone over that cooler zone, away from the densest charcoal.
This arrangement softens the direct blast beneath the stone while the closed lid heats the toppings and upper crust. Set the stone directly over a packed coal bed and the underside can scorch before the cheese has melted.
Build the setup in order
- Inspect the stone. It must be dry, clean, and free of visible cracks. A damp stone can fail as it heats.
- Light and arrange the charcoal. Bank the coals to one side, leaving a clear indirect area.
- Position the stone. Set it securely over the indirect zone during the warm-up, allowing the temperature to rise gradually.
- Close the lid. Stabilize the kettle around 450–475°F (232–246°C), the range given in Weber kettle pizza guidance.
- Preheat for about 30 minutes. The stone needs time to absorb heat through its body, not just sit in hot air.
- Adjust the vents. Use them to control the fire, and keep the lid closed as much as possible. Every opening releases heat and delays recovery.
The lid thermometer shows the general chamber temperature, not the condition of the baking surface. The stone may still be cool in the center or dangerously hot over one section of the fire. Check the stone itself with an infrared thermometer before launching, scanning several spots and avoiding flour or ash on the surface. A stable reading across the main landing area matters more than the clock.
Don't launch by the clock alone. Thirty minutes is a starting routine, not proof that the entire stone is ready.
Keep the first pizza lightly topped. Excess sauce, wet vegetables, and heavy cheese add moisture and slow the base. Dust the peel only enough to release the dough. Too much flour can scorch and leave a bitter residue.
If you are starting from a bare grate rather than a stone already in place, the walkthrough on using a pizza stone on a charcoal grill covers the first-time setup.
Understanding Heat Transfer on the Kettle Grill
A Weber kettle cooks pizza through three overlapping heat routes. Convection carries hot air around the covered chamber. Radiation comes from the charcoal, lid, and other heated surfaces. Conduction transfers heat from the stone directly into the dough.
Each route affects a different part of the pizza. Airflow and radiant heat brown the cheese and upper crust, while the stone sets and colors the base. A stone that has not absorbed enough heat can leave the bottom pale even when the lid thermometer looks impressive. Place it over a charcoal hotspot, however, and the base may burn before the toppings finish.
Controlled pizza-baking experiments found that forced convection transfers heat more effectively than natural convection. In practical terms, vent settings can change how quickly the top of the pizza cooks. Airflow is therefore a real control, not a superstition. A stronger fire and more open vents may speed the top bake, but they can also widen the temperature difference between the charcoal-facing edge and the rest of the stone.
The round kettle chamber naturally produces heat gradients. Charcoal placement, the curved lid, and the distance between the fire and stone all matter. Treat the stone as a cooking surface with its own temperature pattern, rather than assuming the air temperature represents the whole grill.
Read the stone, not just the lid
An infrared thermometer gives a more useful view of baking readiness. Keep the lid closed during most of the warm-up, then take quick readings across several areas once the stone has had time to heat.
Check the center, the side nearest the charcoal, the opposite side, and the outer edge. Look for a usable pattern rather than one impressive reading. If the charcoal-facing side is much hotter, move the stone farther into the indirect zone or redistribute the coals. If the center remains cool, extend the preheat instead of opening the vents until the fire becomes overly aggressive.
The lid thermometer may accurately report the air near its sensor while the stone remains uneven. That mismatch explains how a nominally hot kettle can produce an underbaked center or an overfired edge. Guidance on checking the stone itself explains the distinction between chamber temperature and baking-surface readiness.
Use the first pizza to confirm the heat map. If the bottom browns too quickly, move charcoal outward or shift the stone away from the fire. If the top lags, close the lid and let the chamber's radiant heat work instead of repeatedly releasing it.
Launching and Baking Your Pizza to Perfection
A pizza can launch perfectly and still burn underneath. On a Weber kettle, the round charcoal bed creates a stronger heat gradient than a standard oven, so the side nearest the coals may brown before the center or opposite edge. Use the stone's surface and the first pie to find that pattern.
Stretch the dough on a lightly floured surface, move it to a peel, and add toppings without delay. Moisture from sauce or fresh ingredients makes dough stick if it sits too long. Drain watery toppings, keep the layer light, and shake the peel before leaving the work surface. If the dough catches, lift an edge and add a little flour or cornmeal. Do not force it onto the stone.
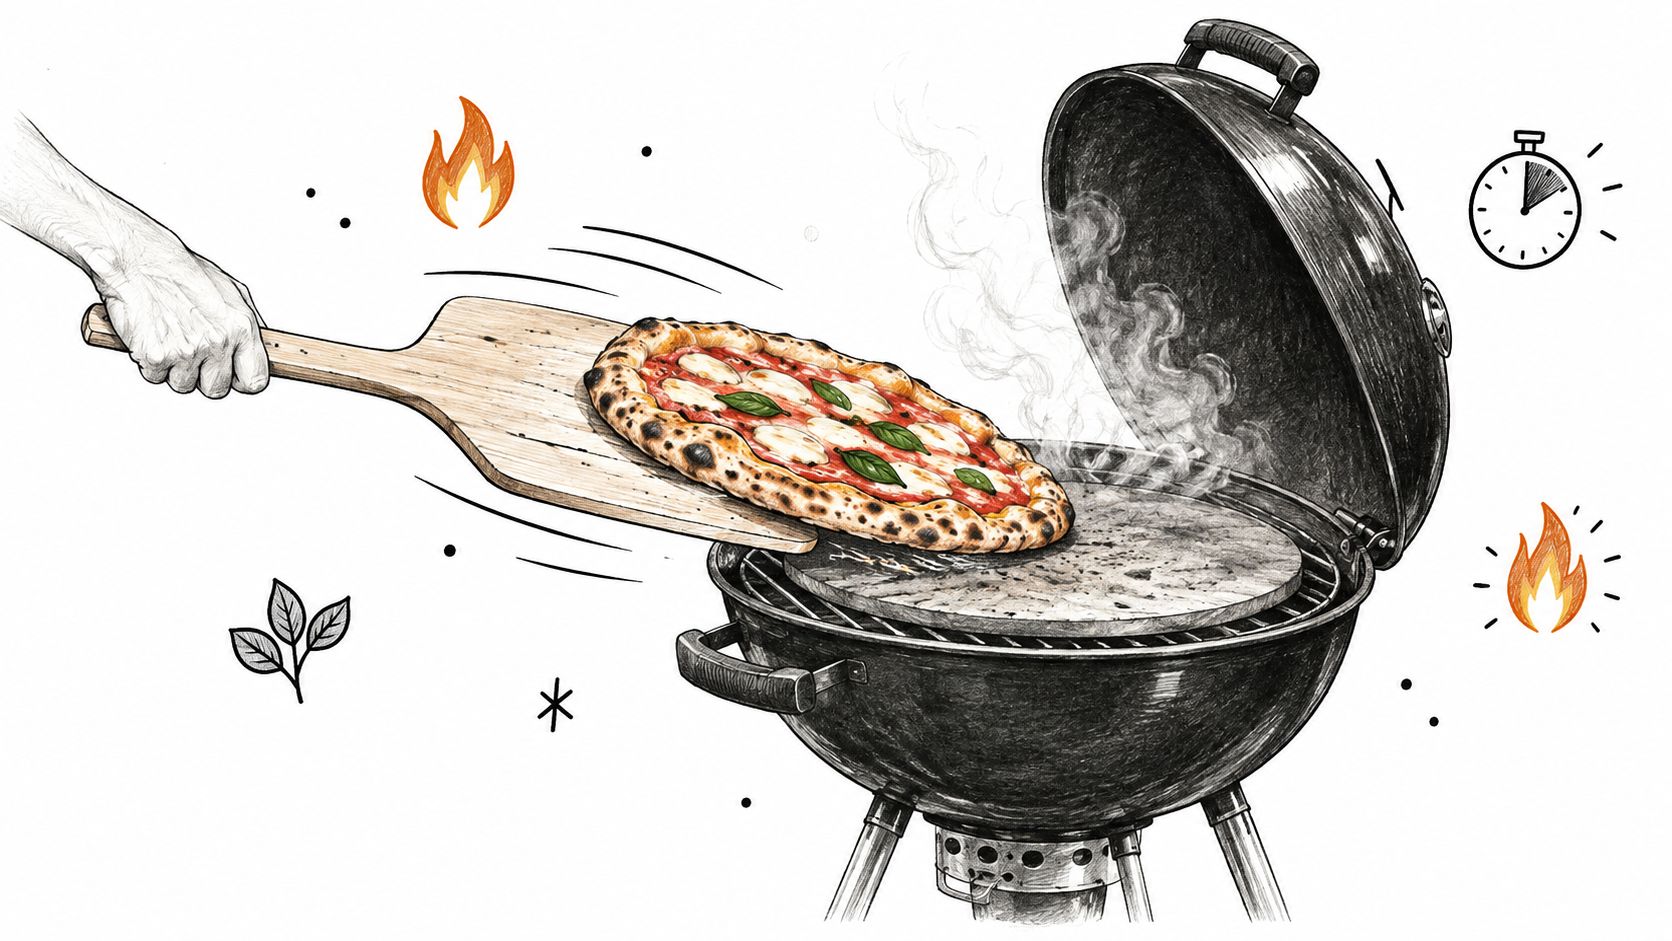
Slide the pizza onto the center or slightly indirect side of the stone, then close the lid at once. Check the underside before judging the cheese. A pale, flexible base needs more time. Dark spots under a lightly finished top indicate excessive bottom heat, so rotate the pizza away from the charcoal side or reduce the fire's direct intensity.
Use the first pie as a heat map
A kettle rarely browns every part of a pizza evenly. Once the crust has firmed enough to move without tearing, rotate it only if the color shows a clear imbalance. Each lid opening releases heat, and repeated checks slow the bake.
Judge doneness by a set crust, a golden underside, and melted cheese without a wet center. Thin dough finishes sooner than a thick base, while charcoal arrangement and stone position change the result. Use appearance and firmness rather than treating one cooking time as universal.
The first pizza is a diagnostic tool. Its underside reveals more about the stone's heat pattern than the lid thermometer alone.
Let the finished pizza rest briefly on a rack or board before slicing. Move it off the hot stone so the base stops darkening as it cools. For the next bake, change one factor at a time, such as charcoal position, stone placement, or topping load. That makes the result easier to read and prevents a single correction from hiding another problem.
A practical visual companion shows the launch and lid-management sequence:
Preventing Thermal Shock and Maintaining Your Stone
Stone failure usually comes from a sudden temperature difference, not from the grill's advertised maximum alone. A cold cordierite or ceramic stone placed directly on a fully heated kettle can develop sharp internal gradients. The same risk appears when a hot stone meets a cold or wet surface, or when water touches it during cleanup.
Cordierite handles temperature variation well because its crystal structure expands unusually little as temperature changes, but low expansion doesn't make it immune to localized stress. A charcoal hotspot can heat one area far faster than another, and a cold-water rinse can create the reverse shock.
Follow a cold-start lifecycle
Place the dry stone in the kettle before the grill becomes fully hot, or install it during the gradual warm-up. Keep it supported across the grate, avoid unstable corners, and don't move it while it's hot. If you bake another pizza, leave the stone in place and maintain the chamber rather than carrying the stone between surfaces.
After baking, close the vents as appropriate for your grill and let the stone cool completely inside the kettle. Don't set it on a cold countertop, patio, or damp surface while it still holds heat.
Clean with a dry brush or scraper once cool. Skip soap, soaking, and immersion because porous stone can absorb moisture and cleaning residue. Brush away loose flour and baked toppings, then store the stone somewhere dry with support that keeps it from being knocked or flexed.
Food safety needs its own attention. USDA identifies 40–140°F as the bacterial “Danger Zone,” and recommends keeping perishable toppings chilled until use and holding cooked foods at or above 140°F. Use a thermometer for meat toppings instead of judging doneness by appearance. USDA's cookout food-safety guidance covers those handling requirements.
For a deeper look at why stones crack and how moisture and temperature interact, read why a pizza stone can crack.
Hans Grill offers cordierite pizza stones, pizza steel, proofing boxes, and BBQ-ready pizza tools for cooks building a repeatable kettle setup. Visit Hans Grill to compare surfaces, check compatibility with your Weber grate, and prepare for your next crisp-crust bake.


