

Thin Crust Grilled Pizza Recipe: Perfect Grill Results
Shape the dough to about 6 mm, cook it first over a hot zone, then move it to indirect heat with the lid closed until the base crisps. A two-zone grill gives thin crust enough direct heat to brown without forcing the toppings to survive the same harsh flame.
You've got the grill ripping hot, the toppings lined up, and a dough round sliding toward the grate. Then the first problem appears. The dough stretches, sticks, or folds as you launch it, the bottom blackens before the center sets, and the finished pizza feels more like a floppy flatbread than a crisp pie.
Thin crust grilled pizza doesn't tolerate thick-dough habits. It needs controlled geometry, restrained toppings, and a heat path that starts aggressively and finishes gently. Once those pieces line up, a backyard grill can produce a light, crackly base with smoky char and properly melted cheese.
Table of Contents
- Why Thin Crust Grilled Pizza Deserves a Different Routine
- Building the Best Thin-Crust Dough for the Grill
- Grill Setup and Two-Zone Heat for Thin-Crust Success
- Topping Strategy and the Finish Bake That Crisps Thin Crust
- Pizza Stone Versus Pizza Steel on the Grill
- Troubleshooting Soggy, Floppy, or Burned Thin Crust
- Making Thin Crust Grilled Pizza Your Weekend Routine
Why Thin Crust Grilled Pizza Deserves a Different Routine
The first thin-crust pizza of the night often fails before it reaches the grate. The dough stretches during launch, the underside scorches while the center stays damp, and a generous topping layer leaves the finished slice floppy. Thin crust has little thickness to absorb mistakes, so it needs a different grilling routine from pan-style dough.
One 2026 pizza industry report places thin-crust preference at about 60%. That preference matches what the grill does well: fast browning, light smoke, and a crisp base. It also exposes weak handling quickly. Direct flame can blacken the underside before the middle dries, while sauce and wet vegetables release moisture after the crust has already browned.
Practical rule: Thin dough needs a fast sear followed by a calmer finish.
Aim for a base that bends slightly when lifted, then breaks cleanly when bitten. Dark grill marks are useful; a fully black underside means the heat path was too aggressive. Close the lid for the finishing stage so the cheese melts and the center cooks without leaving the rim over direct flame.
Geometry matters as much as ingredients
At roughly 6 mm, the dough sets quickly over direct heat and can finish on the indirect side while the toppings warm. The BBQGuys grill method follows this sear-and-finish approach, which addresses a common thin-pizza failure, undercooked, floppy dough.
A grate-only setup gives the dough direct contact, open airflow, and distinct contact marks. That can produce excellent char, but it leaves little margin if the dough is uneven or the fire runs hot. A grill stone spreads heat more gently and reduces the effect of flame spikes. A grill steel stores and transfers heat more forcefully, helping the base brown quickly while demanding closer attention to the underside.
Neither surface makes thin crust automatic. A stone can still overheat and scorch the base, while steel can burn it before the toppings catch up. Preheat with control, keep the dough evenly thin, and move the pizza when the bottom has set rather than waiting for a very dark crust.
The reliable rhythm is simple: thin dough, restrained toppings, and a controlled finishing surface. Give the base enough direct heat to crisp, then remove it from the harshest flame before the crust turns brittle or the cheese burns.
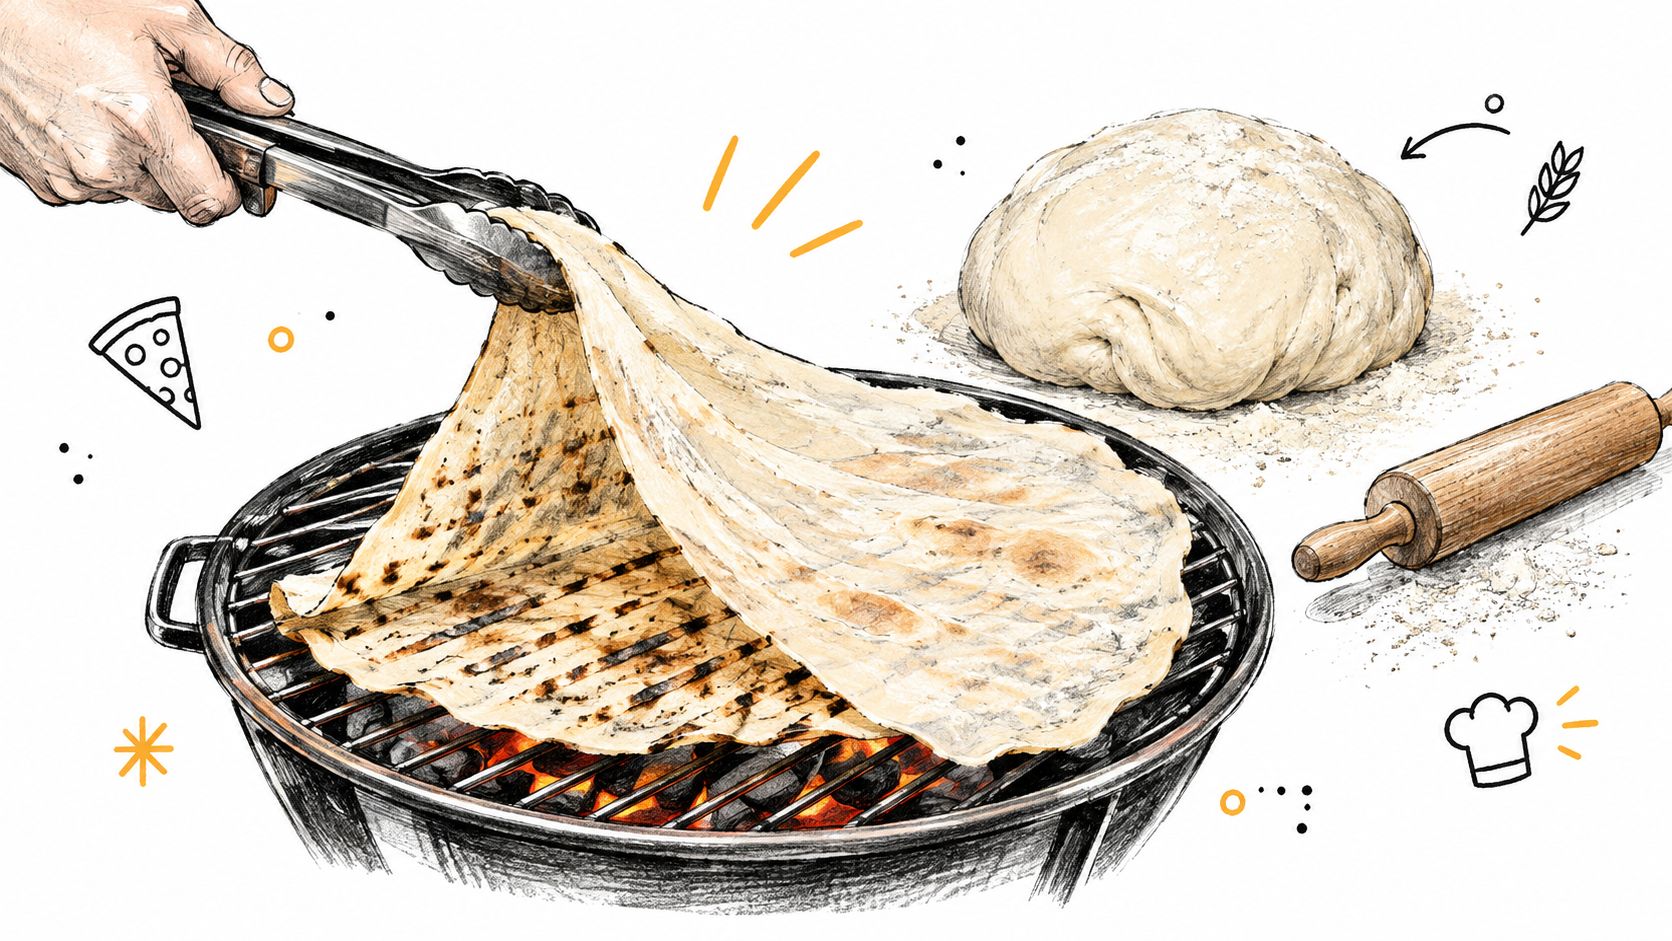
Building the Best Thin-Crust Dough for the Grill
Thin grill dough should be stiff enough to handle, not wet enough to slump through the grate or glue itself to the peel. One expert grill guide identifies dough around 66% hydration as a useful target for direct grilling because lower moisture improves stability. The AmazingRibs grilled pizza science guide also emphasizes quick handling and short direct exposure.
Choose bread flour or all-purpose flour based on the texture you prefer, but don't chase extreme stretch. A dough that feels loose and silky on the bench may be pleasant in an oven and awkward over a grill. For a dependable start, mix until the dough is smooth, let it rest until relaxed, then divide it before shaping.
A workable dough process
- Mix a moderately firm dough. Use flour, water, yeast, salt, and a small amount of oil. Hold back some water if the dough feels sticky, because flour absorbs differently and grill dough needs handling strength.
- Knead until cohesive. The dough should clear the bowl or work surface without becoming dry and crumbly. It should stretch without tearing when you pull a small piece.
- Rest before shaping. A rested dough relaxes and rolls or stretches more evenly. If it snaps back, cover it and give it more time rather than forcing it thinner.
- Shape on a lightly floured peel or board. Work from the center outward, leaving a modest rim. Press out large air pockets, then dock the middle with fingertips or a fork.
- Aim for about 6 mm. That thickness is thin enough to crisp quickly but still substantial enough to transfer without collapsing.
You can find a useful base formula in this easy pizza dough guide, then adjust the water so the finished dough behaves like a grill dough rather than a soft pan dough.
| Variable | Low-value risk | Recommended range | Effect on thin crust |
|---|---|---|---|
| Dough thickness | Tears during transfer or dries out | Around 6 mm | Sets quickly while retaining enough structure |
| Hydration | Sinking, sticking, and difficult flipping | Around 66% for direct-grate cooking | Improves stability and limits excess moisture |
| Docking | Large bubbles scorch or lift toppings | Light docking across the center | Keeps the cooking surface flatter |
| Resting | Snapback or uneven stretching | Rest until pliable | Makes thin shaping easier and more consistent |
| Topping load | Gummy center | Light sauce and restrained cheese | Lets moisture escape before the base softens |
Keep the shaped dough close to the grill. Thin dough punishes delays. Sauce, cheese, cooked meats, and vegetables should already be portioned before the first launch.
Grill Setup and Two-Zone Heat for Thin-Crust Success
A thin crust can scorch before its toppings heat through, especially when a stone or steel concentrates heat beneath it. Set up two zones so the hot zone sears the dough, while the indirect zone finishes the pizza under the lid. The move from direct to indirect heat controls the gap between a crisp base and a burned one.
One BBQGuys grill benchmark targets over 900°F on the hot side and about 400°F on the cool side on charcoal, with 700 to 800°F on the hot side on gas. Treat those figures as demanding reference points, not automatic targets. On my three-burner gas grill, the hot side reads about 750°F at the grate after twenty minutes of preheating with the lid closed. A grill thermometer, the dough's underside, and flare-ups together give a more useful reading than the lid dial alone.
Set the grill before the dough arrives
Scrub the grates thoroughly. Thin dough catches on residue more easily, while a clean surface improves release. Wipe the grate with a small amount of oil using a folded, heat-safe cloth or paper towel held in long tongs. Never pour oil over an active flame.
Bank charcoal to one side, leaving the other side clear. On gas, light the burners that create the hot area and leave another section unlit. Position a stone or steel where it can preheat evenly, away from a gap likely to produce a flare.
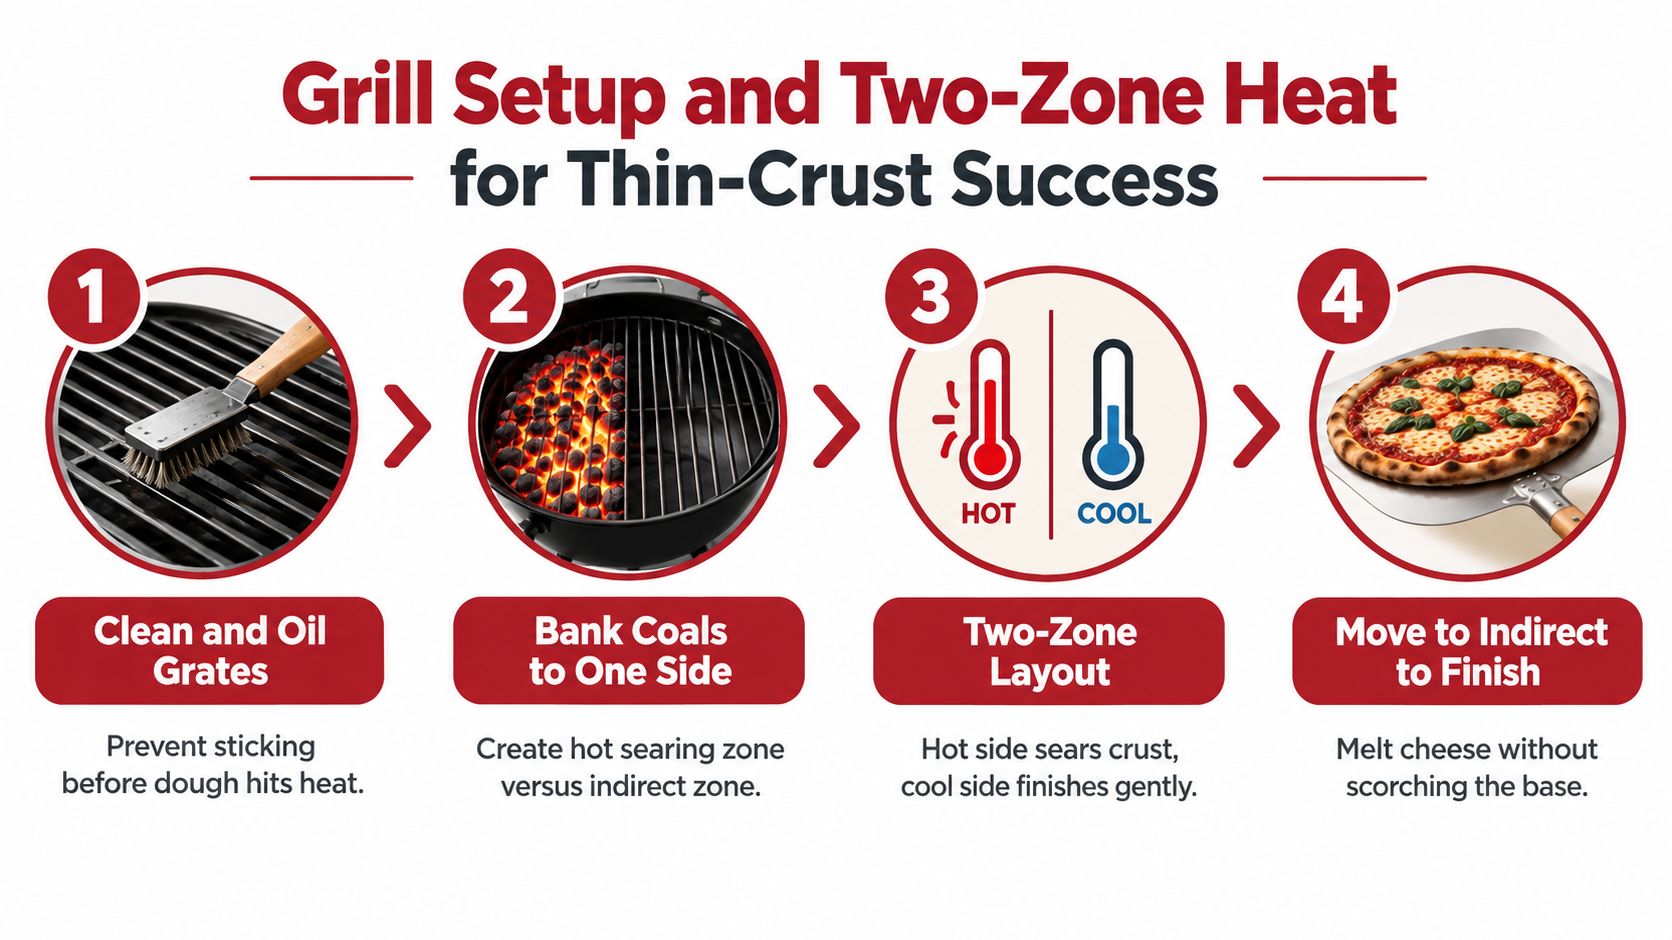
Heat a stone gradually. A cold slab exposed to intense direct heat, or moisture on a hot surface, can cause damage. Steel handles rapid temperature changes better, but its strong heat transfer can darken a thin base quickly. Give steel a less aggressive position or shorten the direct sear.
Use the lid as part of the oven
Preheat with the lid closed and launch as soon as the surface is ready. Keep the lid open during the first sear so you can see the underside and react to flare-ups. After the pizza moves to indirect heat, close the lid. The trapped heat melts the cheese and cooks the top while the base continues crisping.
This guide to pizza on a gas grill can help with stone or steel placement on gas models. The goal is a hot launch surface beside a gentler finishing area, not one uniformly extreme temperature.
The video below shows the general grill workflow and equipment positioning in action.
If the underside colors too quickly, move the pizza sooner. Thin crust rewards quick heat checks, not a long stay over the flame.
Topping Strategy and the Finish Bake That Crisps Thin Crust
Thin crust has little room for excess moisture or weight. Spread a thin film of sauce, leave a narrow border, and distribute cheese evenly rather than piling it in the middle. Slice fresh vegetables thinly, drain them well, or cook watery ingredients first.
Set out every topping before the dough reaches the grill. Direct heat leaves little time for chopping, grating, or sauce preparation between checks. Hold delicate herbs until serving, since the lid's heat can wilt or scorch them.
Sear first, top second
Dock the shaped dough, brush or spray it lightly with oil, and place it on the hot side. The BBQGuys recommended workflow uses a brief sear on one side, followed by a flip, topping, and a covered finish of about 6 minutes over indirect heat.
That first sear gives the dough enough structure to support toppings. Once flipped, the cooked side faces up, so sauce and cheese rest on a firmer surface instead of soaking into a raw center. This matters more with thin crust, where a small amount of moisture can leave the middle floppy while the edges brown.
Watch the dough, not just the clock. Look for bubbles, light browning underneath, and a round that lifts cleanly without hanging or stretching like a soft curtain.
Turn the dough quickly with tongs or a peel. Brush the cooked surface with a little oil, spread sauce sparingly, scatter the cheese, and move the pizza to indirect heat. Close the lid and avoid repeated checks. Every opening releases the trapped heat needed to melt the toppings and finish the top before the base dries out.
Correct a soft base without sacrificing the toppings
At the end of the covered bake, lift an edge with a peel or tongs. A finished thin crust should feel firm, not rubbery. If the base still feels flabby, return the pizza to direct heat for 30 to 90 seconds, keeping your attention on the underside. On a hot steel, I find 30 seconds is usually enough, while a stone positioned closer to the coals may need the full 90.
Move it if dark spots appear quickly. A grate or steel can scorch a thin base before the cheese finishes, whereas a stone may need more direct exposure to drive off the last moisture.
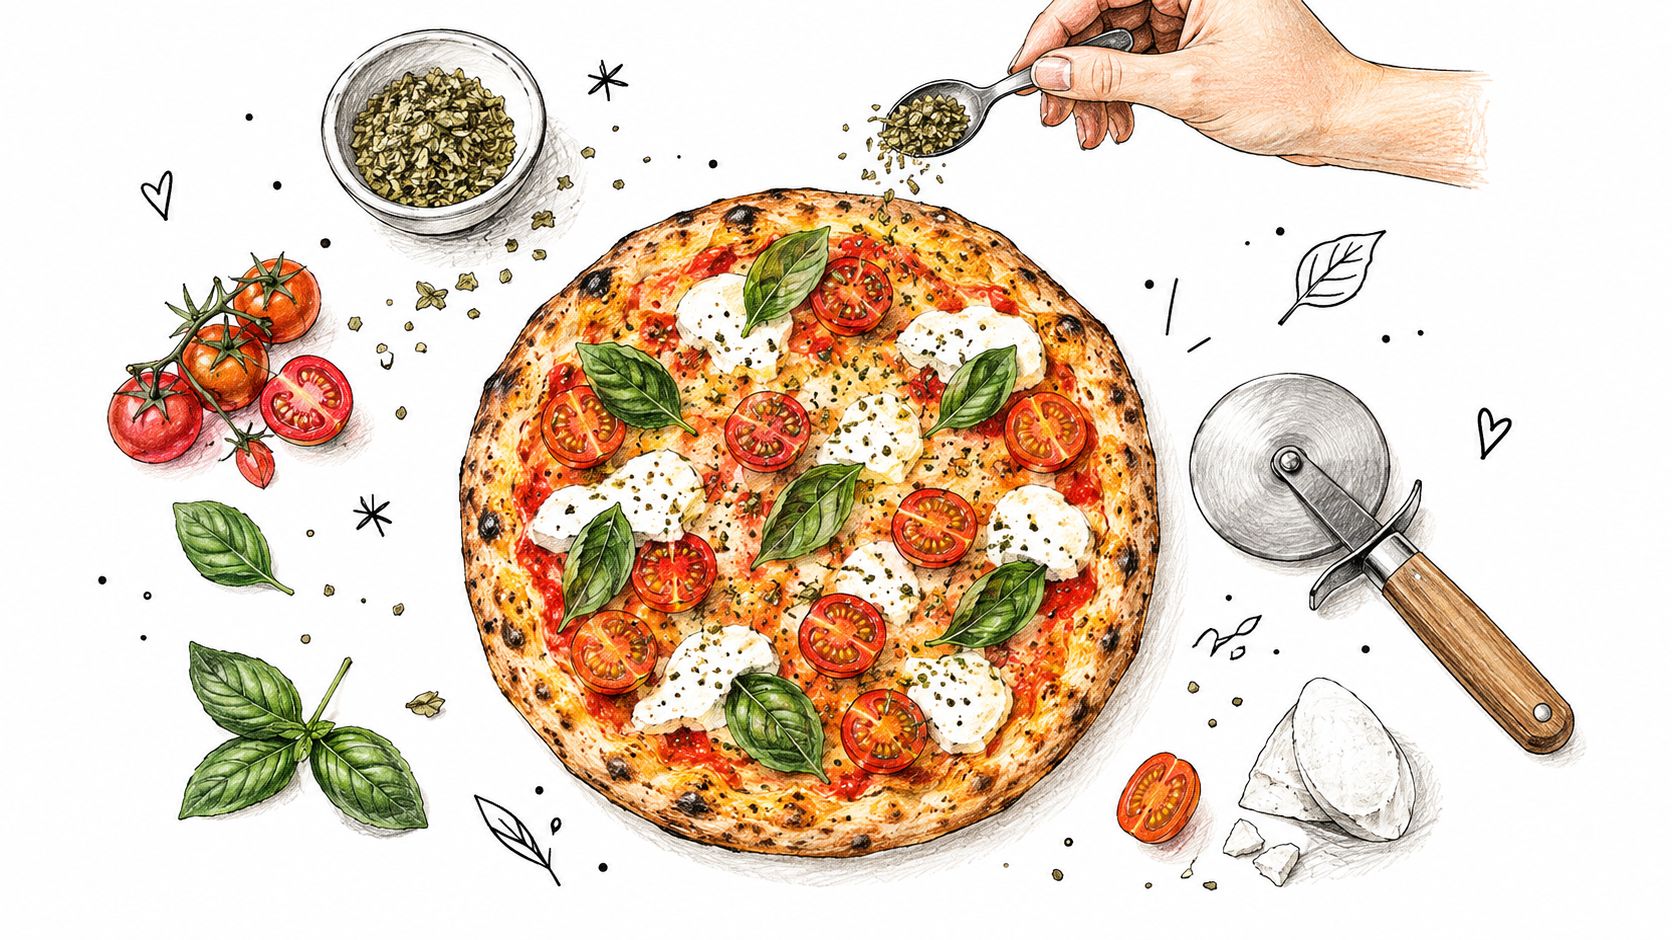
Remove the pizza once the cheese has melted and the base has firmed. Add basil, fresh greens, or a final drizzle after grilling. Let the pie settle briefly before cutting, since an immediate slice can drag molten cheese and toppings toward the edge.
Pizza Stone Versus Pizza Steel on the Grill
The surface under the dough changes how thin crust reacts. A grate gives direct contact with the bars and exposes the dough to the grill's air and flame. A pizza stone creates a broad, porous baking surface, while a pizza steel delivers heat through a dense metal plate and usually recovers quickly after a launch.
Stone is forgiving when you want a more even bake. Cordierite is commonly chosen for its resistance to thermal shock, but it still needs a gradual preheat and protection from sudden temperature changes. A stone can help soften the harshness of direct grate heat, especially when your grill's flames are uneven.
Steel is more forceful. That can be useful for thin crust because the base firms rapidly, but it also narrows the timing window. A steel placed too close to the hottest burner may darken the underside before the top catches up. It works particularly well when you're cooking several pies and need the surface to regain heat quickly.
| Tool | Heat behavior | Best for | Thin-crust advantage |
|---|---|---|---|
| Clean grill grates | Fast, direct contact with localized hot spots | Smoky char and quick single-pie cooking | Produces pronounced grill marks |
| Cordierite pizza stone | Broad, steady baking heat | Even finishing and gentler bottom heat | Reduces direct flame contact |
| Pizza steel | Dense, rapid heat transfer | Fast recovery between pies | Sets the base quickly and strongly |
| Stone over indirect heat | Stable, moderated heat | Toppings that need more time | Limits scorching while the center cooks |
The choice depends on your grill and your habits. If your main problem is a black bottom, a stone or more indirect placement may help. If the crust stays pale and soft despite a properly hot grill, steel can provide a stronger sear.
Hans Grill sells cordierite stones for ovens and BBQs, along with a high-thermal-mass Pizza Steel PRO for cooks who want either a gentler stone surface or more forceful metal heat. Its pizza steel and stone comparison gives a practical look at how the two surfaces differ.
Troubleshooting Soggy, Floppy, or Burned Thin Crust
Thin crust usually fails for a clear reason: excess moisture, rough handling, or heat that sets the bottom before the center cooks. Change one variable at a time so you can identify the actual problem.
If the base is floppy
The dough may be too wet, too thick, or undercooked in the center. Close the lid and move the pizza to indirect heat, where the top can finish without scorching the base. If the underside still needs color, give it a brief direct-heat pass. For the next attempt, use the firmer dough method described earlier and dock the center evenly.
If the bottom burns while the center stays soft
Your stone, steel, or grate is transferring heat faster than the dough can release moisture. Move the pizza away from the flame, raise the stone or steel if your grill permits it, and reduce the sauce. A cooler finishing zone solves this more reliably than leaving a thin pizza over high heat for longer. Steel sets the base especially fast, so keep it farther from the hottest burner when the top is lagging.
If the dough sticks during launch
A damp peel, too much flour, or a long pause before launching can cause the problem. Shape the round just before it goes onto the grill, dust the peel lightly, and shake it once to confirm that it moves freely. If it sticks, do not force it into a folded heap. Reshape it while the dough is still cold and firm, then launch again.
If the crust scrunches or collapses
Excess moisture and rough handling are likely. Wetter dough can sink or collapse on grates, so use a stiffer mix, keep the round modest in size, and flip decisively rather than repeatedly nudging the edge. The AmazingRibs guide also covers how dough behavior changes during grilling.
Uneven char points to hot spots or inconsistent contact. Rotate the pizza only after the base has set enough to move cleanly. On a stone or steel, reposition it after the initial sear if one side darkens faster.
Making Thin Crust Grilled Pizza Your Weekend Routine
The repeatable version of this thin crust grilled pizza recipe is a short routine, not a dramatic performance. Mix a firm dough, rest it until pliable, shape it to about 6 mm, and prepare every topping before the grill is ready. Clean and oil the cooking surface, build two zones, and decide in advance whether the pie will cook on grates, stone, or steel.
Start with one pizza rather than loading the grill with several uncertain rounds. Watch how quickly the bottom colors, how easily the dough flips, and how long the indirect finish takes on your equipment. Write those observations down. Your grill has its own hot spots, lid seal, stone position, and recovery pattern.
A calm launch sequence
- Before heating: Shape the dough, dock the center, and arrange toppings within reach.
- During the sear: Look for a set underside and controlled browning, not a fully finished pizza.
- After flipping: Add a light topping layer and move the pie to indirect heat.
- At the finish: Check firmness, then use a brief direct pass only if the base needs more crispness.
- After grilling: Add delicate herbs, slice once the cheese settles, and brush loose flour from the stone or peel.
For multiple pies, pace the launches. Let the cooking surface recover, keep later dough rounds covered so they don't dry, and adjust the hot zone if the first crust darkened too quickly. Cleanup also affects the next cook. Remove baked-on residue after the surface cools, keep stones dry, and avoid exposing a hot stone to cold water.
You don't need a specialty oven to make thin crust work. You need a dough that can survive transfer, a grill arranged around two heat levels, and the discipline to move the pizza before the flame makes the decision for you. Run that sequence this weekend with simple toppings, then refine one variable at a time.
Hans Grill offers cordierite pizza stones, a high-thermal-mass pizza steel, proofing boxes, and related tools for cooking pizza in ovens and on BBQs. Visit Hans Grill to compare the surfaces and choose equipment for your next thin-crust grill session.


