

Grill Pizza Kit Guide: Transform Your Backyard BBQ
You've set the grill up for pizza night, stretched the dough, and launched the first pie with high hopes. A few minutes later, the rim is black, the toppings are bubbling, and the center still folds like wet dough. That result usually isn't a recipe problem. It's a heat-management problem.
A grill pizza kit works when you treat it as a cooking system, not just a stone. The baking surface, peel, grill layout, preheating routine, lid position, topping prep, and temperature checks all have to work together. Once they do, the same grill that handles burgers and steaks can produce a crisp base with properly cooked toppings and far fewer burnt, soggy pizzas.
Table of Contents
- Why You Need a Grill Pizza Kit
- Understanding Grill Pizza Kit Components
- The Science Behind the Stone
- Matching Your Kit to Your Grill Type
- Hosting Safe and Successful Pizza Parties
- Executing the Perfect Bake
Why You Need a Grill Pizza Kit
Pizza already fits naturally into home cooking. USDA analysis of nationally representative dietary data found that 11% of the U.S. population aged two and older consumed pizza on any given day, and more than half of the pizza consumed came from restaurants, including takeout and sit-down establishments. Approximately one-quarter came from grocery stores, a category that can include frozen pizza, homemade ingredients, and cooked slices bought from a store counter. The USDA pizza consumption analysis provides a neutral picture of how often pizza appears in everyday eating.
That matters because a grill pizza kit doesn't need to convert someone into a professional pizzaiolo. It needs to make a familiar food more reliable outdoors. A 2023 consumer survey reported that 81% of Americans had tried making pizza at home, while 37% planned to make it more frequently. The survey also found that people made pizza for special occasions, monthly meals, and weekly routines, which points to a broad audience for equipment that makes occasional pizza nights easier to repeat. Gozney's consumer survey is company-published, so I treat it as directional rather than equivalent to government dietary data.
Why a bare grill disappoints
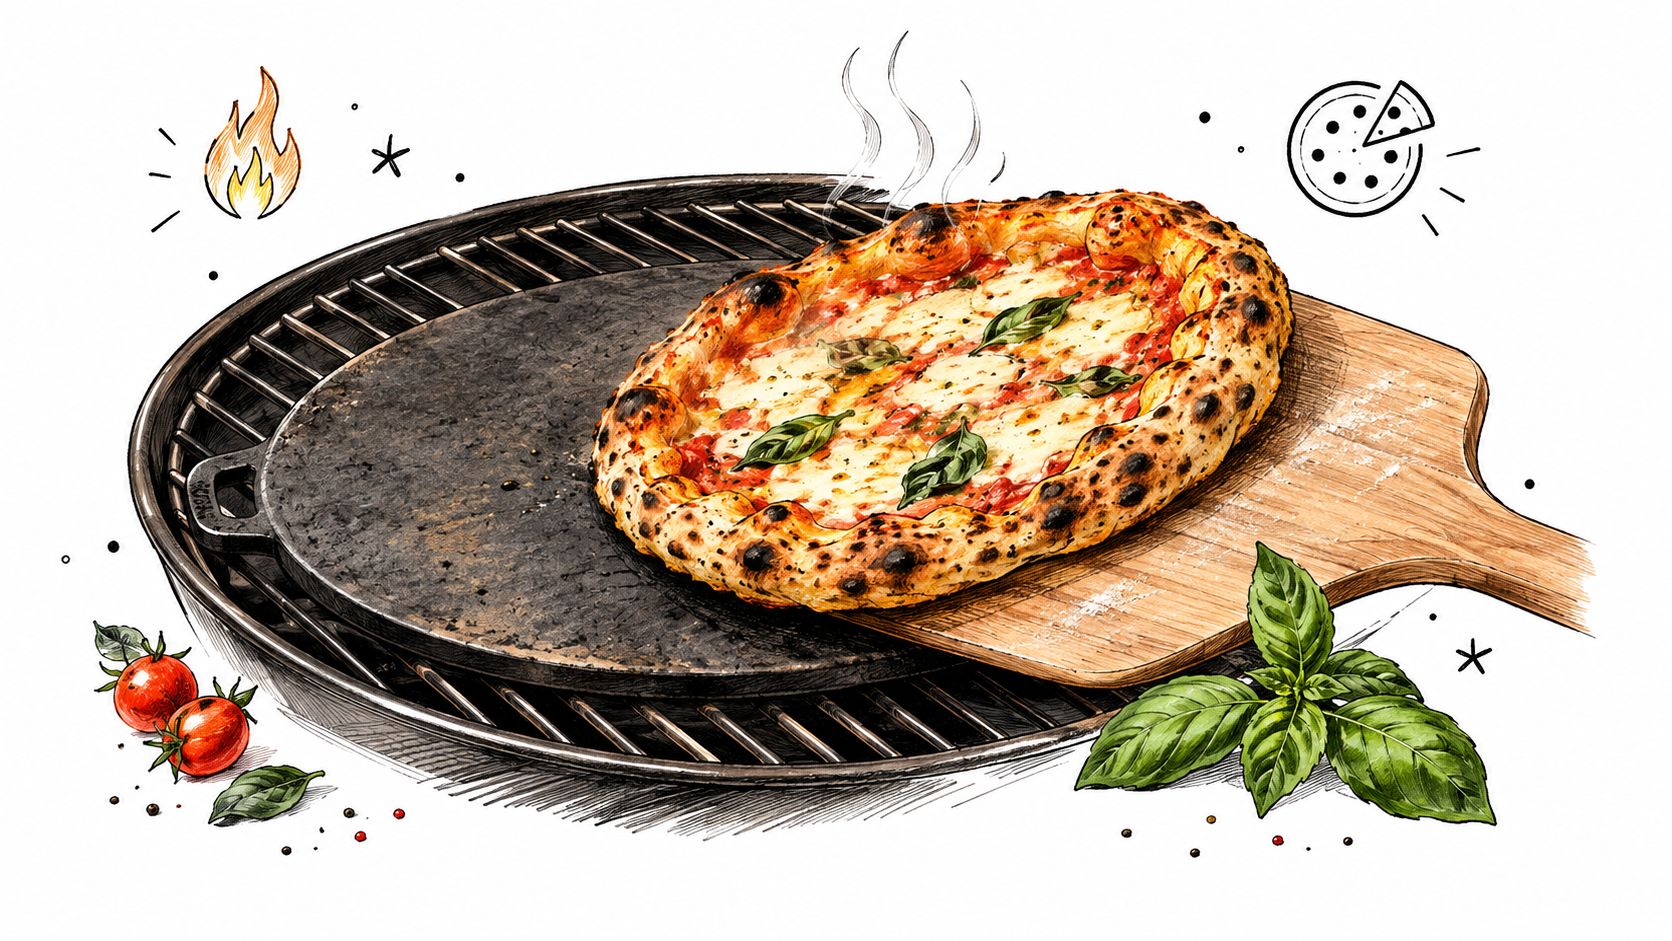
A standard grill gives you plenty of heat, but pizza needs balanced heat. The dough needs strong energy from below to set and crisp the base. The toppings need retained heat above to cook through without burning the rim. Put dough directly over an aggressive flame and the bottom can scorch before the center firms up. Use a cool grate or an underheated stone and the base stays pale while the toppings dry out.
A kit bridges that gap with a dedicated baking surface and a way to move raw dough onto it safely. The stone stores heat, the peel shortens the launch, and the closed grill lid creates a more oven-like environment.
Practical rule: If the crust is burned underneath while the middle is soft, reduce direct flame before reducing the baking temperature.
The useful shift is psychological as much as mechanical. You're no longer grilling a flat piece of dough over fire. You're baking a pizza on a heated surface inside a controlled chamber. Before buying, compare the way different surfaces and tools work in a grill pizza stone guide, then build around the grill you own.
Understanding Grill Pizza Kit Components
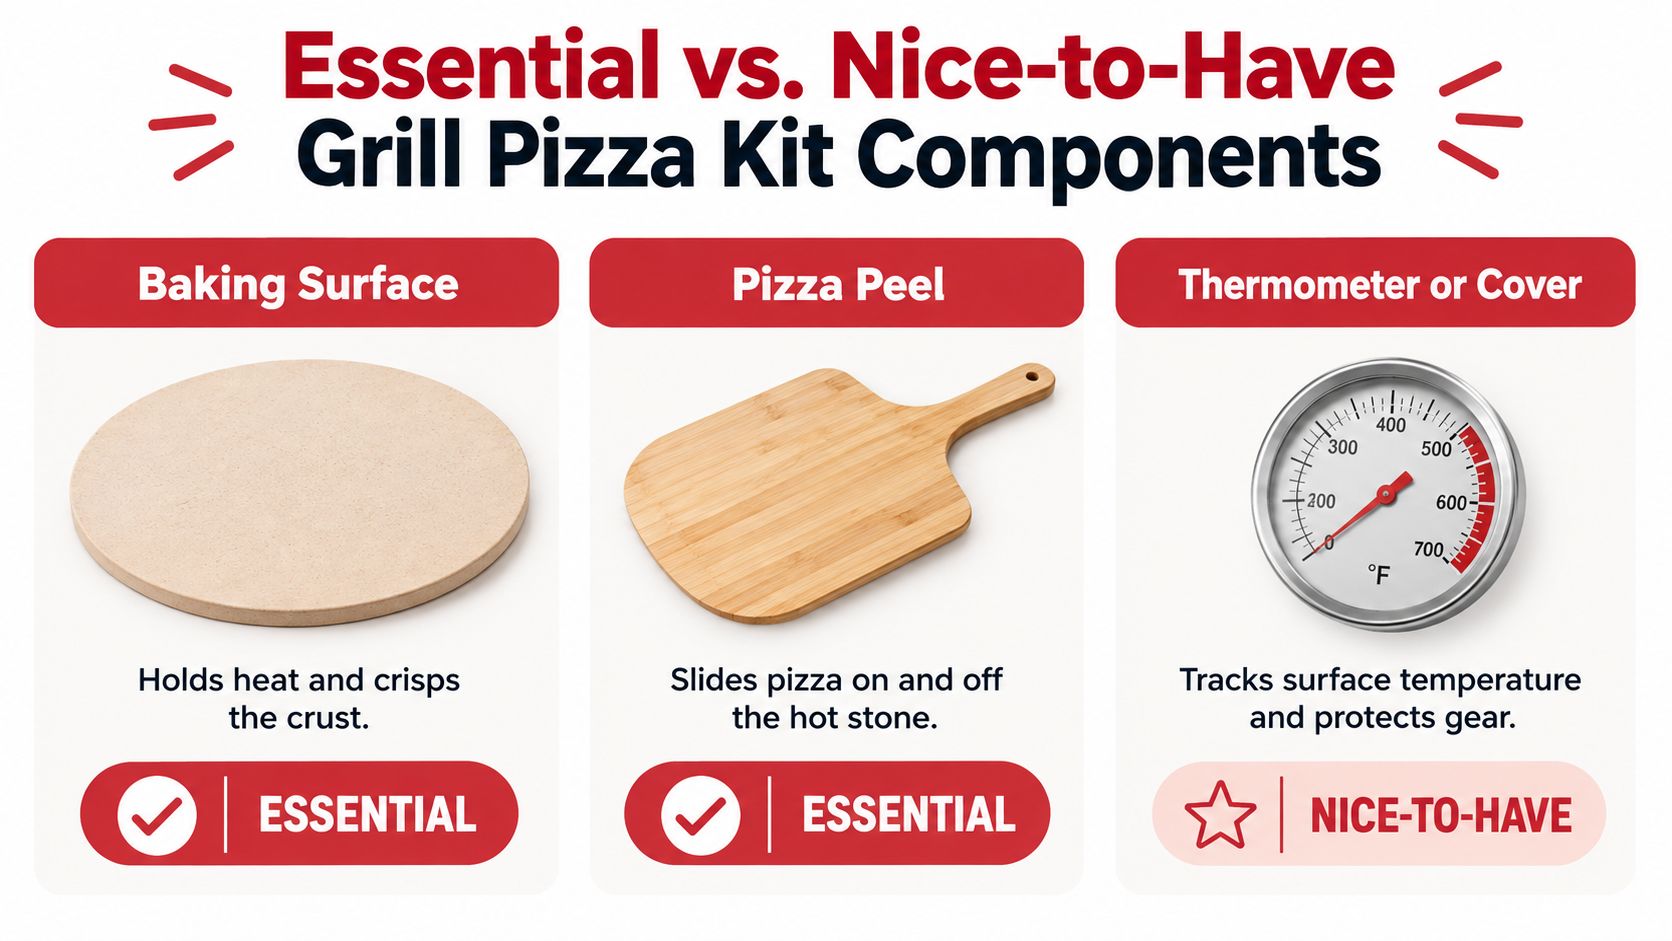
A complete grill pizza kit has one job at each stage: hold heat, move dough, and help you read the cooking environment. Start by checking what you already have instead of buying a bundle that duplicates your tools.
The baking surface
A cordierite stone is the familiar choice for grill pizza. It has a porous ceramic structure, stores heat, and gives dough a dry, direct surface for browning. It's forgiving for cooks who want a crisp base without introducing a new metal surface into the process.
Steel behaves differently. It conducts heat more aggressively and can brown the underside quickly, but that speed makes placement and flame control more important. A steel can be useful on a grill that struggles to deliver enough bottom heat, while a stone may be easier to manage when the grill already runs hot underneath.
Neither surface fixes poor heat distribution. A thin stone placed above an uncontrolled burner can still produce a burned base, and a heavy steel can still leave toppings undercooked if the lid environment is weak.
The peel and temperature tools
A peel is essential for launching dough without tearing it or knocking toppings off. A wooden peel gives dough a relatively forgiving surface, while a metal peel is useful for turning and retrieving a set crust. Dust it lightly, assemble quickly, and don't let raw dough sit on it long enough to bond.
A surface thermometer is a valuable addition because the air temperature under the lid doesn't tell you how hot the stone is. A cover protects the stored equipment from moisture and grime, but it won't compensate for a poor cooking layout.
Use the pizza cooking tools guide to identify gaps in your setup. The right purchase is the smallest combination that gives you a stable baking surface, a dependable launch tool, and a way to diagnose heat.
The Science Behind the Stone
Cordierite earns its reputation through how it responds to uneven heating. A grill doesn't always warm a stone uniformly. One edge may sit closer to a burner or fire, while another edge remains cooler. If the material expands sharply in one area and resists expansion in another, internal stress can create cracks.
Published engineering data describes cordierite as having low thermal expansion and high thermal-shock resistance, with thermal conductivity of approximately 1.3 to 1.7 W/m·K and reported thermal-shock limits around 290 to 390°C. Specialized formulations can tolerate operating temperatures near 1,300°C, although that figure should never be treated as permission to expose a consumer pizza stone to uncontrolled flame. The cordierite material data explains why the material suits repeated heating cycles while still requiring sensible handling.
Thermal mass is the part shoppers feel
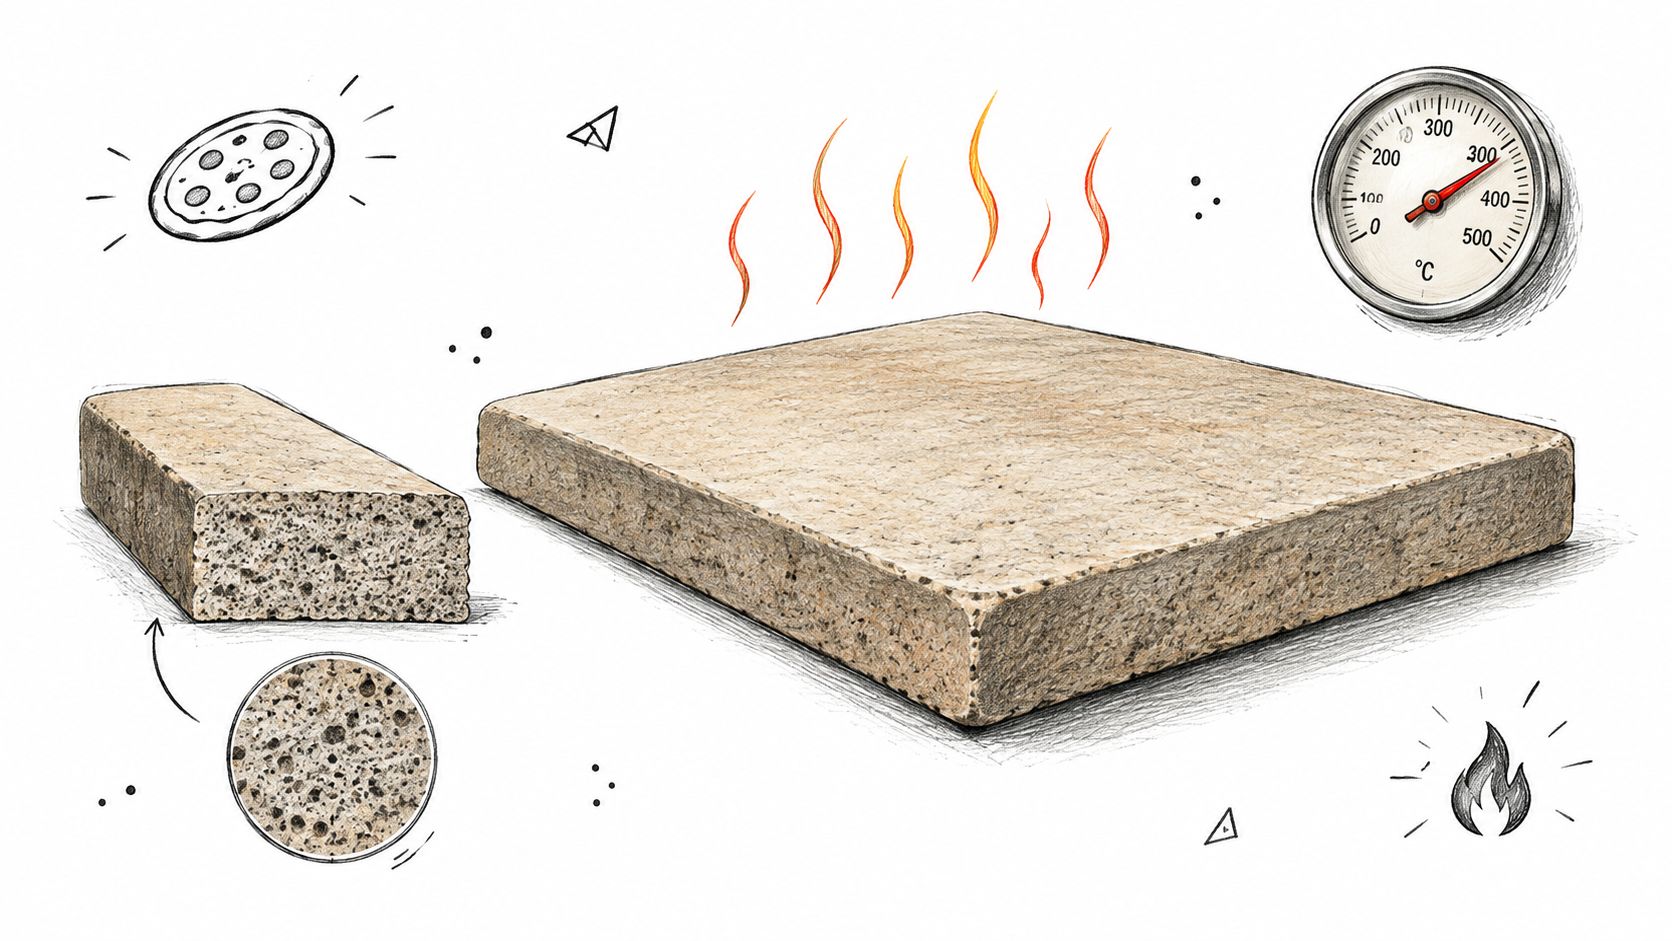
Material alone doesn't determine crust quality. Thermal mass matters because the dough pulls energy out of the surface as soon as it lands. A heavier, thicker stone has more stored heat available when that localized cold spot appears. A light surface can recover quickly in some grills, but it's more vulnerable to temperature loss between launches.
That doesn't mean the heaviest option always wins. A very heavy stone takes longer to heat and may be harder to move safely. The useful choice depends on your grill's available space, fuel control, and how many pizzas you plan to bake in one session.
How stones fail
Cordierite resists thermal shock, but it isn't immune to it. Don't move a hot stone onto a cold patio, set it on a wet surface, or splash it with water after baking. Avoid placing it directly over a concentrated flame hotspot if the grill lets you create an indirect zone.
The reliable routine is simple:
- Put the stone on a cold grill.
- Heat the grill gradually with the lid closed.
- Let the stone absorb heat before launching.
- Keep water away from the hot surface.
- Allow the stone to cool naturally before cleaning or storing.
A guide to what pizza stones are made of can help you compare ceramic and metal surfaces, but the operating procedure matters just as much as the material label.
Matching Your Kit to Your Grill Type
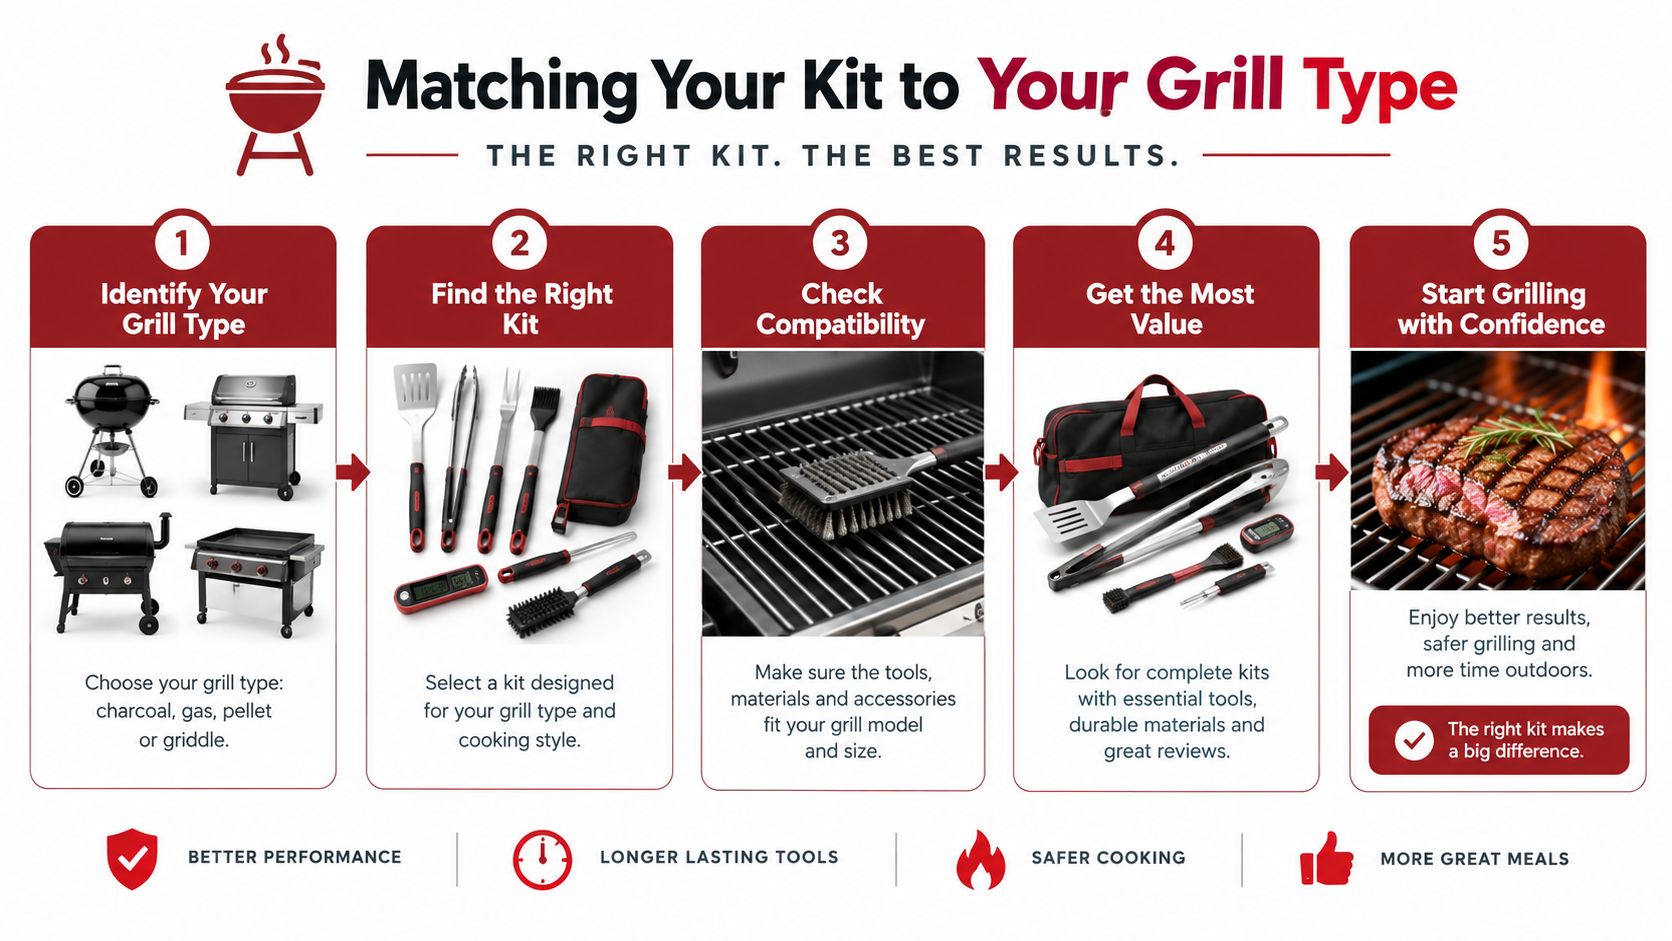
A gas grill, charcoal grill, and pellet grill can all bake good pizza, but they don't deliver heat in the same way. The correct question isn't “Which stone is best?” It's “Where does my grill create usable bottom heat without overwhelming the dough?”
Gas grills
Gas grills offer the easiest adjustment. Use the burners to create a heated zone beneath or beside the stone, then reduce the burner directly under the baking surface if the base darkens too quickly. A stone above a diffuser or unlit burner often gives better control than placing it directly above the strongest flame.
The lid must stay closed during preheating and baking. Opening it repeatedly dumps the hot air needed to cook the top of the pizza, which forces you to keep the bottom exposed to heat for longer.
Charcoal grills
Charcoal creates excellent radiant heat but can produce sharp hotspots. Bank the coals to one side, place the stone over an indirect area, and let the lid circulate heat around the pizza. If the stone sits directly above glowing coals, the bottom can outrun the toppings.
Watch the fire as much as the pizza. Ash buildup, wind, and fuel placement can change the heat pattern during a session. A charcoal setup rewards cooks who launch smaller pies and check the underside early rather than committing to one large, heavily topped pizza.
Pellet grills
Pellet grills usually provide steady convection heat, but the stone can sit relatively far from the most intense heat source. A diffuser may protect the surface while also slowing recovery between pizzas. Preheat patiently, keep toppings light, and use the lid as your primary top-heat source.
A recent grill pizza stone guide from Food Network recommends at least 30 minutes of preheating and an ambient grill temperature of 650 to 700°F, while also noting that grills can exceed 600°F and expose stones to open flame. Those figures are useful reference points, but the stone surface can differ substantially from the lid thermometer. Use an infrared thermometer to diagnose the actual baking zone.
The outdoor cooking appliance market was projected to grow from $6.95 billion in 2025 to $7.33 billion in 2026, with grills representing 57.52% of the 2025 market share, according to the same source. More grill owners are experimenting beyond traditional barbecue, but the equipment still needs a grill-specific workflow.
Before baking for guests, run a diagnostic session. Measure the stone after preheating, note which area browns the base fastest, and reposition the stone or deflector before the party begins.
Hosting Safe and Successful Pizza Parties
Outdoor pizza parties often fail in the kitchen before they fail at the grill. Raw sausage, chicken, cheese, sauce, and dough sit outside while guests build pies, the grill recovers, and the cook searches for another peel. Good food safety depends on arranging the service so ingredients spend as little time as possible in unsafe conditions.
The FDA advises that perishable food shouldn't remain between 40°F and 140°F for more than two hours, or more than one hour when outdoor temperatures exceed 90°F. The FDA's outdoor food safety guidance also recommends using a thermometer and separating raw and cooked foods.
Build the station before the fire
Keep sauce, cheese, and prepared toppings in shallow chilled containers rather than one deep bowl that warms slowly in the center. Bring out only what the next few pizzas need, and return the rest to refrigeration.
Use separate utensils for raw meat and finished toppings. Keep a clean tray or peel for cooked pizza, because the tool that carried raw chicken or sausage shouldn't touch the baked crust.
Service rule: The person handling raw meat shouldn't be the person slicing finished pizza unless they wash their hands and change or clean the utensils first.
Treat meat toppings as ingredients, not decoration
Thick raw toppings can remain undercooked even while the crust looks finished. Precook dense sausage, chicken, or other high-risk toppings when the grill's bake time is short, then add them in a thin, even layer.
The USDA specifies minimum internal temperatures of 165°F/74°C for poultry and leftovers, 160°F/71°C for ground meats, and 145°F/63°C for whole cuts of beef, pork, lamb, and veal followed by a three-minute rest. The USDA safe temperature chart is the reference to keep beside the thermometer, not a visual guess based on browned cheese.
Plan the serving rhythm
Bake smaller pies in a steady sequence instead of building a queue of fully assembled pizzas. Dough can stick to the peel, toppings can warm, and the stone can lose heat while you wait.
For leftovers, move uneaten pizza away from the outdoor station and refrigerate it promptly. A safe workflow protects the food without slowing the party: chilled mise en place, separate raw and cooked tools, measured topping portions, and a thermometer within reach.
Executing the Perfect Bake
Start with a cold grill and place the stone where it won't receive an uncontrolled blast of direct flame. Close the lid and heat gradually until the stone has absorbed enough energy to bake the base rather than merely warm it. Judge readiness with the stone surface, not only the grill's built-in lid gauge.
Prepare the dough while the grill heats. Stretch it evenly, keep the center thin enough to cook through, and leave a modest rim. Dust the peel lightly, add sauce and toppings quickly, then give the dough a short shake before launching. If it sticks, don't force it onto the stone. Lift an edge, add a small amount of flour, and try again.
Keep the lid closed
Launch onto the hottest stable part of the stone, then close the lid immediately. The bottom needs contact heat, while the toppings need the retained hot air and radiant energy above. Opening the grill every few seconds interrupts both.
After the crust sets, rotate the pizza only if one area is clearly browning faster. Use a metal peel or turning tool, and avoid dragging wet dough across the surface. If the bottom races ahead of the top, reduce the burner or move the pie toward an indirect zone. If the top remains pale, restore heat above by closing the lid and improving the grill's airflow rather than burning the base harder.
For multiple pizzas, allow the stone to recover between launches. Keep the next dough ball ready, but don't stack pizzas onto a surface that has visibly lost heat. Consistency comes from repeating the same sequence: stable stone, fast assembly, clean launch, closed lid, measured adjustment.
Hans Grill offers cordierite pizza stones, pizza steels, proofing boxes, and pizza peels designed for oven and BBQ use, including options for cooks who want a higher-thermal-mass baking surface. Visit Hans Grill to match the tool to your grill layout and build a repeatable backyard pizza workflow.


