

Essential Pizza Cooking Tools: The Home Cook's Guide
You pull the pizza from the oven and the top looks promising. The cheese has melted, the edges have colored, and for a moment dinner seems saved. Then the slice folds in the middle, the base feels damp, or the underside is black while the center is still doughy. Most home cooks blame the recipe first. Often, the actual problem is the cooking surface, the preheat, or the balance between bottom and top heat.
Pizza cooking tools can't turn an ordinary oven into a masonry oven, but they can solve the specific heat-transfer problems that cause disappointing crust. The right stone, steel, peel, and cleaning method make the result more repeatable. The key is to choose and use each tool according to the failure you're trying to fix, not according to a generic “best pizza tool” list.
Table of Contents
- Why Your Homemade Pizza Fails (And How Tools Fix It)
- Understanding Pizza Stone and Steel Physics
- Cordierite Stone vs. Carbon Steel Plate Comparison
- Cooking on an Oven Rack vs. Backyard Grill
- Proper Preheating, Launching, and Cooling Methods
- Choosing the Right Setup for Your Skill Level
Why Your Homemade Pizza Fails (And How Tools Fix It)
A pale, soggy pizza usually hasn't received enough intense heat at the dough's base. A standard household oven typically reaches approximately 500°F, while traditional wood-fired pizza ovens commonly operate around 700 to 1,000°F, as described in Forno Bravo's overview of pizza ovens. That gap changes everything. The dough spends longer heating through, moisture has more time to remain trapped, and toppings can overcook before the crust becomes crisp.
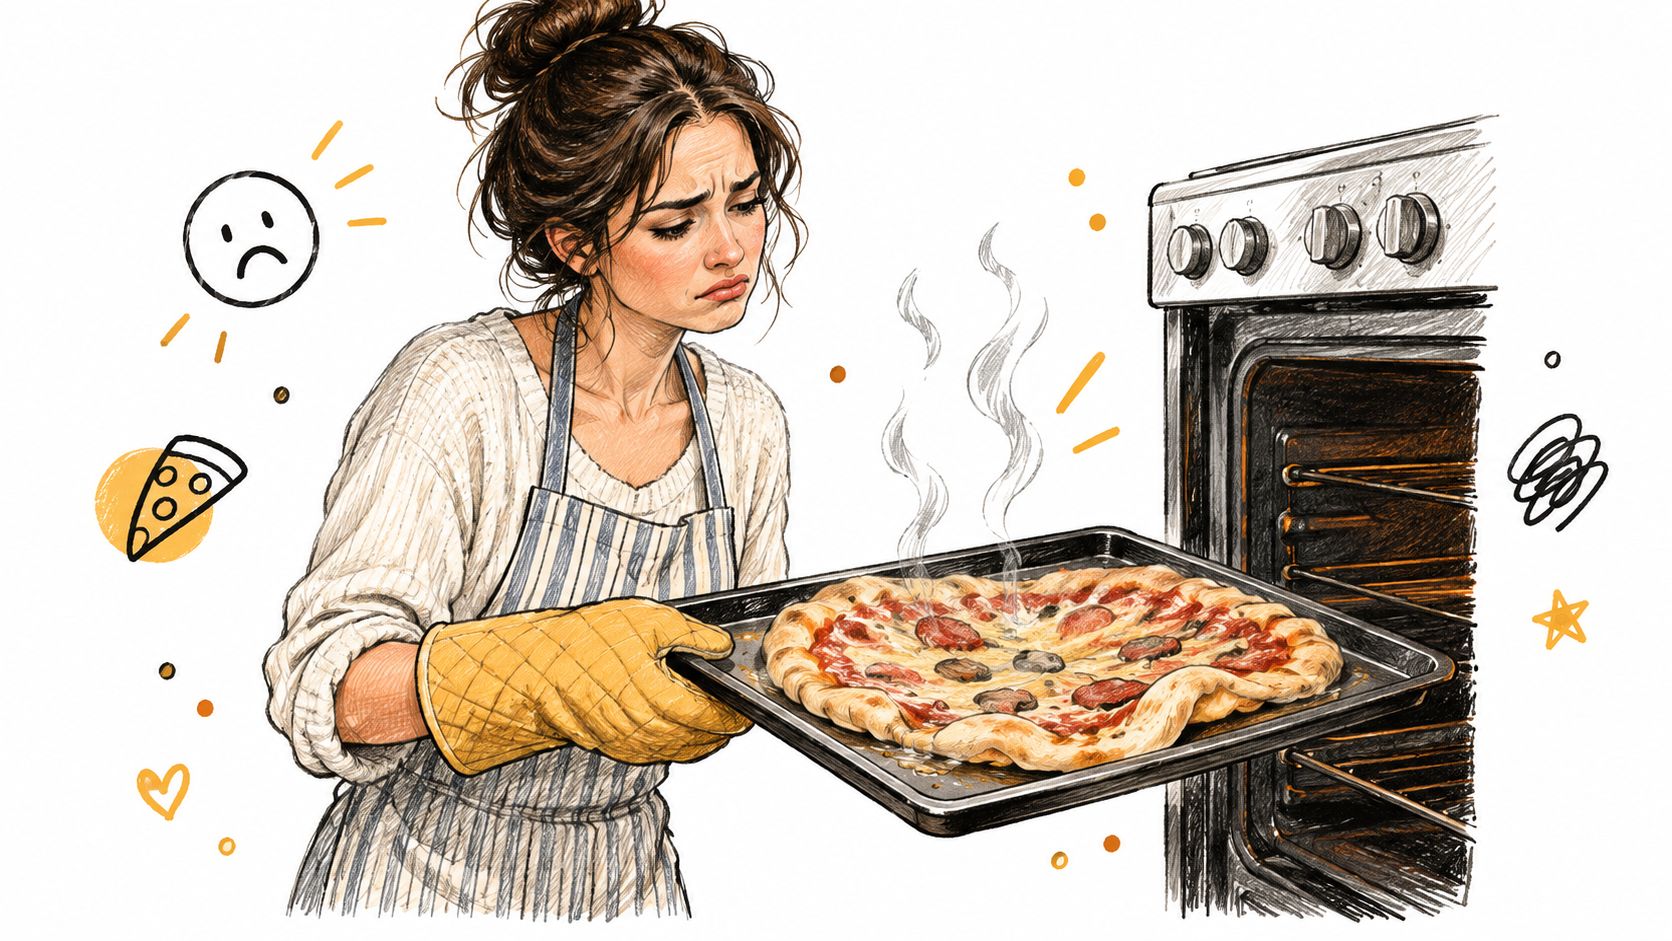
A baking tray mostly surrounds the pizza with hot air. Air transfers heat less aggressively than a preheated solid surface, so the dough's underside may lag behind the top. A stone or steel stores heat during the preheat and delivers it through direct contact, closer to the masonry deck used in a traditional oven. That direct transfer helps the base brown while the surrounding heat cooks the toppings.
Diagnose the failure before buying anything
Start with the symptom, then inspect the variable most likely responsible:
- Pale center: Check whether the surface was fully saturated with heat and whether the pizza is overloaded with sauce, cheese, or wet toppings.
- Burnt bottom: The surface may be too conductive for your oven's top heat, or the pizza may be sitting over an excessively hot element.
- Soggy crust: Reduce topping moisture, improve the launch, and use a preheated surface rather than a room-temperature tray.
- Uneven browning: Look at rack position, surface size, and whether the pizza extends beyond the hottest part of the tool.
- Sticking: The dough may have sat too long on the peel, or the launch surface may have carried excess moisture and flour.
Practical rule: A hotter tool isn't automatically a better tool. It has to match the dough, toppings, rack position, and top heat of your oven.
The history makes the principle clear. Pizza tools descend from earth ovens and cooking pits used for tens of thousands of years, followed by masonry ovens documented in the ancient Roman world at Pompeii. Brick and stone ovens later became standard across Italy, and their basic functions remain familiar today: retain heat, radiate it strongly, and transfer energy directly into the dough. A compact stone or steel brings those functions into a domestic oven without building a brick structure.
For a more detailed starting point, use this guide to making a crispy pizza crust, then treat the cooking surface as part of the recipe rather than an afterthought.
Understanding Pizza Stone and Steel Physics
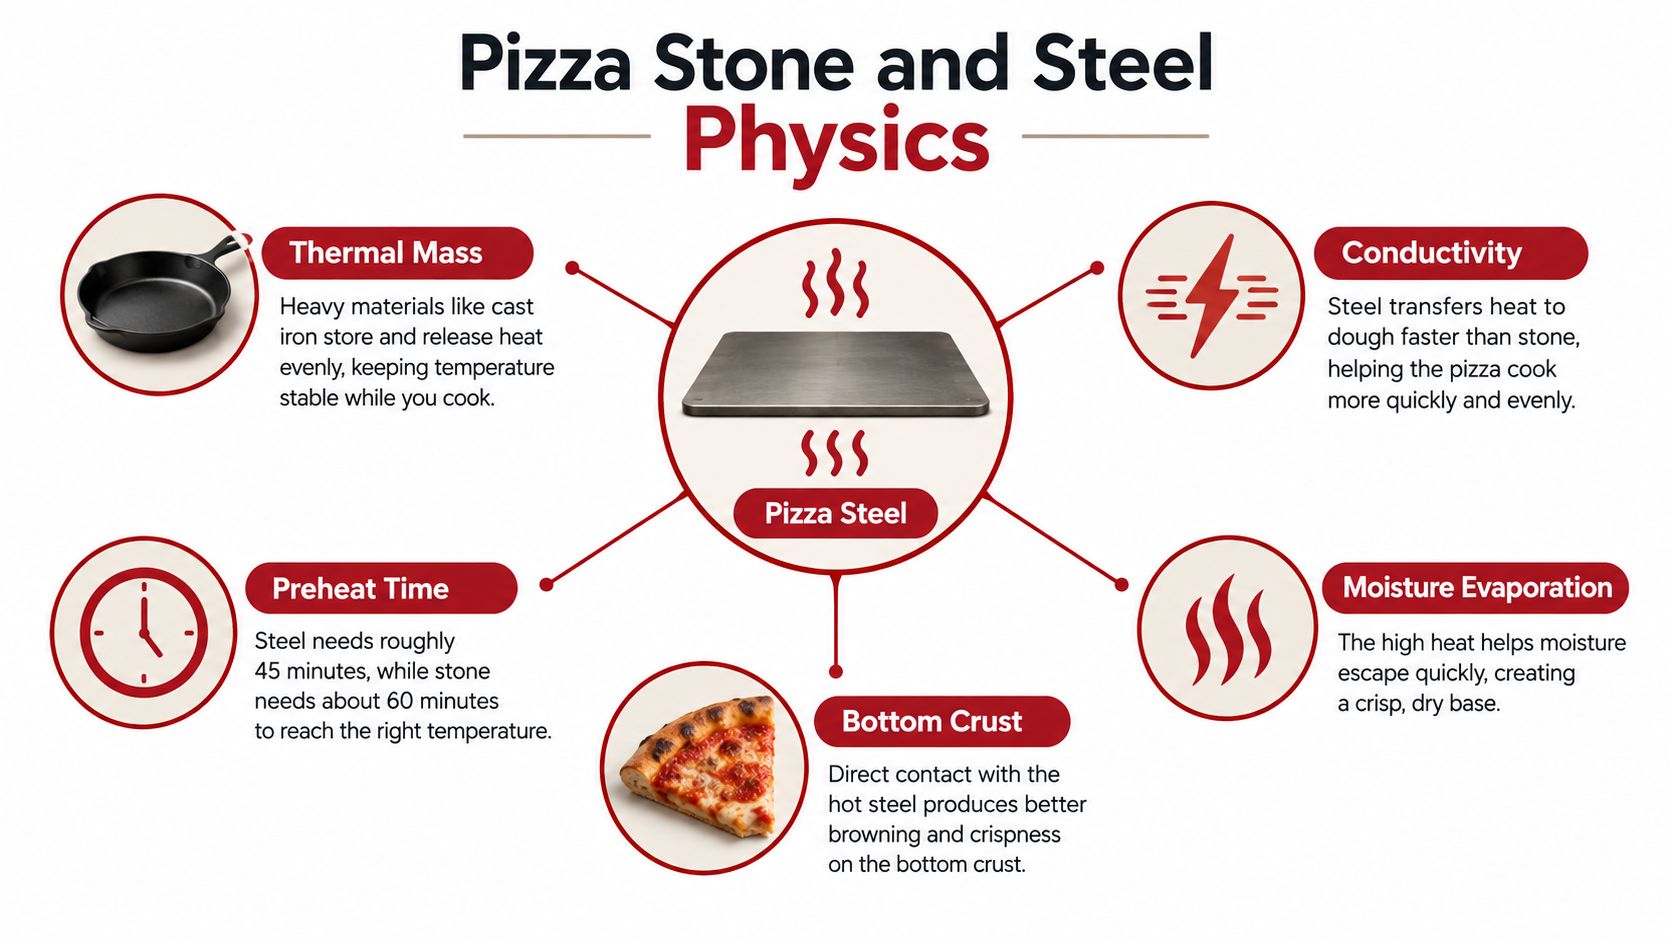
Think of a pizza stone or steel as a heavy cast-iron skillet. If you drop a cold steak into a cold pan, the meat heats slowly and releases moisture before browning. A properly heated pan behaves differently. It has stored energy ready to move into the steak as soon as the two surfaces meet. Pizza dough responds to the same principle, although its thin structure makes timing and heat balance especially important.
Thermal mass stores the heat
Thermal mass is the amount of heat a tool can absorb and hold. A heavier plate generally has more stored energy available when the pizza lands. That matters because opening the oven door releases heat, and the dough itself draws energy from the cooking surface. A light tray can recover quickly in one sense, but it doesn't offer the same reserve at the launch moment.
A stone stores heat more gently than steel. Its porous ceramic body also interacts with surface moisture, while its lower conductivity spreads energy less aggressively into the dough. That behavior can be forgiving when the base burns before the toppings finish. It can also leave a thick or heavily topped pizza pale underneath if the preheat is incomplete.
Steel behaves more like a highly responsive searing surface. Serious Eats' pizza-steel testing found that thicker carbon-steel plates heated and reheated more effectively than stainless-steel alternatives, while retaining heat after a pizza was launched. The practical result is faster bottom browning and stronger recovery during consecutive bakes.
Conductivity changes the margin for error
Thermal conductivity describes how quickly heat moves through a material. Steel conducts heat far more readily than a porous stone, so it can brown the underside before the top has caught up. That's useful for thin dough and fast bakes. It's less forgiving when the oven's upper element is weak, the toppings are wet, or the dough is thick.
Match the surface to the dough rather than chasing the highest possible heat:
- Thin, lightly topped dough: Steel can provide the rapid conductive heat needed for a crisp underside.
- Thicker or wetter pizza: A stone often gives the center more time to cook without scorching the base.
- Several pizzas in succession: A substantial steel can recover strongly between launches.
- Uneven or unpredictable ovens: A stone offers a gentler response and may reduce bottom-burning problems.
The important variable isn't surface area alone. A broad tool that hasn't heated through its thickness won't perform like a smaller tool that has. For a fuller comparison of these mechanisms, see this baking steel versus stone guide.
Cordierite Stone vs. Carbon Steel Plate Comparison
Cordierite and carbon steel solve the same domestic-oven problem through different material properties. Cordierite is a ceramic valued for stability through repeated heating cycles. Carbon steel is a dense, highly conductive plate designed to move heat into the dough quickly. Neither one is universally superior.
A 2025 study led by Queen Mary University of London, reported in Matter research coverage from Technology Networks, examined why cordierite changes size so little when heated. Researchers found that it expands along two crystallographic directions while shrinking along a third, so the movements largely offset one another. At lower temperatures, certain atomic vibrations favor contraction, while higher-frequency vibrations produce more conventional expansion in some directions.
That unusual crystal behavior helps explain cordierite's reputation for handling repeated high-temperature use with reduced dimensional change. It doesn't make a stone indestructible. Sudden temperature gradients can still create stress, especially when a hot surface meets cold water.
| Feature | Cordierite Stone | Carbon Steel |
|---|---|---|
| Heat transfer | Gentler and less aggressive | Rapid and highly conductive |
| Best match | Beginners, thicker dough, and recipes needing a wider scorching margin | Thin crust, strong bottom browning, and repeated launches |
| Main strength | Stable ceramic structure during heating cycles | Fast heat delivery and strong recovery |
| Main risk | Pale or soft bases after insufficient preheating | Burnt bottoms when top heat can't keep pace |
| Care | Avoid thermal shock, moisture, and harsh cleaning | Dry thoroughly and season or oil periodically to limit corrosion |
| Grill use | Creates a buffer from direct flame | Provides intense contact heat but needs careful flame management |
Cordierite's advantage is not just thickness or appearance. Queen Mary University of London's explanation of cordierite's thermal expansion connects its performance to the way its crystal structure balances expansion and contraction. For home use, that makes it a sensible choice when durability and a forgiving bake matter more than maximum speed.
Steel has a different trade-off. Its conductivity is exactly why it can improve a pale base, but that same property can punish a low rack position or a slow-baking, heavily topped pizza. Carbon steel also needs practical maintenance. Dry it after cleaning, and use occasional seasoning or protective oiling to limit rust.
Choose cordierite if you want a steadier learning curve and bake a range of crust styles. Choose carbon steel if your priority is a fast, deeply browned base and your oven can supply enough top heat to finish the pizza before the underside goes too far.
Cooking on an Oven Rack vs. Backyard Grill
The same stone can behave differently in a wall oven and on a backyard grill. In an oven, the main challenge is building enough stored heat without losing the balance between the top element and the cooking surface. On a grill, direct flame and radiant heat add another variable, so placement matters as much as material.
In a conventional oven, place the surface where the pizza can receive both strong bottom contact and useful top heat. A high rack can improve top browning, but it may leave the base less supported by the oven's hottest zone. A low rack can crisp the bottom quickly, especially with steel, but it can also burn the underside before cheese and toppings are ready.
The grill adds flame management
A grill can provide more intense heat than a standard household oven, but it isn't automatically more even. Flare-ups, hot spots, and the distance between the grate and lid can produce a charred base with a cold center. A stone acts as a barrier between the dough and direct flame, while its broad surface spreads heat across the launch area.
Rectangular stones are useful on grill grates because they provide more usable space and help protect the dough from localized flame. The stone still needs to preheat gradually with the grill. Don't place a cold ceramic surface onto a fully heated grate, and don't let grease drip directly onto an active flame beneath the tool.
Use indirect heat where possible. Keep the pizza surface away from the most aggressive burner or charcoal concentration, close the lid to build convection, and watch how the grill's lid heat affects the toppings. If the underside darkens before the cheese melts, reduce direct heat below the tool instead of just shortening the bake.
This guide to cooking pizza on a grill with a pizza stone is useful when adapting a stone to outdoor conditions.
A steel plate on a grill can brown the base powerfully, but it leaves less room for error around direct flame. Use it when you can control the burners or fuel arrangement and when fast conductive heat suits the dough. A stone is usually the calmer option for a first outdoor attempt because it buffers the dough from abrupt flame exposure.
The grill's advantage is flexibility. You can move the tool away from a flare-up, adjust the lid, and create a hotter or cooler zone. The limitation is that every change affects several heat sources at once, so repeatability depends on learning your grill's hot spots rather than copying an oven setting.
A short visual demonstration can help make the difference between oven heat and grill heat easier to see:
Proper Preheating, Launching, and Cooling Methods
Most pizza-tool failures happen during the minutes before and after the bake. A stone or steel isn't ready because the oven air has reached its setting. The surface itself must have absorbed enough energy through its full thickness to deliver consistent heat when the dough arrives.
Build heat gradually
Place the stone or steel in the cold oven, then turn the oven to its highest suitable setting. Let the tool heat completely rather than relying on a short alarm or the oven's air temperature. A slow, complete preheat matters especially for thick stones, because the face may feel hot while the interior remains comparatively cool.
Use a simple diagnostic test. Bake one pizza with your normal method, then inspect the underside and center separately. A pale underside points toward insufficient surface heat, excessive topping moisture, or an unsuitable rack position. A dark underside with a soft center means the surface is delivering heat faster than the top can finish the pie, which is a strong reason to try a gentler surface or move the tool higher.
Launch without hesitation
Prepare the dough on a peel only when the oven and surface are ready. A loaded pizza that sits too long can stick as sauce and moisture soak into the dough. Keep the topping layer restrained, especially with fresh vegetables, wet cheese, or generous sauce.
A reliable launch has three parts:
- Dust lightly: Use enough flour or another suitable release aid to prevent sticking, but avoid leaving a thick layer that can burn on the surface.
- Check the movement: Give the peel a small forward-and-back shake before approaching the oven. If the dough doesn't move, lift one edge and correct the sticking before it becomes a launch failure.
- Commit quickly: Position the peel close to the surface, angle the front edge down slightly, and pull it back in one controlled motion. Hesitation transfers heat and moisture in the wrong places.
Parchment can simplify early practice when wet dough refuses to release, although you should follow the paper manufacturer's temperature guidance. A peel remains valuable for turning, retrieving, and repositioning the pizza.
Cool without thermal shock
Leave a hot stone or steel in place until it has cooled substantially. Never pour cold water onto a hot ceramic surface, and don't carry a blazing tool directly onto a cold, wet counter. The abrupt gradient can create cracking or warping, even when the material is designed for high-temperature cycling.
Brush away dry crumbs after cooling. For a stone, use a dry brush or a lightly damp cloth only when necessary, and avoid soaking it because porous ceramic can retain moisture. For carbon steel, dry it immediately and restore its protective oiling when needed.
Choosing the Right Setup for Your Skill Level
The most useful pizza setup is the one that corrects your recurring mistake without creating a new one. A beginner who burns bottoms doesn't need more aggressive conductivity. A griller fighting direct flame needs protection and space. A budget-conscious cook should prioritize stored heat and useful accessories over a thin surface with impressive dimensions.
The beginner who wants fewer ruined pies
Start with a cordierite stone, a peel, and a reliable way to remove baked-on crumbs. The stone's gentler heat transfer gives you more room to adjust sauce quantity, dough thickness, and rack position before the base becomes too dark. It also teaches the fundamental habit that matters with every surface, namely a full preheat.
Keep the first pizzas simple. Use a moderate amount of sauce and cheese, avoid piling wet toppings into the center, and record where the tool sits in the oven. If the crust stays pale, extend the preheat or move the stone toward the oven's hotter zone. If it burns, raise the rack or reduce the surface intensity before changing the dough recipe.
The backyard griller who wants control
Choose a rectangular stone that fits securely on the grates, leaving room for airflow and avoiding direct flame concentration. A peel with a useful handle helps you launch and retrieve the pizza without placing your hands near the lid or hot surface. A cleaning brush or scraper is also practical because flour and toppings can burn during repeated outdoor cooks.
Set up a two-zone arrangement when your grill allows it. Let the tool heat in the stable zone, launch the pizza with the lid open, then close the lid and manage the burners so the bottom doesn't race ahead of the top.
The budget-conscious cook upgrading gradually
Buy for thermal mass, fit, and daily usability, not just the lowest purchase price. A substantial steel can be a strong choice when you regularly bake thin pizzas or several pies, but it needs careful handling and rust prevention. A cordierite stone may be the better first purchase when you bake varied styles and want a gentler response.
Don't overlook the supporting tools. A peel prevents launch frustration, a proofing box helps keep dough portions organized, and a brush or scraper protects the cooking surface from burnt residue. Hans Grill offers pizza stones, carbon-steel baking surfaces, peels, dough-proofing boxes, cutters, and stone-cleaning accessories for oven and BBQ use, so you can build a setup around the failure you need to fix rather than buying every tool at once.
The practical decision is simple: stone for forgiveness, steel for speed, and a peel for control. Measure the underside, center, and top of your pizza after each bake, change one variable at a time, and you'll learn more from three deliberate attempts than from replacing equipment at random.
Visit Hans Grill to compare cordierite stones, carbon-steel pizza plates, peels, and dough-proofing tools for your oven or backyard grill. Choose the surface that matches your main failure, then build a repeatable workflow around proper preheating, a fast launch, and careful cooling.


