

High Heat Pizza Dough How to Nail Crisp Blistered Crust
You've got the oven ripping hot, the peel dusted, and a dough ball that felt perfectly cooperative five minutes ago. Then it hits the peel, stretches into a sticky oval, and arrives on the stone with a seam underneath. The rim blisters before the center sets, the base welds itself to the surface, and the flour left behind smokes bitterly. High heat exposes every weak point in a dough formula and every rushed movement.
The fix isn't turning the oven higher. High heat pizza dough behaves differently in an outdoor pizza oven, a home oven loaded with steel or stone, and a grill. Each environment transfers heat at a different speed, so hydration, gluten development, fermentation, launching, and baking technique have to match the equipment. The dough that gives me a tender, blistered crust in a fast outdoor bake can be awkwardly wet in a home oven, while a lean dough that launches beautifully on steel can dry out on a grill.
Table of Contents
- Why High Heat Changes Everything About Pizza Dough
- What Makes Dough Work at Extreme Temperatures
- Building Your High Heat Pizza Dough Formula
- Fermentation and Proofing That Survives Hot Kitchens
- Shaping Launching and Baking on Stone Steel and Grill
- Pro Tips and Troubleshooting for Consistent Results
Why High Heat Changes Everything About Pizza Dough
The first pizza I burned on a backyard stone taught me more than a dozen tidy recipes. The crust looked promising for the first few seconds, then the underside went dark while the toppings stayed pale. I had treated “high heat” as one setting, but the stone was dumping heat into the dough much faster than my home oven ever had.
That distinction matters because a true outdoor pizza oven can bake a formula designed for 800 to 900°F (427 to 482°C), as shown in this high-temperature outdoor pizza dough formula. At that temperature, the baking window is extremely short. Sugar and oil, useful in many home-oven recipes, can brown too aggressively and raise the chance of scorched patches, so the lean formula relies on flour, water, salt, and yeast.
A home oven, even with a preheated steel, gives the dough a longer exposure to heat. A grill adds another variable, often concentrating heat below the stone while the lid and upper air remain less predictable. Treating all three setups alike is how bakers end up with dough that tears during launch, stays gummy in the center, or develops bitter black spots before the crust has the texture they want.
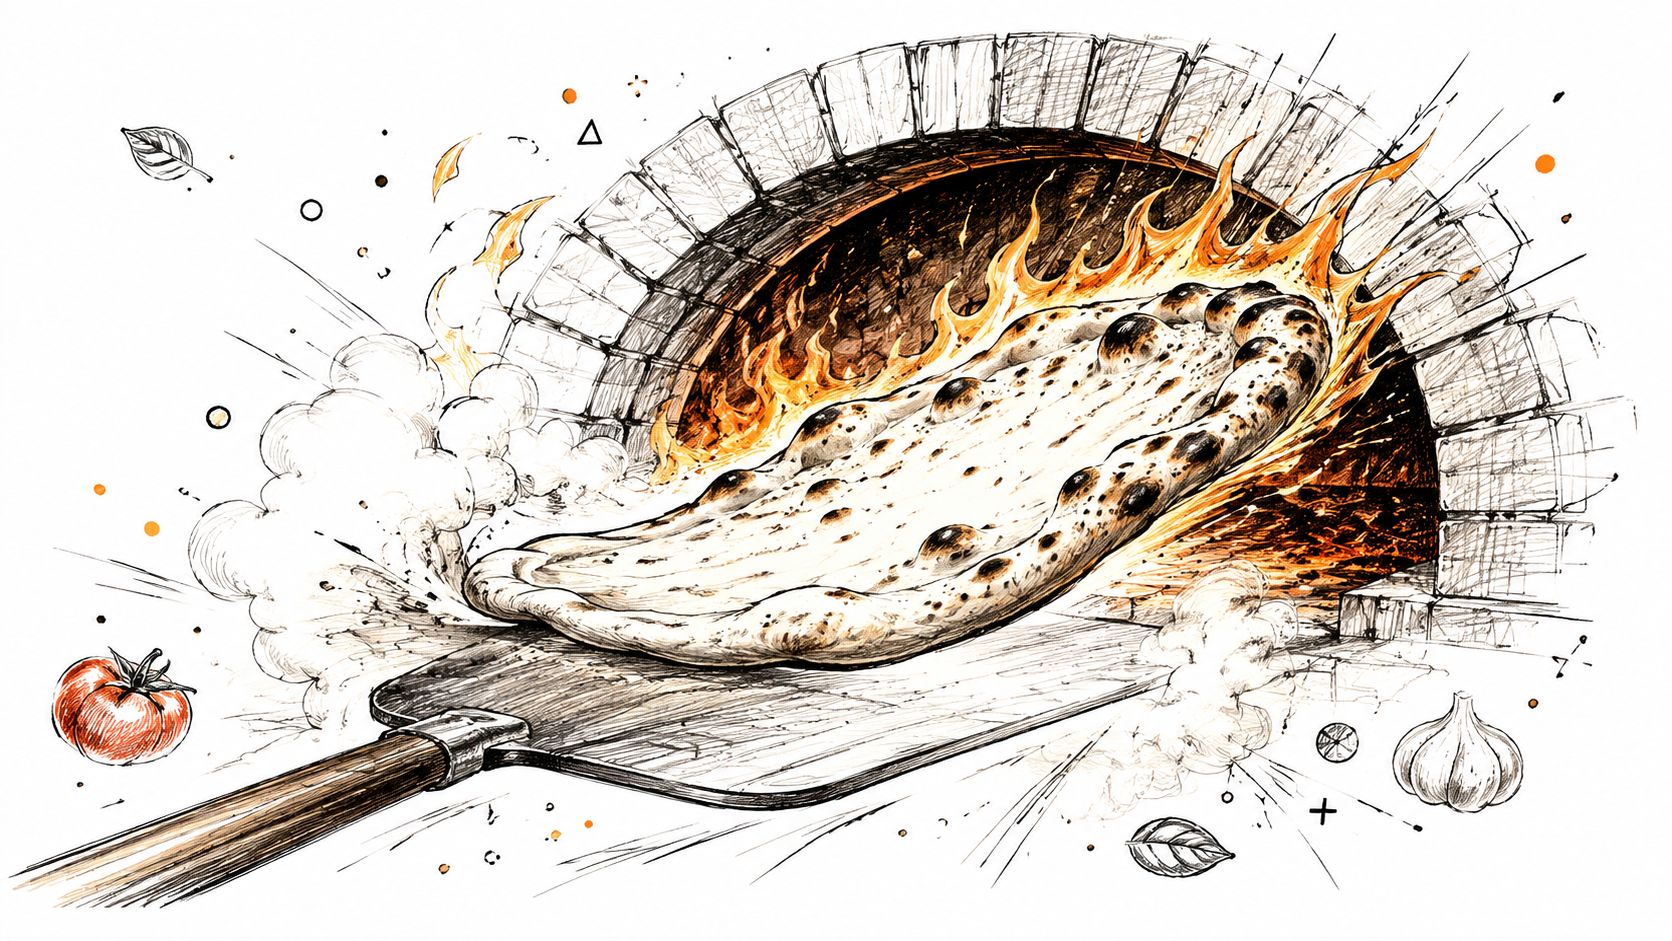
The three heat environments
Outdoor pizza oven: The intense ceiling heat and hot baking surface finish a thin pizza rapidly. The dough needs enough strength to launch cleanly, but it shouldn't carry unnecessary sugar or oil that can scorch during the fast bake. A lean, moderately hydrated dough is easier to manage when speed matters more than extended drying.
Home oven with steel or stone: The bake takes longer, so the dough must lose more moisture before the base feels crisp. A slightly wetter dough can help preserve tenderness, but it also needs stronger gluten development and a long, thorough preheat so the surface is ready when the pizza lands.
Grill: The stone or steel receives powerful heat from below, while the lid supplies the upper heat. Dough handling becomes especially important because a sagging launch can leave part of the crust over the hottest zone. The formula should be forgiving enough to move quickly, and the toppings should stay restrained so the center can cook before the base over-colors.
Practical rule: Choose the dough for the heat transfer, not the temperature printed on the dial.
Success looks different from one setup to the next, but the target is consistent: a base that releases cleanly, a rim with trapped air and blistering, and an interior that stays tender instead of drying into a cracker. The Neapolitan pizza temperature guide is useful for understanding why an outdoor oven demands different timing from a domestic setup, but the dough still has to be matched to the surface beneath it.
What Makes Dough Work at Extreme Temperatures
A pizza can blister on top while the center stays soft, or burn underneath before the rim has opened. High-heat baking creates that mismatch because moisture limits the crumb's temperature while the exposed surface moves rapidly through browning and scorching. The technical guide to overheated pizza dough explains why the interior remains near 100°C (212°F) while water evaporates, even as the crust surface becomes dry and intensely hot. The target is a tender, steamed interior with a crisp, flavorful exterior.
The crust has a narrow working window. Maillard browning begins around 140°C (250°F), caramelization starts between 150 and 200°C (300 and 390°F), and carbonization begins at 200°C (390°F) and above, according to the same guide. At extreme heat, the dough can pass from attractive leopard spotting to burnt flour in moments. Excess flour on the peel, sugary toppings, or a darkened stone can push that transition even faster.
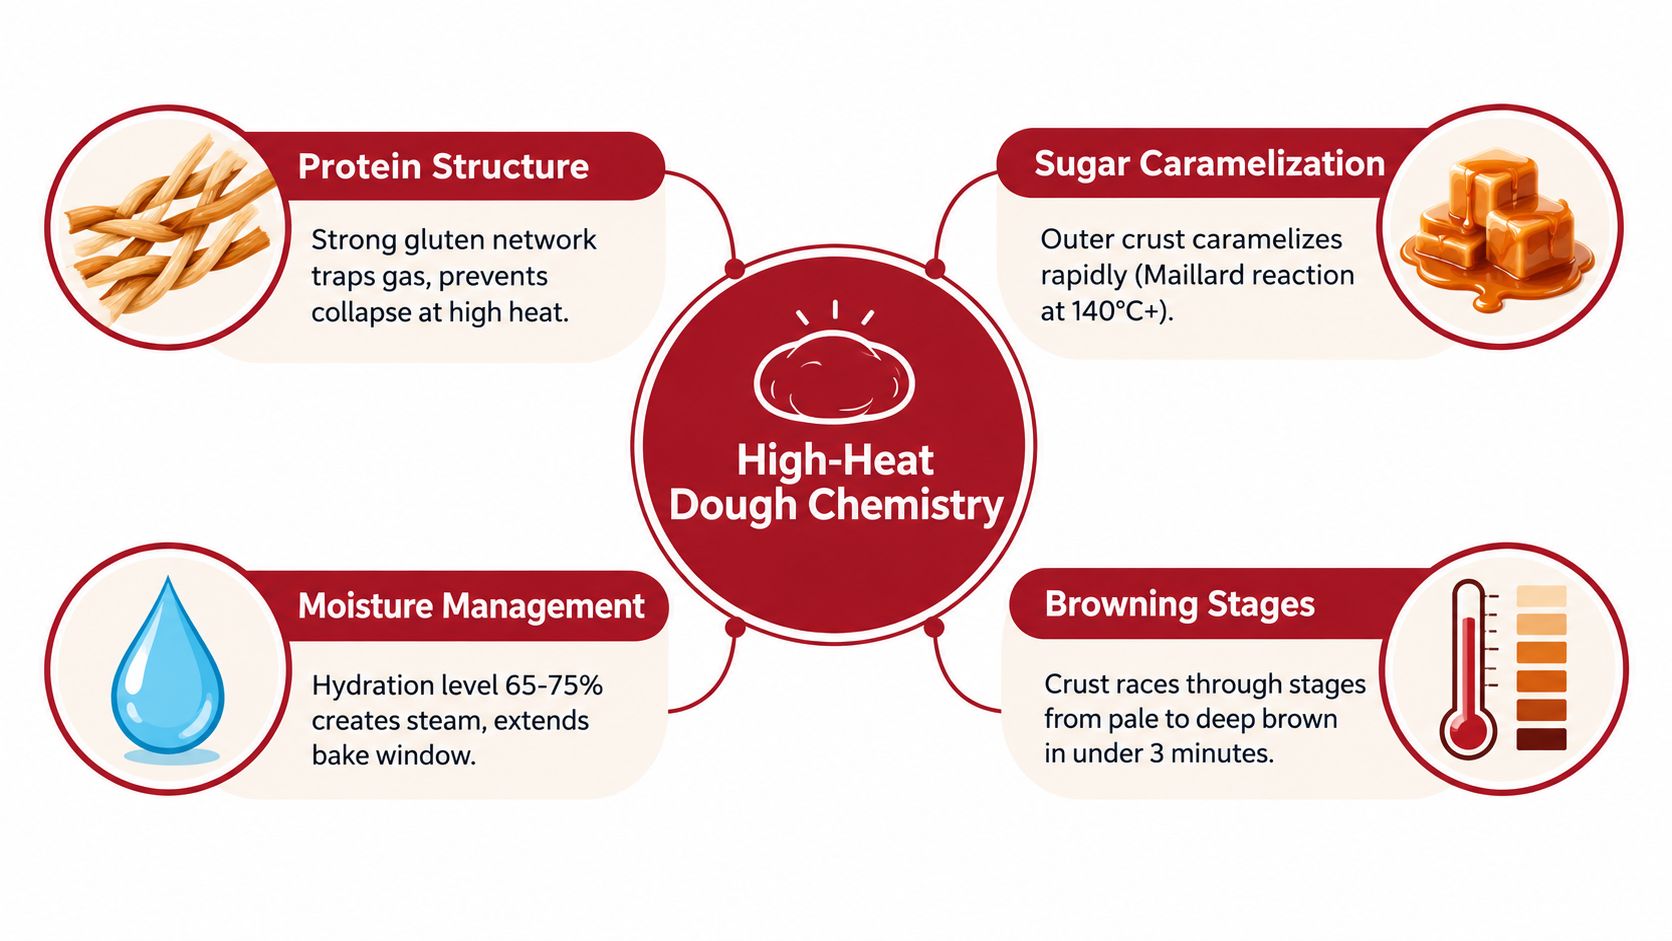
Lean dough versus enriched dough
Sugar speeds browning, while oil changes how the base fries and colors against a hot surface. Both can help in a domestic oven, where a longer bake may leave the crust pale or dry. In an extreme outdoor bake, they reduce your margin for error. A lean dough lets flour sugars and surface moisture provide color without adding extra browning fuel.
Flour affects handling and structure. Strong bread flour or strong pizza flour can form gluten that traps fermentation gas and supports the dough during stretching. Finely milled pizza flour often feels supple, while bread flour can bring more chew and tolerance. Choose the flour that stretches cleanly, launches without tearing, and does not snap back aggressively.
Hydration changes the handling equation
Water produces steam, supports rim expansion, and keeps the crumb supple. Higher hydration can improve oven spring, but it also makes launching harder. The dough may sag through peel gaps, cling to the work surface, or deform when transferred. Lower hydration gives better control and cleaner shaping, though the baked crust may be firmer and less open.
The useful hydration level depends on the heat environment, not just the dial setting. Guidance ranges from Neapolitan-style baking at 850 to 950°F with 60 to 90 second bakes to home-oven methods around 500 to 550°F with 6 to 12 minute bakes, and pizza oven temperature guidance notes that these setups need different approaches. Outdoor ovens favor lean dough and fast handling. A home oven with steel or stone can tolerate more water because the longer bake needs moisture for tenderness. A grill demands enough strength to survive rapid loading while its lower heat can over-color the base. Hot weather tightens every schedule, so cooler mixing water and earlier refrigeration may be necessary to keep fermentation under control.
Building Your High Heat Pizza Dough Formula
Start with a lean base. For a dependable high-heat dough, use flour, water, salt, and yeast, then adjust water according to your surface and handling confidence. A strong pizza flour or bread flour is a sensible starting point because it gives the dough enough elasticity to stretch while retaining a defined rim.
Think in baker's percentages. Flour is 100%, water is the hydration percentage, salt is calculated against flour, and yeast is adjusted according to fermentation temperature and duration. For a surface around 650°F, a practical benchmark is 60 to 65% hydration and 2.6 to 2.8% salt, according to this high-heat pizza testing guide.
A reliable mixing sequence
- Combine the flour and most of the water. Mix until no dry flour remains, then give the dough a short rest. This lets the flour absorb water before you ask the gluten network to carry the dough.
- Add yeast and salt with the remaining water. Salt tightens gluten and seasons the crust, while yeast controls fermentation. Dissolving the salt thoroughly prevents isolated salty spots and gives the dough a more even feel.
- Develop the dough until smooth and elastic. Knead by hand or with a dough hook, but stop before the dough becomes hot from friction. Overheated dough can ferment too quickly and become difficult to shape later.
- Ball gently after the dough has gained strength. Build surface tension without crushing the dough. A tight, smooth ball will stretch more evenly and helps the rim hold gas.
The benchmark dough ball is 285g, with a tolerance of plus or minus 3g, for a 12-inch pizza, based on testing across 120 launches in the cited guide. That size gives you a useful reference point for scaling, but don't force a smaller ball to cover a larger peel. Thin dough becomes fragile, and a fragile launch is a bigger problem than a slightly thicker center.
Hydration and handling choices for high heat baking
| Hydration Level | Best For | Handling Note |
|---|---|---|
| 60% | Beginners, grills, and launches where control matters most | Firm and predictable. It won't sag easily, but it needs careful stretching to avoid a dense rim. |
| 63% | Outdoor ovens and general-purpose high-heat baking | A practical middle ground. The cited testing found that 63% hydration helps the dough hold its shape during launch without sagging. |
| 65% | Home ovens with steel or stone, and bakers comfortable with tacky dough | Adds moisture for a longer bake while retaining reasonable handling strength. Use restrained dusting flour. |
| 67% | Experienced bakers chasing more oven spring | More open and lively, but the cited guidance says it needs about 48 hours of cold fermentation to relax the gluten enough for handling. |
If you're new to launching, begin at 63% hydration rather than chasing the airiest possible rim. A pizza that reaches the oven intact will outperform a wetter dough that sticks to the peel or folds during transfer. Increase hydration only after you can shape and launch consistently.
Sugar and oil belong in the “use with a reason” category. They may help color or tenderness in a slower home bake, but a lean dough gives you a safer margin in an outdoor oven. If your home-oven crust is pale, improve the preheat and surface contact before automatically adding sugar. If your outdoor crust burns, enrichment is one of the first variables I'd remove.
Fermentation and Proofing That Survives Hot Kitchens
Fermentation is where high-heat dough earns its handling strength. A long, cool schedule can develop flavor and relax gluten, while a rushed warm rise may leave the dough tight, gassy, or fragile. The clock is useful, but the dough's texture is the final authority.
For a planned bake, mix the dough, allow it to begin fermenting, divide it into balls, and refrigerate the covered portions. The cited high-hydration guidance uses about 48 hours of cold fermentation when pushing hydration to 67%, giving the gluten time to relax before shaping. Pull the balls out while they're still covered and let them lose their chill until they feel soft, aerated, and stretchable rather than cold and rubbery.
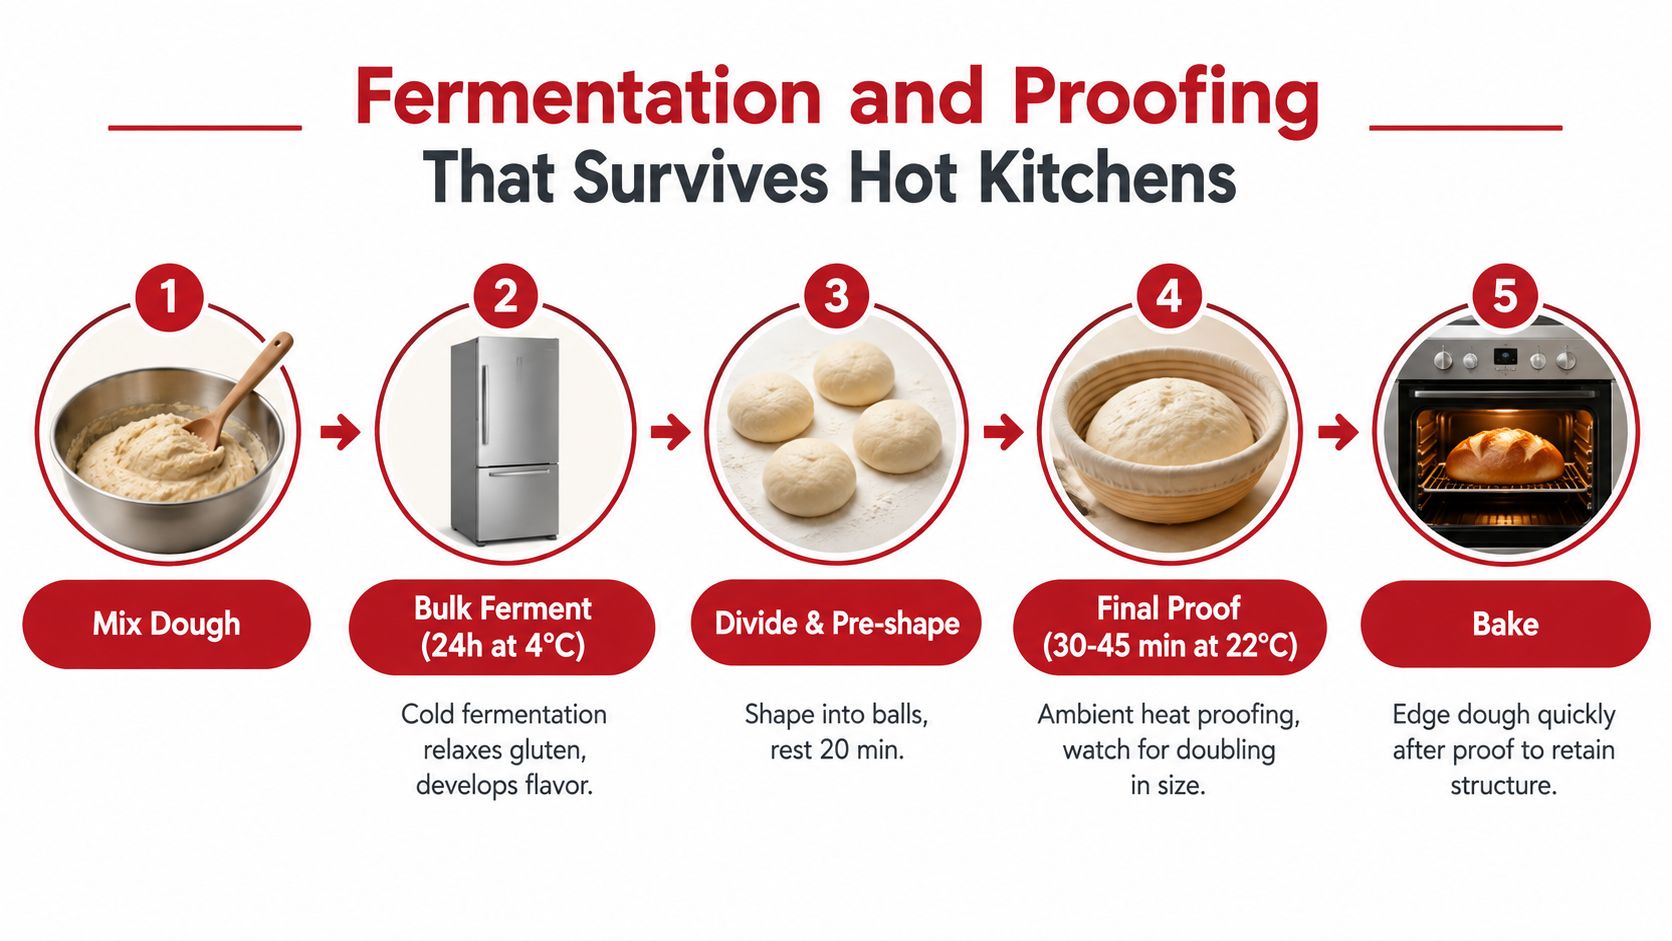
Read the dough, not just the schedule
A ready dough ball should feel light and inflated. Press a floured fingertip lightly into the side. If the indentation springs back immediately, the gluten is still tight or the dough needs more time. If it slowly recovers while retaining some of the mark, it's generally in a workable window. If it collapses, feels slack, and spreads rapidly, it's over-fermented and will be difficult to launch cleanly.
Keep the balls covered. A dry skin on the surface tears when stretched and creates weak spots that can leak sauce or toppings. A lidded proofing box is more reliable than a towel for outdoor sessions because it protects the dough from moving air and makes it easier to transport several portions without disturbing them.
Room temperature changes everything. A cool kitchen slows fermentation, while a warm kitchen can move the dough through its proof quickly. The pizza dough proofing temperature guide is useful as a reference, but visual and tactile cues should override a fixed timetable when your kitchen differs from the recipe's conditions.
Summer changes the formula
At 35°C outdoors, dough that would normally ferment for 24 hours can fully ferment in just 8 to 10 hours, according to this summer pizza dough guidance. That isn't a minor scheduling inconvenience. Over-fermented dough loses the tension you need for a clean peel launch and can spread before it reaches the oven.
Use several controls together:
- Reduce yeast: The cited guidance recommends about 1g of fresh yeast per kilogram of flour in these hot conditions.
- Cool the mix: Use ice-cold water to keep friction and ambient warmth from pushing the dough temperature too high.
- Lower hydration: Move from roughly 70 to 72% hydration down to 65 to 66% when heat makes the dough slack.
- Shorten the room-temperature phase: Refrigerate earlier and keep the dough covered while it cools.
Hot-weather dough often feels ready before you expect it. Don't wait for a doubled volume if the balls are already airy, relaxed, and spreading. In summer, the safest adjustment is usually less yeast, colder water, and closer observation, not more flour during shaping.
Shaping Launching and Baking on Stone Steel and Grill
The same dough behaves differently in an outdoor oven, a home oven, and on a grill. Shape and launch according to the surface's heat, not just the recipe. A relaxed dough ball should stretch without tearing, yet still hold enough strength to reach the peel without spreading.
Turn the dough onto a lightly floured work surface. Press outward from the center and leave the rim untouched. Use gentle pulls or a steering-wheel motion to widen the circle. A rolling pin removes the gas that creates an open edge, so use one only when a dense, even crust is the goal.
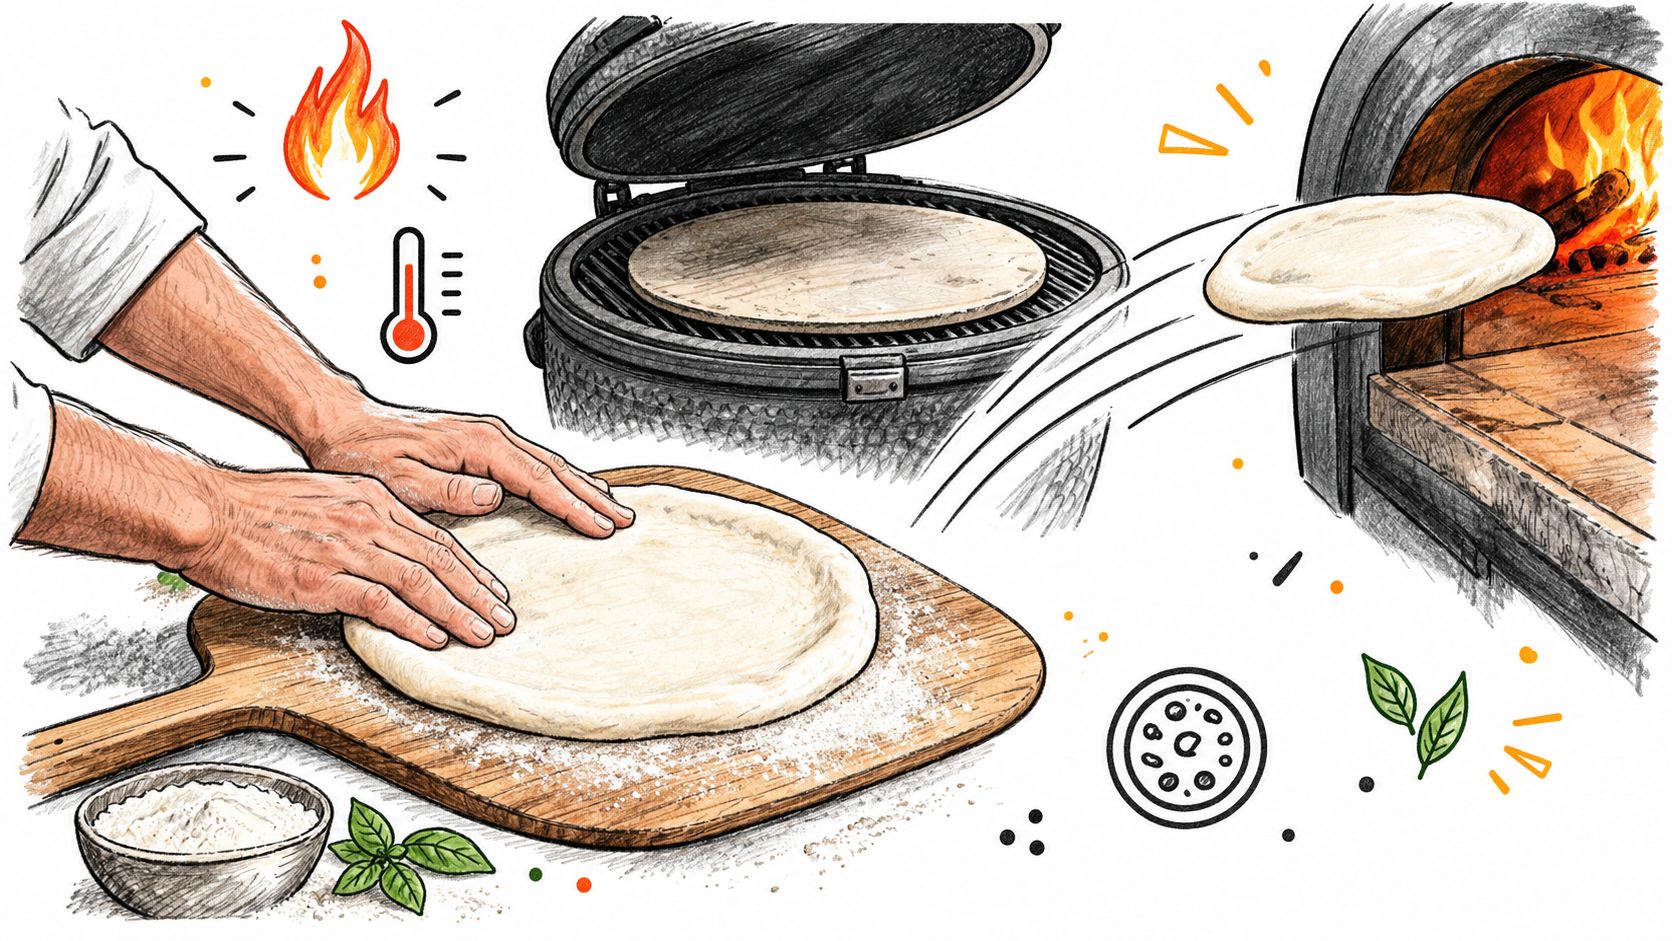
Outdoor oven technique
Outdoor ovens expose the dough to intense top heat and a very hot floor. Use a restrained dusting of flour or semolina, place the stretched dough on the peel, and shake immediately. It should slide before you add anything. Sticking at this stage usually becomes worse once sauce adds moisture and weight.
Top quickly and keep the load light. Excess sauce, wet cheese, and heavy toppings slow the center while the rim and underside continue to brown. Shake the peel again, bring its front edge close to the baking surface, and launch with a confident forward motion followed by a quick pullback. This keeps the dough flat instead of folding it onto itself.
True high-heat settings can finish a pizza in 60 to 90 seconds. Watch the dough rather than obeying a fixed timer. Rotate when the side facing the flame has colored, then remove the pizza when the rim is blistered and the center has lost its raw sheen. A leaner, moderately hydrated dough usually gives better control here than a very wet formula.
Home oven with steel or stone
A steel transfers heat more aggressively than a stone. A stone gives a gentler bake and a wider margin for handling errors. Both surfaces need a full preheat. Hot air alone does not store enough energy to crisp the base as soon as the dough touches it.
Set the steel or stone in the upper or lower third according to how your oven balances top and bottom heat, then adjust after a test bake. If the base darkens before the rim colors, move the surface higher or shorten its heat exposure. If the top finishes while the bottom stays pale, move it lower or extend the preheat.
A home oven's longer bake can suit somewhat wetter dough because the extra hydration helps preserve tenderness. Keep the formula within your launching skill, though. Use a peel, parchment while learning, or a baking steel and pizza peel setup that transfers the pie without shaking it apart.
The video below demonstrates the hand movement for shaping and transferring dough. Pay attention to how the dough is supported rather than pulled from the center.
Grill setup
A grill needs a stable baking surface, a closed lid, and even heat. Place the stone or steel where it receives strong heat, but avoid a flare-prone hotspot when burners are uneven. Let the surface heat fully, then center the launch so the dough does not hang over a cooler edge.
Grill baking exposes excess flour quickly. Loose flour drops onto the hot surface and burns, while a wet, overloaded pizza steams instead of crisping. Keep hydration moderate for the grill, dust lightly, and have the peel ready before the dough leaves the bench.
Read the crust, not the timer. The underside's color, firmness through the center, and blistering around the rim show when the pizza is ready.
Pro Tips and Troubleshooting for Consistent Results
Most high-heat failures have a recognizable cause. Don't change five variables after one bad pizza. Identify whether the problem began during fermentation, launch, surface contact, or the bake, then adjust one control at a time.
Match the symptom to the fix
- The dough sticks to the peel: Use less topping moisture, reduce bench time after topping, and test the slide before launching. A wetter dough may also need slightly lower hydration until your movement improves.
- The base burns while the top stays pale: The surface is delivering heat faster than the upper oven. Move the pizza away from the hottest zone, raise the baking surface in a home oven, or reduce the surface temperature before changing the dough.
- The crust is pale and firm: The bake may be too cool or the surface may not have stored enough heat. Improve preheating and avoid adding sugar as a first response, particularly in an outdoor oven.
- The rim is dense: You may have pressed out the gas during shaping, used dough that was too cold, or under-fermented the balls. Give the dough more relaxation time and handle the edge gently.
- The center stays soggy: Reduce sauce and wet toppings, stretch the center thinner, or use a surface that transfers heat more efficiently. A stronger launch also prevents folds that trap a thick, uncooked section.
- The crust tastes bitter: Burnt flour, scorched enrichment, or an overheated surface is usually responsible. Brush excess dusting flour from the peel and remove sugar or oil when baking in an extreme oven.
Your quick decision checklist
For an outdoor pizza oven, use a lean dough, start around 63% hydration, and prioritize a fast, clean launch. For a home oven with steel or stone, consider moving toward the upper end of the moderate hydration range, build strong gluten, and preheat patiently. For a grill, favor handling control, keep toppings light, and watch for uneven heat beneath the surface.
In summer, cool the water, reduce yeast, and shorten the proof rather than trying to rescue slack dough with piles of flour. The right high heat pizza dough isn't the wettest or most enriched formula. It's the one that reaches your particular surface with enough strength to hold shape and enough moisture to finish crisp outside and tender inside.
Hans Grill offers pizza stones, pizza steels, peels, and dough proofing boxes for home ovens and backyard grills, including cordierite and high-thermal-mass surfaces designed for preheated baking. Visit Hans Grill to choose the surface and proofing equipment that fit your high-heat pizza workflow, then put the dough adjustments above to work.


