

Pizza Steel Instructions for Crispy Thin Crust Every Time
You've launched the first pizza, the cheese is bubbling, and the edges look promising. Then you lift the slice and find a pale, flexible base that folds under its own weight. The oven was hot, but the baking surface wasn't ready. That distinction explains many disappointing results with pizza steel.
Good pizza steel instructions are really a heat-management system. You need to prepare the surface, heat the steel rather than merely the oven air, launch efficiently, and adjust the bake according to your steel's thickness and your oven's behavior. Once those variables are under control, thin dough can develop a crisp underside quickly instead of drying out during a long bake.
Table of Contents
- Understanding Pizza Steel Benefits
- Preparing and Seasoning Your Steel
- Preheating Strategies for Oven and Grill
- Mastering Thin and Crisp Baking Techniques
- Ensuring Safety Cleaning and Storage
- Troubleshooting Common Pizza Steel Issues
- Quick Reference Charts and Final Tips
Understanding Pizza Steel Benefits
A pizza can look finished on top while the underside stays pale and flexible. The oven air may be fully heated, yet dough still needs a hot, stable surface to set the base before its moisture softens the crumb. Steel transfers heat directly into the dough, helping the bottom firm and brown while the toppings cook above.
That direct contact also matters across several pies. A stone can produce a good first result, then show slower browning or a softer second base as it gives up heat. Steel combines thermal mass and fast conductivity, giving each dough round a strong initial push. One cooking guide reports cold-rolled carbon steel at roughly 43 W/m·K, compared with 13.5 W/m·K for cordierite, or about 3.2 times higher heat-transfer performance (KitchenSupply's pizza steel guide).
A steel still requires a properly heated surface, restrained toppings, and a quick launch. Those conditions determine whether its conductivity helps or merely exposes an underprepared setup.
The modern pizza steel category grew from the home-oven challenge of reproducing a hotter baking surface. Andris Lagsdin invented the Baking Steel and launched it through Kickstarter in 2012. The Baking Steel origin story describes the campaign reaching its modest funding goal within 24 hours. Early coverage also described a 15-pound preseasoned sheet heated to about 500°F for Neapolitan-style pizza. The working method remains straightforward: heat the steel thoroughly, launch without delay, and bake on the stored heat.
Thickness changes the timing and handling. A thinner plate may respond sooner, while a thicker one needs a longer soak and can recover more steadily between pies. Your oven type matters too. Gas ovens, electric ovens, and grills deliver heat differently, so a fixed preheat time will not suit every setup. Use this guide to compare pizza steel thickness, then adjust the preheat until the steel, not just the oven display, is ready.
Preparing and Seasoning Your Steel
Before the first bake, inspect the steel under good light. Look for shipping residue, excess factory oil, or orange marks from humid storage. A clean, dry surface gives seasoning a better foundation and makes it easier to judge whether later discoloration is normal patina or developing rust.
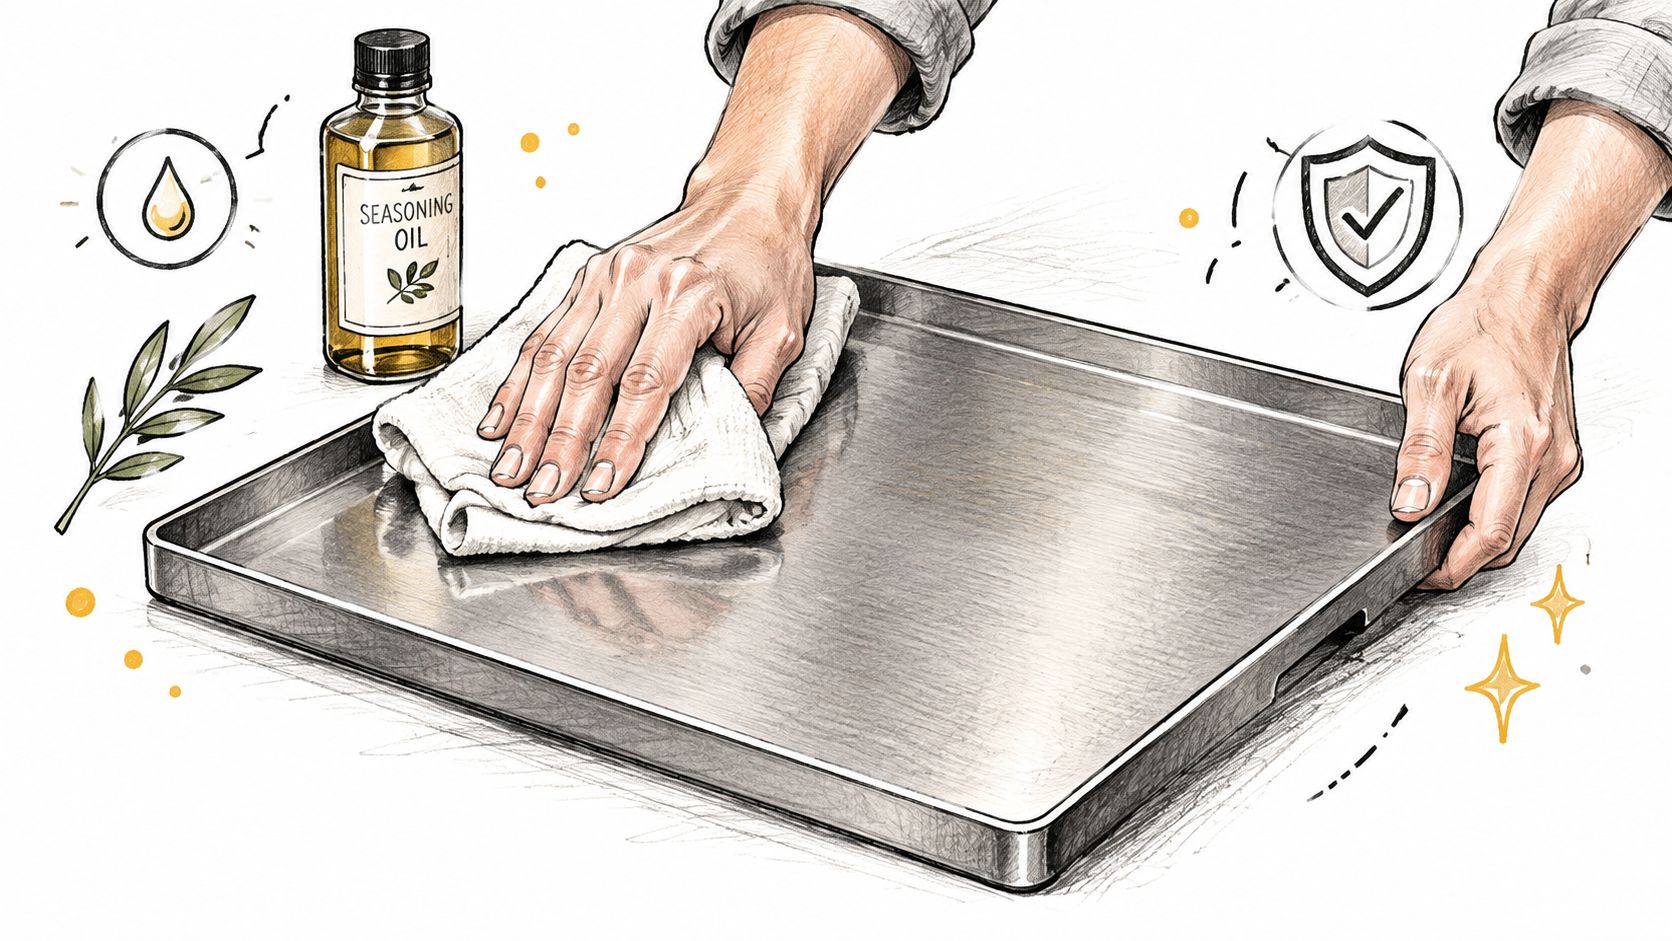
A sensible first-use routine
- Wash when the surface needs it. Use warm water and a quick scrub to remove residue. A tested care approach says soap can be acceptable when the steel needs a proper cleaning, while other manufacturer-style instructions recommend washing rarely. There isn't one universal rule, so follow the material-specific guidance supplied with your steel. The manufacturer-style care sheet emphasizes washing, complete drying, optional oiling, and avoiding water or air-drying (care instructions for steel cookware).
- Dry every part immediately. Wipe the face, edges, and underside, then let residual moisture evaporate completely. Don't leave the steel beside the sink or assume a towel pass is enough, especially in a humid kitchen.
- Apply a very light oil film. Use a cloth to spread a thin layer of cooking oil across the surface. The steel should look lightly conditioned, not wet or sticky. Excess oil can become gummy and smoke during heating.
- Heat according to the manufacturer's seasoning instructions. The first heating cycle bonds the oil to the metal and starts the protective patina. If the surface was already preseasoned, you may only need to remove residue and maintain the existing coating.
For routine care, scrape away baked-on cheese or dough after the steel has cooled. Light oiling makes sense after washing, after visible drying, or before storage in a damp garage. It's less useful to keep adding oil over a greasy, dirty surface, because seasoning works best when each layer is thin and evenly distributed.
Use the practical maintenance details in this seasoning guide for pizza steel as a companion to your product's instructions. “Never wash it” is too absolute for every kitchen. A steel exposed to moisture, acidic toppings, or humid storage needs a more deliberate cleaning and drying routine than one used often and kept indoors.
Preheating Strategies for Oven and Grill
A pizza can look properly baked on top while its underside stays pale. The usual cause is a steel that has not absorbed enough heat, even though the oven display says it has reached the set temperature. Preheating time must match the oven's strength and the steel's thickness.
Home oven process
Place the steel on an upper-middle rack, leaving enough clearance to launch and retrieve the pizza. Set the oven to its maximum practical setting and allow a full heat soak. Testing guidance commonly places the steel surface at roughly 500°F to 550°F after about 45 to 60 minutes (Serious Eats' testing of baking steel).
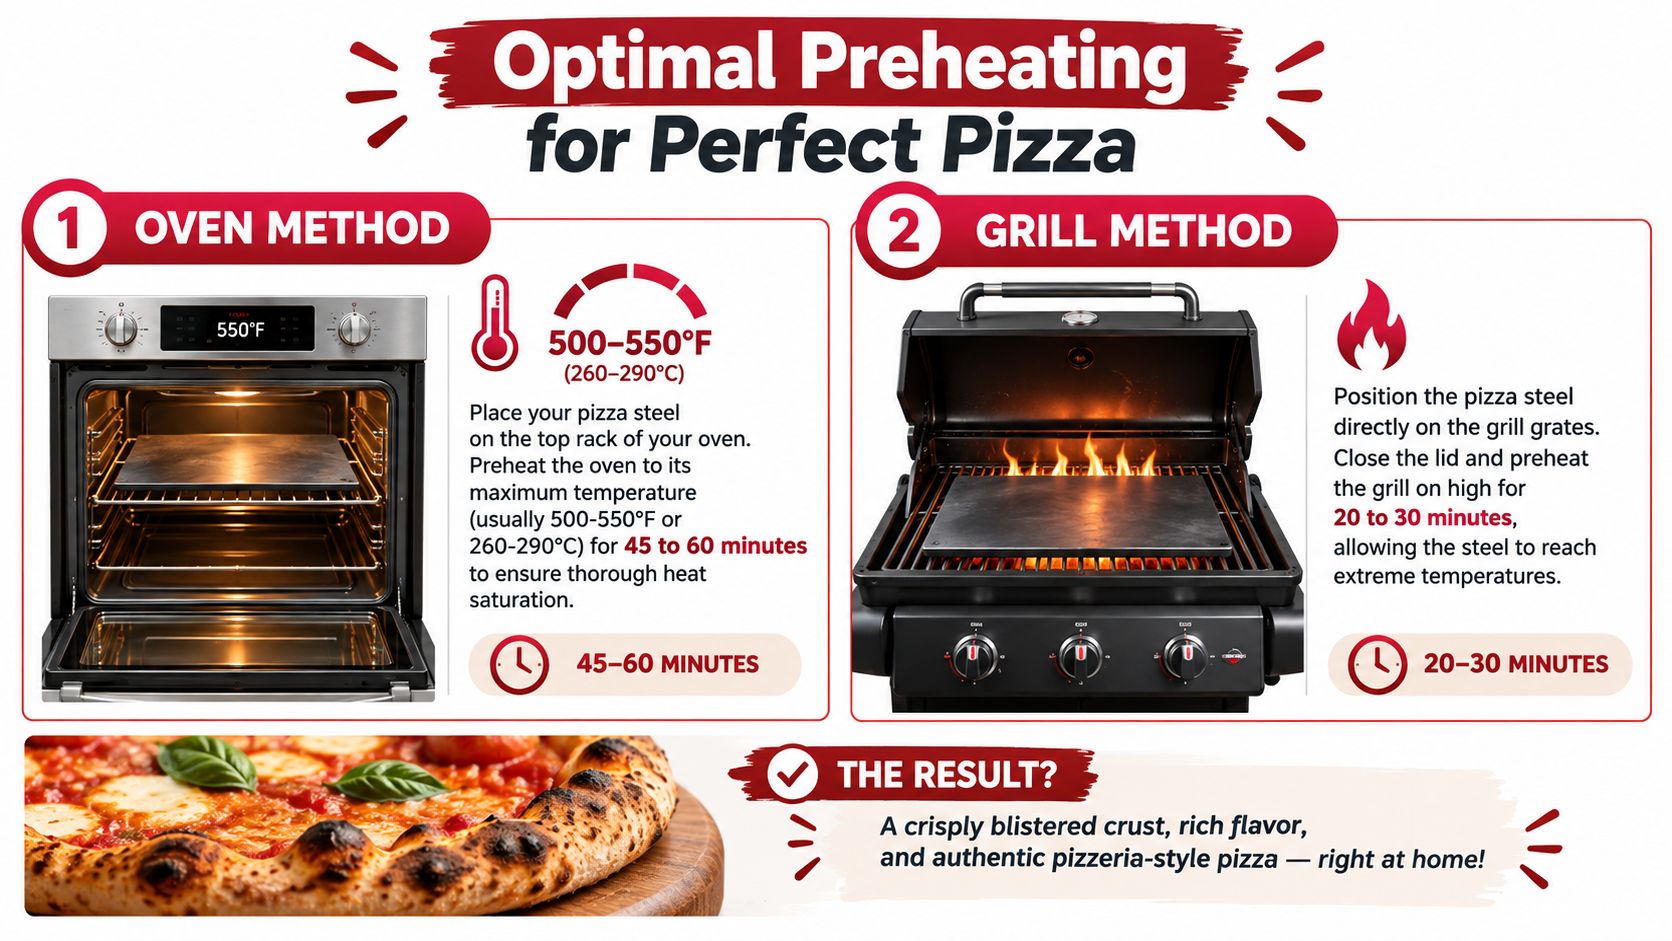
Use those figures as a starting range. A thin steel in a powerful oven may be ready closer to the shorter time, while a thick plate or poorly insulated oven may need the full duration. An infrared thermometer gives a more reliable check than the oven signal. Measure several areas because the surface can contain warmer and cooler zones.
Your first bake should confirm the setup. If the base remains pale, extend the preheat. If the underside darkens before the toppings finish, adjust the rack or reduce the bottom heat. A broiler can add stronger radiant heat, but it may brown the toppings before the crust develops, so test broiler changes separately and keep safe clearance around the steel.
For practical guidance on rack placement and setup, see this guide to baking steel for the oven.
Grill process
Set the steel directly on the grates, close the lid, and heat the grill on high. Grill instructions often suggest 20 to 30 minutes, but the chamber thermometer measures air temperature rather than the cooking surface. A thicker steel may require more time, especially if the grill loses heat quickly after the lid opens.
Keep the lid closed as much as possible. Repeated opening releases heat and makes it harder to cook the top and bottom at the same pace. After removing a pizza, close the lid and allow about 5 to 10 minutes for the steel to recover before launching another one.
Mastering Thin and Crisp Baking Techniques
A thin pizza can go from crisp to burnt while you reach for the turning peel. Control starts with the dough, toppings, and launch, then continues through the bake. Shape the dough evenly, keeping enough structure at the rim for lift without pressing the center into a dense sheet. Because a thin center cooks quickly, excess sauce, watery vegetables, or a heavy cheese layer can leave the base soft.
Dust the peel lightly and launch soon after topping. Excess flour burns on the steel and can taste bitter, while a delayed launch lets moisture glue the dough to the peel. Use a short, confident slide. Repeated shaking can fold the dough or scatter the toppings.
Build the pizza for the heat
Keep the topping load restrained when crispness is the goal. Drain wet ingredients, use a modest amount of sauce, and keep cold, dense piles away from the center. These choices do not raise the steel's temperature, but they reduce the moisture the crust must drive off during a short bake.
Tailor the bake to the oven and the steel. A thin steel may reach working temperature sooner, while a thicker plate needs more stored heat and a longer preheat. A conventional oven, insulated oven, and grill also recover at different speeds after the door or lid opens. Use the surface temperature, not the timer alone, to decide when to launch.
Place the steel where top heat can keep pace with the bottom. An upper-middle rack often suits a home oven, while a grill may need burner adjustment if the underside darkens before the cheese melts. Treat the first bake as a calibration run. Watch the underside, rim color, cheese bubbling, and the point when the center stops looking wet.
Steel transfers heat quickly, which supports a short bake, but it also narrows the margin for delay. Start checking early rather than walking away until a familiar timer sounds.
Finish the top without sacrificing the base
If the bottom is crisp while the cheese remains pale, add controlled top heat. A brief broiler finish can supply the missing browning, but stay beside the oven and rotate the pizza if one side colors faster. If the top darkens first, move the steel lower or reduce direct broiler exposure on the next pizza.
Rotate when the oven or grill has a clear hot spot. Use a metal turning peel or standard peel to move the pizza smoothly instead of dragging its soft center across the steel. On a grill, adjust burner balance only after identifying whether the problem comes from top heat, bottom heat, or uneven airflow.
The finished pizza should release cleanly, show a firm underside, and retain some tenderness inside the rim. A cracker-dry base usually means the dough was too thin for the available heat or the bake ran too long. A flexible, pale base points to insufficient surface heat or excessive moisture in the pizza.
Ensuring Safety Cleaning and Storage
A pizza steel remains dangerous long after the pizza comes out. The plate retains intense heat, and its weight makes awkward handling especially risky. Keep a clear landing spot ready before you begin baking, and use heavy-duty heat-resistant gloves whenever you move it.
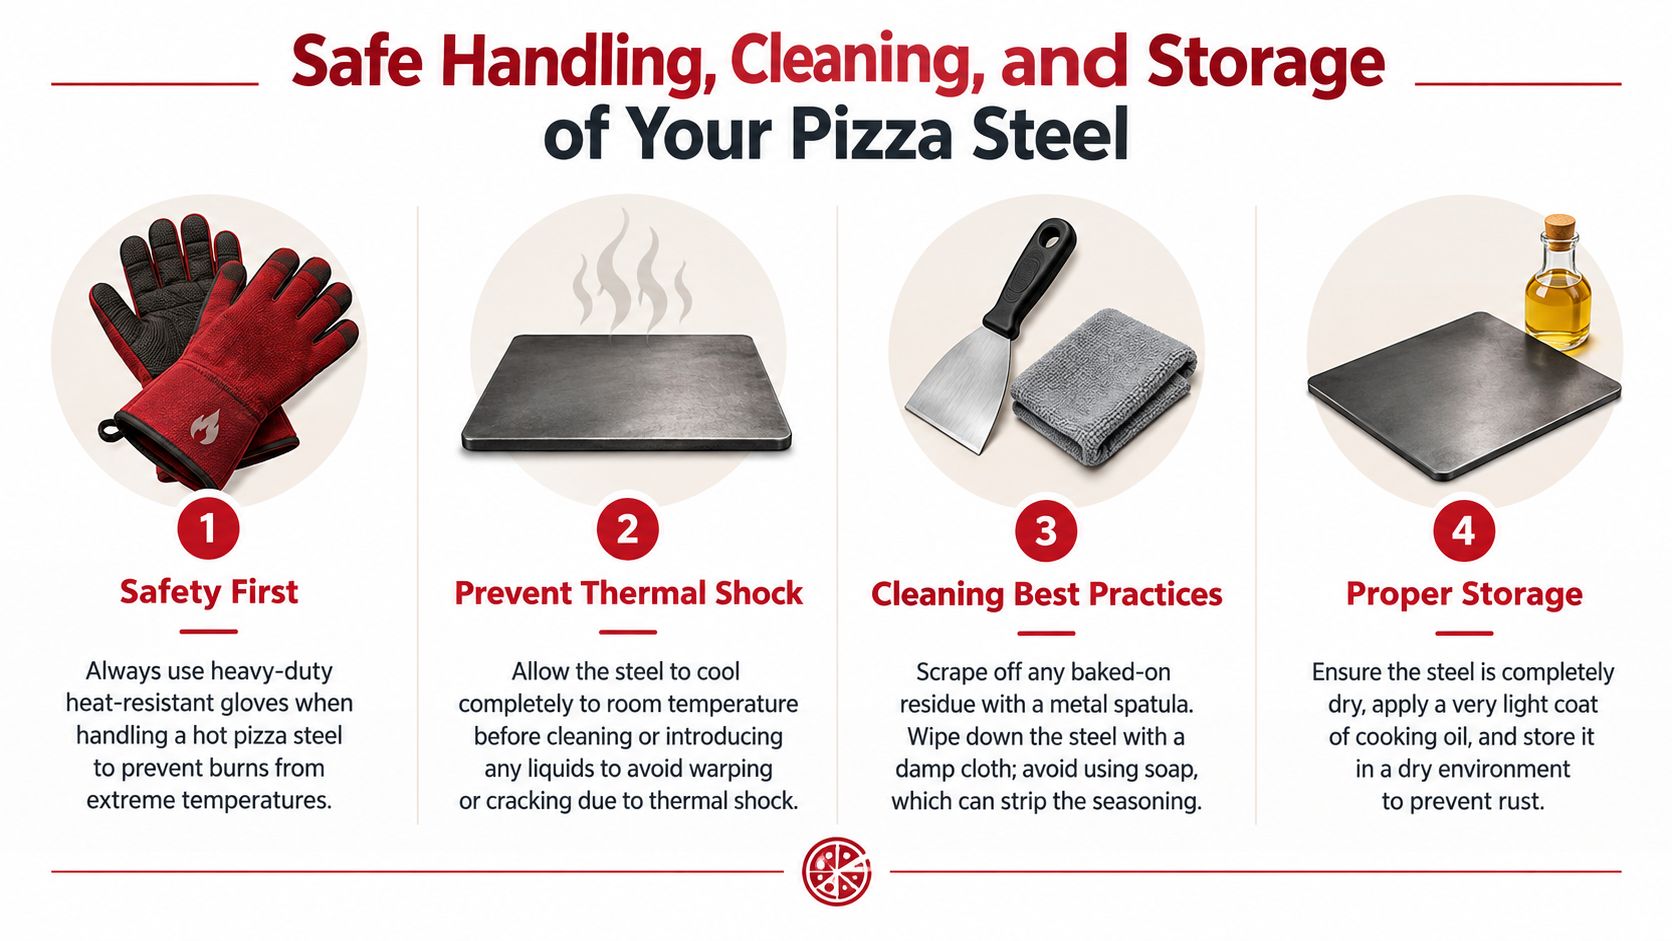
Safe handling checklist
- Protect your hands: Use heat-resistant gloves and grip the steel securely with both hands. Don't rely on a thin oven mitt.
- Clear the route: Move children, towels, handles, and loose utensils away from the path before removing the steel.
- Avoid thermal shock: Let the steel cool fully before adding water. Liquids on a scorching plate can create dangerous steam and stress the material.
- Support the weight: Set the steel on a stable, heat-safe surface that won't tip or scorch.
- Protect the oven rack: Check that the rack can support the plate and that the steel isn't wedged tightly against the oven walls.
Cleaning and storage
Once cool, scrape residue with a metal spatula or scraper. If dry scraping isn't enough, use a small amount of warm water and a gentle scrub, following the manufacturer's care guidance for your specific steel. Don't soak it, and don't put it into a dishwasher.
Dry the steel immediately and thoroughly, including the edges and underside. A very light coat of oil can help protect bare carbon steel during storage, but the surface shouldn't feel wet. Store it somewhere dry, raised from damp floors, and separated from items that can trap condensation.
Recent guidance ranges from 20 to 30 minutes to 60 minutes for preheating different steel thicknesses, which reflects a broader point about care: handling rules must adapt to the material and environment (guidance on pizza steel selection and use). A frequently used indoor steel may need little intervention, while a grill steel stored in a humid garage deserves inspection before every session.
Troubleshooting Common Pizza Steel Issues
When the first pizza has a pale base or the second one turns soft, start with the heat pattern. Change one variable at a time, such as rack position, dough thickness, topping quantity, or bake mode. Adjusting several factors together hides the cause.
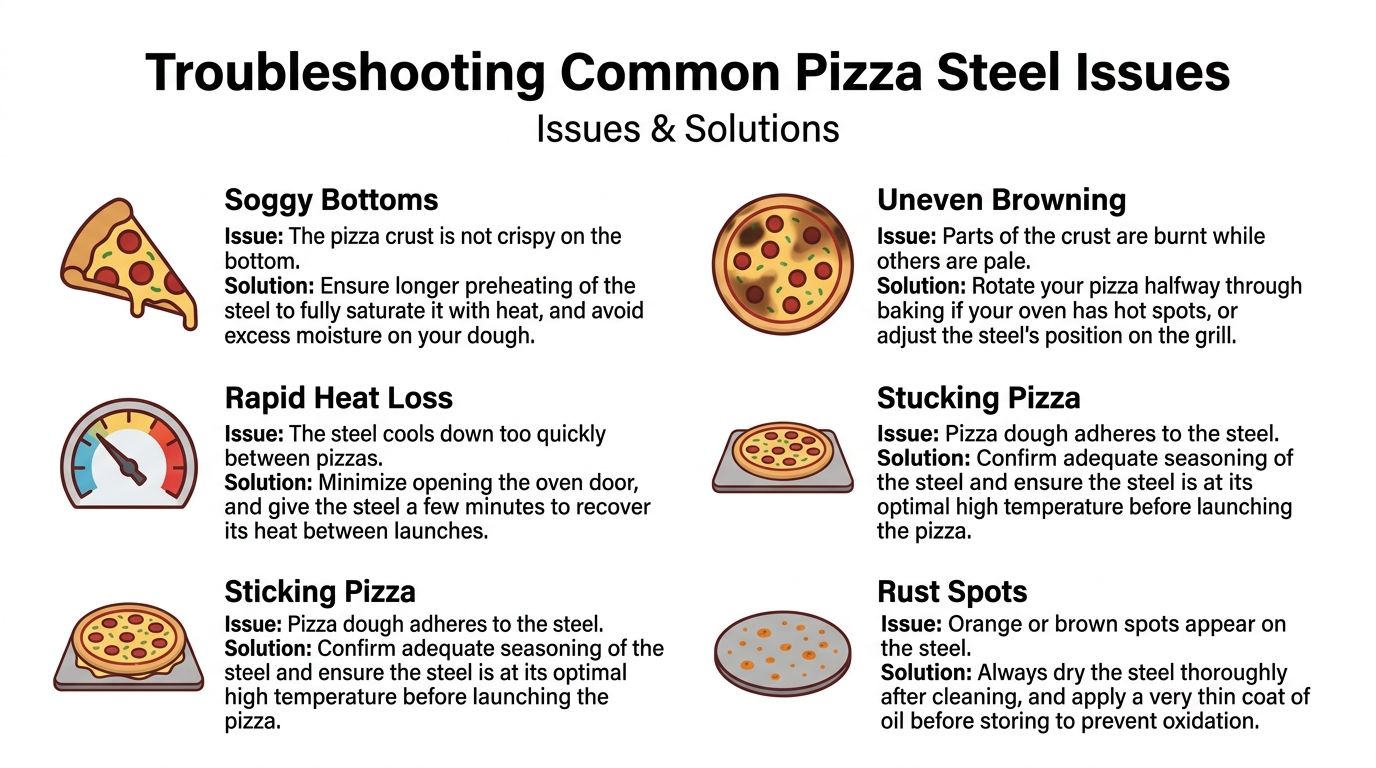
Match the symptom to the fix
| Symptom | Likely cause | Practical correction |
|---|---|---|
| Soggy bottom | The steel has not absorbed enough heat, or toppings are too wet | Extend the preheat, reduce surface moisture, and use less topping weight |
| Uneven browning | Hot spots in the oven or grill | Rotate during baking and change the steel's position for the next pizza |
| Second pizza is weaker | The surface lost heat after the first launch | Keep the door or lid closed and wait for the steel to recover |
| Dough sticks | The launch was delayed, or the steel was not prepared correctly | Top quickly, use minimal peel flour, and verify that the surface is hot |
| Orange or brown spots | Moisture remained after cleaning | Scrub residue away, dry the steel fully, and apply a very light oil film before storage |
Under-preheating commonly produces a soft base. A short warm-up can leave the steel without enough stored heat, resulting in soggy bottoms, weak oven spring, and pale crust color. The required time depends on the steel's thickness and your oven's heating strength. A thin steel in a powerful oven may be ready sooner than a thick plate in a slower oven, so use the surface temperature and the first pizza to refine your routine rather than relying on one timer.
If the underside burns while the top stays pale, the steel is transferring heat faster than the oven is finishing the toppings. Move the steel down slightly, reduce direct broiler exposure, or choose a gentler finishing setting. If the top burns while the base remains soft, reduce top heat, extend the preheat, and limit wet toppings.
Sticking often points to residue or a damaged seasoning layer. Avoid flooding the surface with oil before baking. Clean away buildup, dry the steel completely, maintain only a thin protective film, and launch the dough promptly. For a detailed visual checklist, see common pizza steel mistakes.
Quick Reference Charts and Final Tips
Use this chart as a starting point, then refine it with a surface thermometer and one test pizza. Steel thickness, rack position, oven strength, and broiler behavior matter more than a universal timer.
Pizza style preheat and bake chart
| Pizza Style | Preheat Temp | Preheat Time | Bake Time | Finish Method |
|---|---|---|---|---|
| Neapolitan-style thin crust | About 500°F | 45 to 60 minutes | About 5 minutes | Broiler finish if the top needs more color |
| New York-style thin crust | Maximum oven setting | 45 to 60 minutes | About 6 to 10 minutes | Standard bake, rotate for even browning |
| Thin crisp crust | 475°F to 500°F | At least 20 to 30 minutes, longer if the steel is not saturated | About 6 to 10 minutes | Watch the base closely |
| Grill-baked thin crust | High grill setting | About 20 to 30 minutes, then verify the surface | Adjust to the visual bake | Keep the lid closed and recover between pies |
Three habits make the biggest difference: verify the steel, not just the oven air; launch immediately after topping; and give the surface time to recover before the next pizza. If you're upgrading your setup, Hans Grill offers pizza steels, cordierite stones, peels, and dough proofing boxes designed for oven and BBQ use. Visit Hans Grill to compare tools for building a more consistent high-heat pizza routine.


