

Pizza Stone Instructions: A Guide to Perfect Crust in 2026
You've probably had this pizza night before. The dough looked good on the peel, the toppings were balanced, the oven was cranked as high as it would go, and then the finished pie came out with a pale underside and a soft center that folded like a wet napkin.
That's usually not a dough problem. It's a heat-delivery problem.
A pizza stone fixes that by storing heat and dumping it into the dough fast enough to set the base before moisture turns the middle soggy. That's a big reason the category keeps growing. The global pizza stone market reached USD 1.16 billion in 2024, and the same market analysis says standard home ovens typically struggle to exceed 500°F while professional ovens run at 700°F to 900°F. A properly preheated stone helps close that gap for home cooks who want better crust at home (pizza stone market analysis).
Table of Contents
- From Soggy Bottoms to Crispy Crusts Your Pizza Stone Journey
- Prepping Your Pizza Stone The Crucial First Steps
- How to Use a Pizza Stone in Your Oven
- How to Use a Pizza Stone on the Grill
- Proper Cleaning and Maintenance for Your Pizza Stone
- Troubleshooting Common Pizza Stone Problems
From Soggy Bottoms to Crispy Crusts Your Pizza Stone Journey
The biggest shift for most home bakers isn't changing flour brands or chasing a new sauce recipe. It's learning that crust texture starts before the pizza goes in. A stone gives you thermal mass your metal oven rack or thin sheet pan can't match, which is why homemade pizza starts tasting more like proper hearth baking once you use one correctly.
That's the main attraction. You're not buying a gimmick. You're adding a hot surface that helps set the crust quickly, drives off excess moisture, and gives the underside a chance to brown before the toppings overcook.
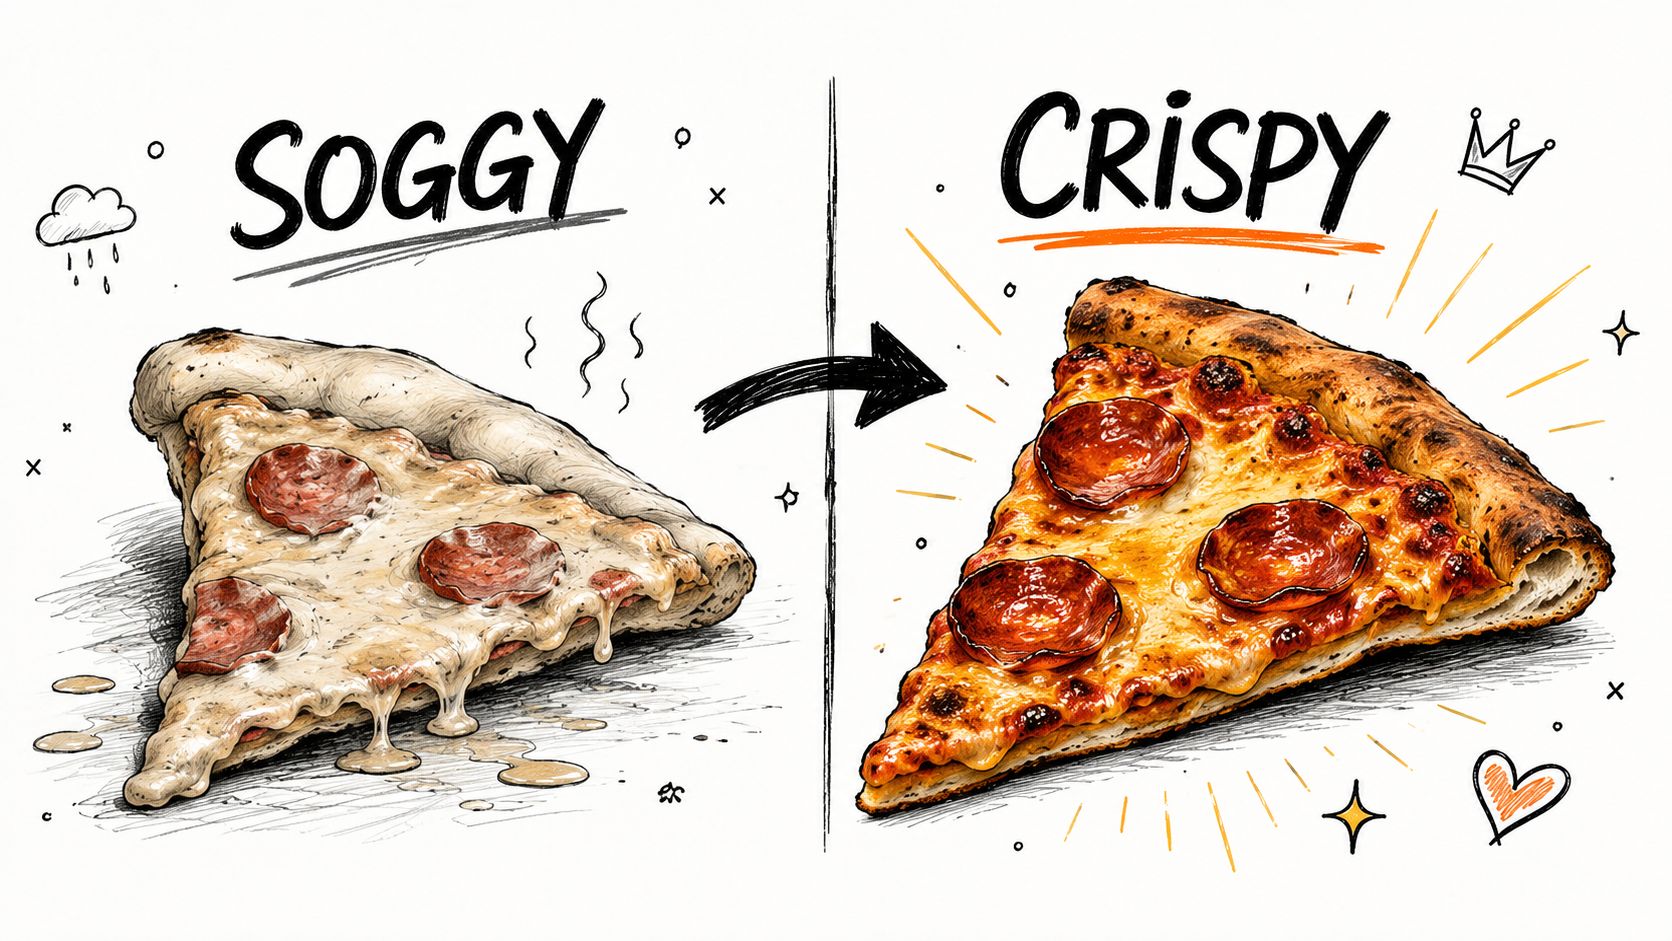
What catches beginners out is that a stone isn't magic on its own. It only works when you respect heat-up time, placement, and handling. Most disappointing results come from rushing the preheat, loading a wet pizza, or treating cordierite like cast iron.
A pizza stone rewards patience more than tinkering. Get the heat right first, and a lot of other problems shrink fast.
Good pizza stone instructions should feel more like a working method than a product leaflet. The useful lessons are the ones you usually learn after a few imperfect bakes. Don't oil the stone. Don't shock it with sudden temperature changes. Don't trust the oven's preheat beep to mean the stone is ready.
Those are the “aha” moments that turn pizza night around. Once you lock them in, the stone stops being a mysterious slab and starts behaving like the hearth surface you wanted in the first place.
Prepping Your Pizza Stone The Crucial First Steps
Most bad outcomes happen before the first pizza ever touches the stone. Two habits cause more trouble than anything else, and both come from applying the wrong cookware logic.
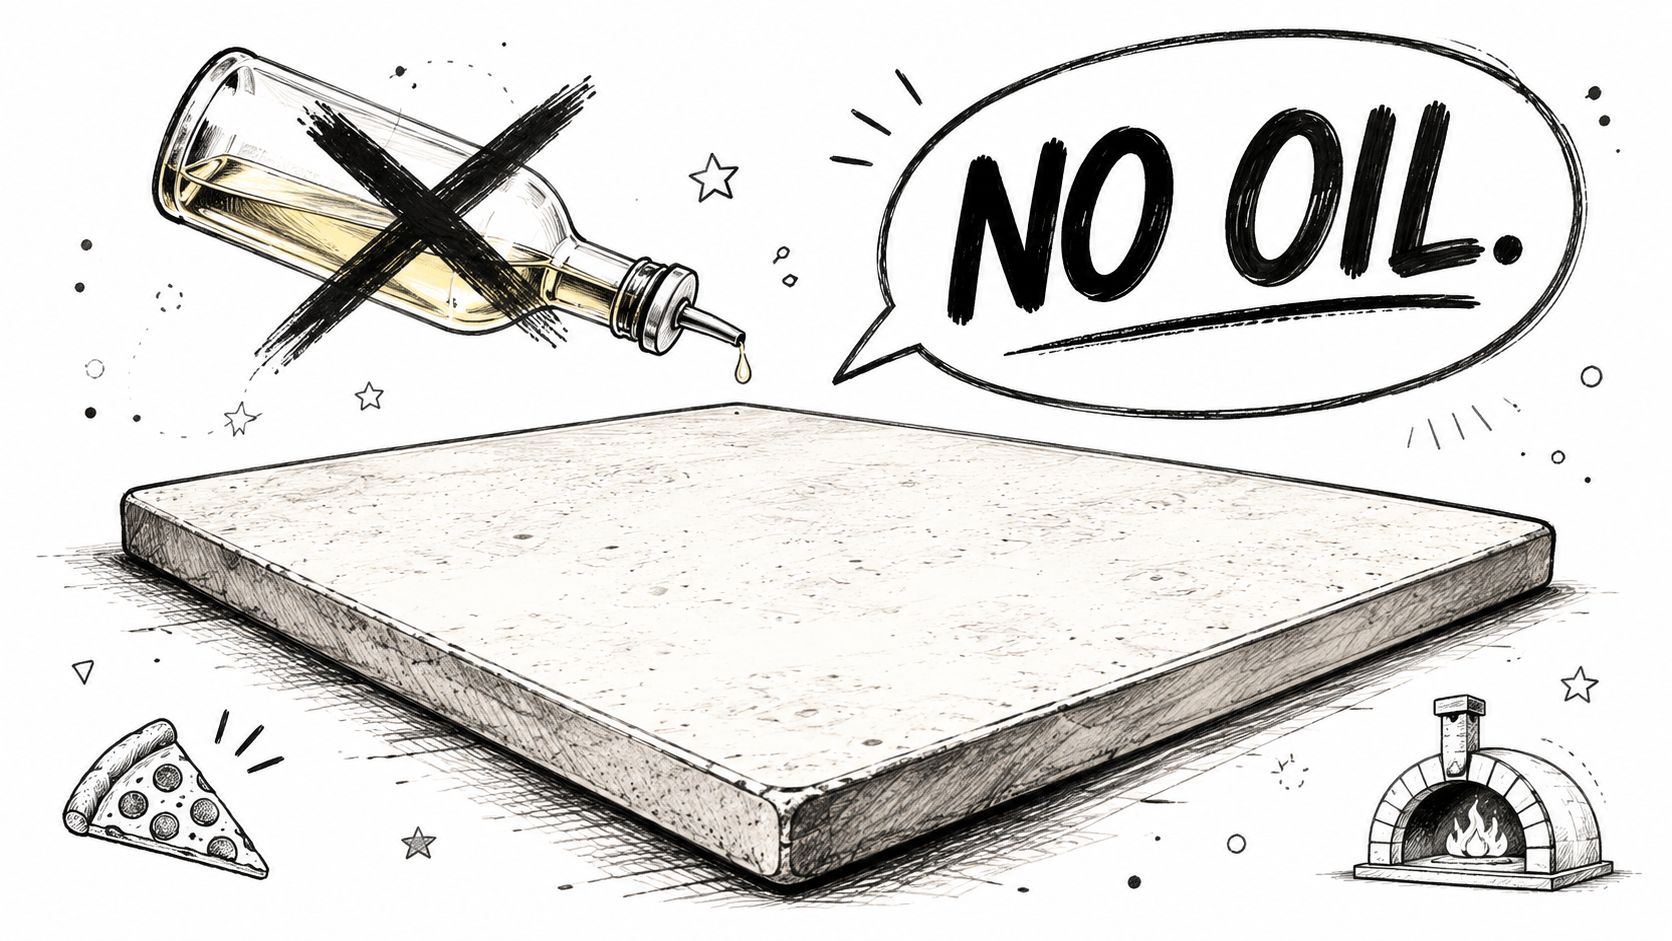
The two mistakes that ruin stones early
First, don't oil or “season” a cordierite pizza stone. That advice works for cast iron, not for a porous baking stone. Authoritative culinary guidance is blunt on this point: “Do NOT season your pizza stone, EVER” because the material absorbs oil, which can create a gummy surface and potential rancidity instead of a cleaner release (seasoning a pizza stone discussion).
If you've ever thought, “A little oil should help prevent sticking,” that's the trap. On a stone, oil doesn't create a useful finish. It soaks in. Then it smokes, darkens unevenly, and can leave the stone smelling off over time. Flour, semolina, or cornmeal on the peel makes sense. Oiling the stone doesn't.
Second, never put a cold stone into a hot oven or onto a hot grill. That's the classic thermal-shock failure. The outer surface heats and expands faster than the interior, and the stone pays the price. This mistake is common because people want to save time. It's also one of the fastest ways to crack a perfectly good stone.
Practical rule: Cold stone, cold oven. Cold stone, cold grill. They heat up together or not at all.
What first use actually looks like
The first prep is almost boring, and that's exactly right. Wipe off any dust from storage or packaging with a dry cloth. Place the stone where you plan to bake with it. Then use it.
That's it. No soaking. No scrubbing marathon. No oil rub.
If you're coming from cast iron, the adjustment is mental as much as physical. A pizza stone isn't supposed to look polished and protected. It's supposed to stay dry, absorb heat, and get better at baking because you've learned how to manage that heat.
A few first-use habits make a real difference:
- Keep it dry: Moisture and high heat are a bad pairing for a porous stone.
- Handle it gently: Even a durable stone doesn't like knocks on hard counters or sink edges.
- Accept staining: Dark spots and baked-in marks come with use. They aren't signs that you've done something wrong.
People often search for pizza stone instructions hoping for a secret prep ritual. There isn't one. The secret is avoiding the two beginner errors that manufacturers often mention too quickly and users ignore until something cracks or starts smoking.
How to Use a Pizza Stone in Your Oven
Oven baking is a common starting point, and it's where discipline matters most. The stone needs time to absorb heat all the way through, not just warm its surface.
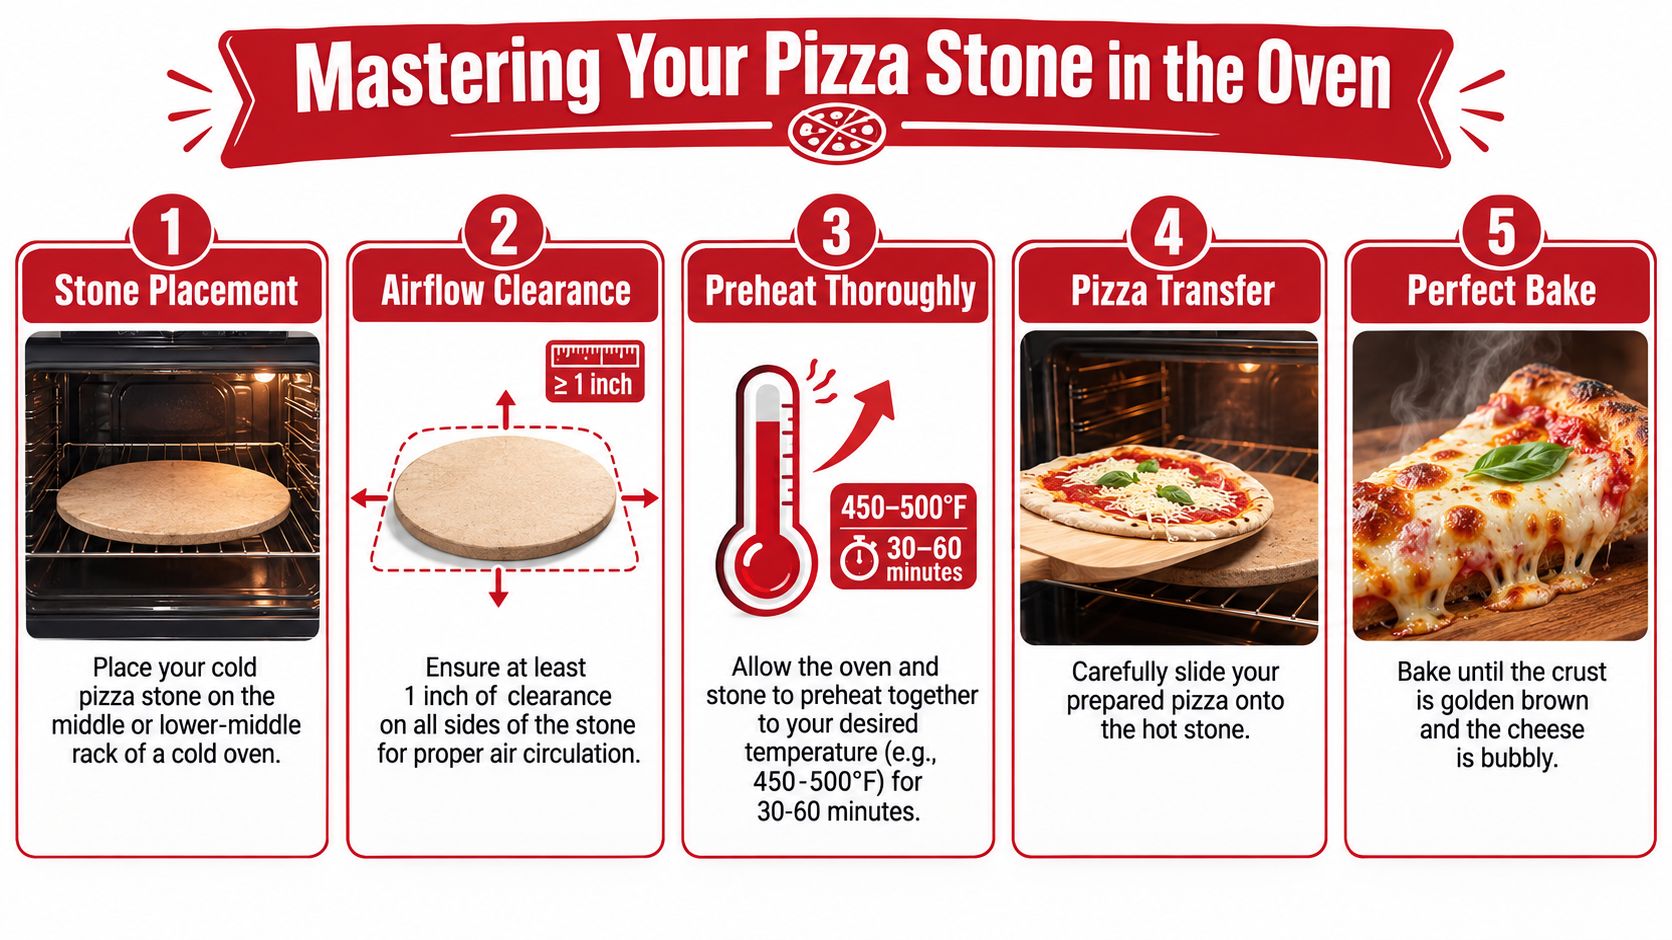
The visual shortcut below shows the overall flow before you dial in the details.
Rack position and full preheat
Place the cold stone on the oven's middle or lower rack. Expert guidance also notes a useful target zone of 4 to 6 inches below the broiler, along with 1 to 2 inches of clearance around the stone so air can circulate properly. Then preheat the oven to at least 500°F for a full 45 to 60 minutes so the cordierite reaches thermal equilibrium. An infrared thermometer can confirm the surface is ready, with the goal of 480°F or higher and evenness across the stone (expert pizza stone oven method).
A lot of ovens say they're preheated long before the stone is ready. Ignore that beep. The air may be hot, but the slab underneath your future pizza often isn't.
If you want the longer explanation for why this matters, Hans Grill has a solid breakdown on whether you should preheat a pizza stone.
For practical use, I'd put it this way. If your first pie comes out pale under the center, assume the stone was underheated before you blame the dough.
Launching the pizza cleanly
Build the pizza on a peel, not on the hot stone. Dust the peel enough that the dough can move, but don't dump on so much flour that it burns instantly. A quick shake every few seconds while topping the pizza tells you whether it's still loose.
Then open the oven, slide the pizza onto the stone in one committed motion, and shut the door quickly. Hesitation causes folding, topping drift, and the dreaded half-on, half-off landing.
This video gives a useful visual reference for the process:
A few details make a big difference in real kitchens:
- Shape the dough before topping: Don't let a loaded pizza sit on the peel too long.
- Use restrained sauce: Too much moisture fights the crisp bottom you're trying to create.
- Work fast at the oven door: Every extra second with the door open bleeds heat.
If the pizza doesn't slide freely on the peel before it reaches the oven, it won't magically start sliding once you're standing over a blazing hot stone.
Pizza Stone Temperature & Time Chart Oven
| Oven Temperature | Pizza Style | Approximate Bake Time |
|---|---|---|
| 450°F | Thin crust | Bake until the crust is golden and the cheese is bubbly |
| 500°F | New York style | Bake until the crust is golden and the cheese is bubbly |
| 500°F or higher | Neapolitan-inspired home bake | Bake until the crust is golden and the cheese is bubbly |
That table stays qualitative on purpose. Dough thickness, hydration, topping load, and how much heat your oven loses when opened all change the finish line. The repeatable part is the method: full preheat, confident launch, and fast door closure.
How to Use a Pizza Stone on the Grill
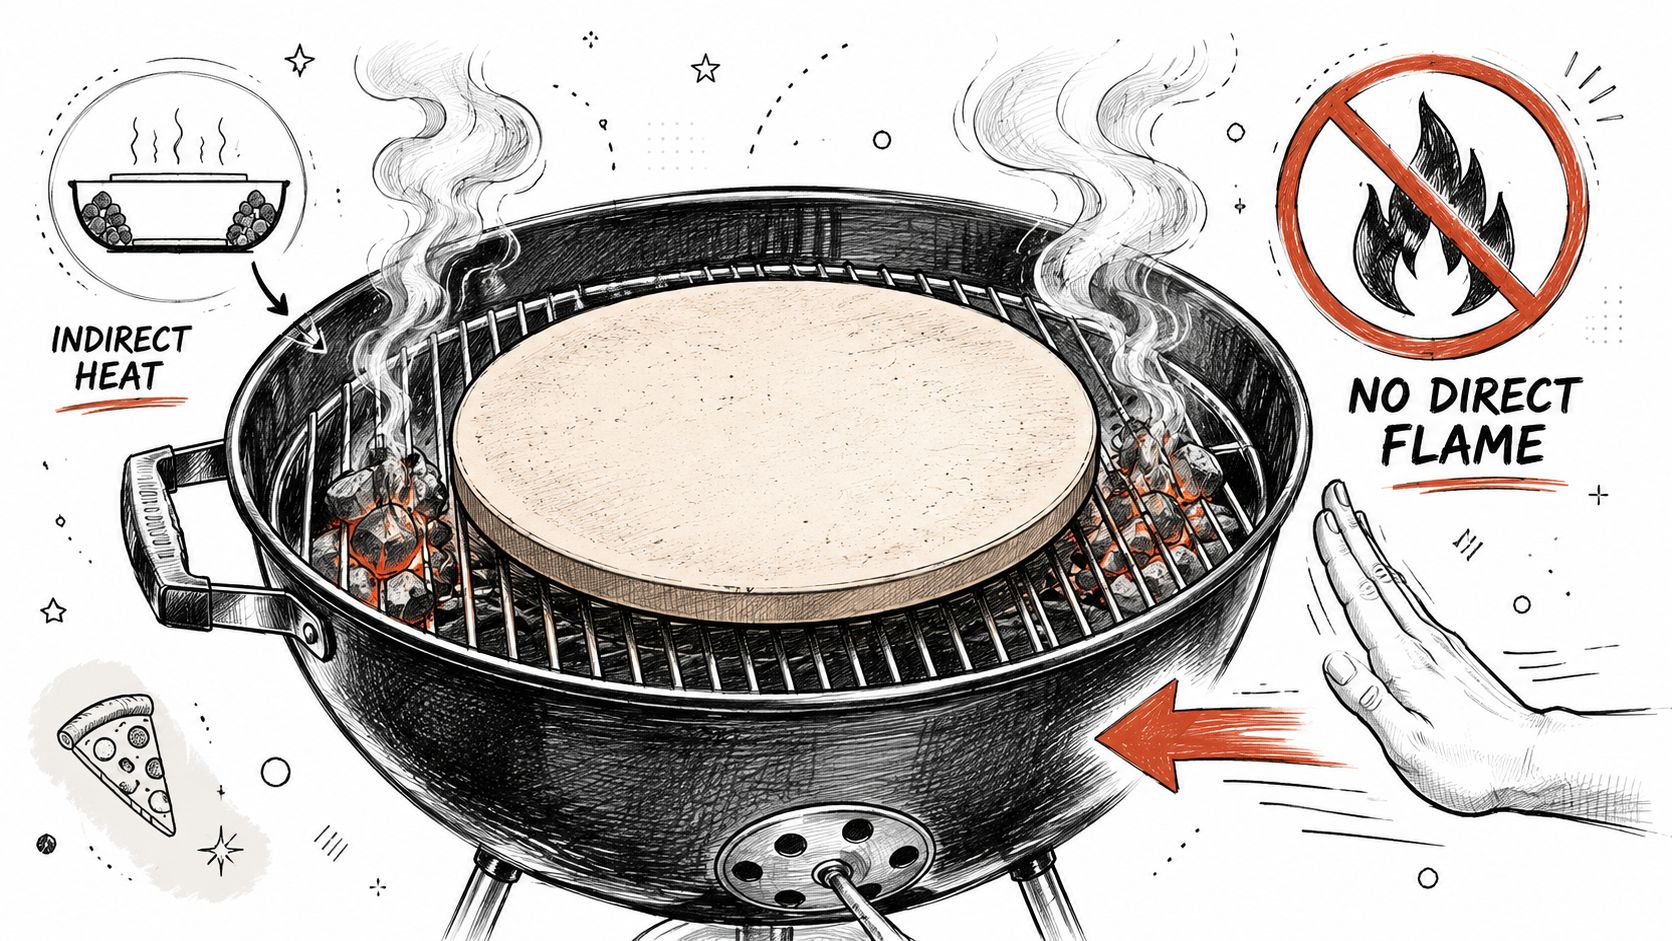
A grill can produce excellent pizza because the enclosed heat feels more aggressive than many home ovens. It can also destroy a stone or scorch a crust if the setup is wrong. The key is indirect heat.
Direct flame under the stone is the mistake. The stone gets blasted from below while the top of the pizza struggles to keep pace, and the bake turns harsh instead of balanced.
Gas grill setup that works
On a gas grill, preheat the grill first, then create a zone where the stone can heat without sitting over the most aggressive flame path. Keep the lid closed as much as possible so the chamber behaves more like an oven.
The workflow is simple:
- Heat the grill fully: Get the cooking chamber hot with the lid down.
- Set up indirect heat: Lower or switch off the burner section directly under where the stone will sit.
- Place the stone carefully: Start with the stone cool, not already hot from somewhere else.
- Preheat the stone with the lid closed: Give it time to absorb heat before launching the pizza.
- Bake with the lid down: Open only when you need to turn or remove the pie.
If you want a gear-focused walkthrough for outdoor baking, Hans Grill has a useful page on the BBQ baking stone.
Charcoal grill setup with indirect heat
Charcoal demands more attention, but the payoff can be terrific. Bank the coals to the sides or in a ring that leaves the center free. Then place the stone over that open center area so it heats from the hot environment rather than direct contact with concentrated fire below.
That arrangement gives you two things you want at once. The base gets strong conductive heat from the stone, while the lid traps hot air that cooks the top.
For charcoal grilling, these habits help:
- Use a stable coal layout: Don't pile coals directly under the middle of the stone.
- Preheat patiently: The grill might feel hot quickly, but the stone still lags behind.
- Watch the top and bottom together: Grill pizza can move fast once the stone is ready.
One practical difference from oven baking is pace. On a grill, pizzas often feel more reactive. A crust can go from pale to done very quickly once the chamber and stone are both hot, so stay close and keep your peel ready.
On a grill, the best pizza usually comes from the calmest setup. Indirect heat feels less dramatic, but it bakes more evenly and treats the stone far better.
Proper Cleaning and Maintenance for Your Pizza Stone
The best-looking pizza stone usually isn't the cleanest-looking one. It's the one with dark marks, baked-in history, and no cracks.
People damage stones during cleanup because they try to restore them to showroom condition. That's the wrong target. Your goal is function, not cosmetics.
Let the stone cool on its own schedule
The most important maintenance habit is slow cooling. Long-term durability testing found that stones rinsed with water immediately after use developed 4.7 times more surface crazing than stones that were air-dried. The same guidance says to cool the stone inside the oven with the door ajar to control the cooling rate and protect its structure (pizza stone cooling and durability guidance).
So when the bake is done, leave the stone where it is. Turn the heat off. Let the oven or grill wind down with the stone inside. If it's in the oven, cracking the door open slightly helps it cool more gently.
That's one of those habits that feels slow but saves money and frustration. A hot stone doesn't want water, and it doesn't want abrupt handling.
What to scrape and what to ignore
Once the stone is fully cool, scrape off burned cheese, blackened flour, or stuck toppings with a bench scraper, metal spatula, or another flat-edged tool you control carefully. Then wipe away loose debris.
What you should ignore:
- Dark staining: That's normal and expected.
- Uneven coloration: High-heat baking leaves marks.
- Old flour shadows: They look dramatic and rarely matter.
What you should avoid:
- Soap: The stone is porous, and that flavor can linger.
- Soaking: Water absorption creates future problems.
- Aggressive washing instincts: A pizza stone isn't a glazed casserole dish.
Hans Grill also covers the cleaning question well in its guide on whether you wash pizza stones.
I'd add one hard-won observation from repeated use. A stone that looks “used” often bakes beautifully. A stone that someone keeps trying to scrub back to its original color is the one that gets mistreated.
Troubleshooting Common Pizza Stone Problems
Even with solid pizza stone instructions, a few problems show up again and again. Most of them trace back to heat, moisture, or handling.
Pizza sticks instead of sliding
If the pizza sticks, the issue usually starts on the peel, not on the stone. The dough may be too wet, the peel may not be dusted enough, or the topped pizza may have sat too long before launch.
Try this instead:
- Shake-test the dough early: After topping begins, give the peel a small jerk to make sure the pizza still moves.
- Use a dry dusting layer: Flour, semolina, or cornmeal on the peel helps create a sliding surface.
- Top faster: The longer wet dough sits, the more likely it is to glue itself down.
The center stays soft
A soggy center almost always points to incomplete heat saturation or excess moisture in the pizza itself. If the underside lacks color and firmness, the stone probably wasn't fully ready, even if the oven said otherwise.
The fix is usually practical, not dramatic:
- Preheat longer next time: Give the stone more time to store heat.
- Use less sauce: Wet toppings slow down a crisp finish.
- Stretch thinner in the middle: Thick centers take longer to set.
The stone cracks
Cracking usually comes from thermal shock. Common triggers include moving a cold stone into a hot environment, exposing a hot stone to water, or forcing fast temperature swings.
When a crack appears, think backward through what happened:
- Did the stone start cold in a hot oven or grill?
- Did water hit it while it was still hot?
- Did it cool too fast on a cold surface or in moving air?
Those answers usually tell you exactly what went wrong.
If you want repeatable crust without babysitting flimsy pans or fighting a soggy base, take a look at Hans Grill. Their cordierite stones, pizza steels, and pizza tools are built for home cooks who want dependable results in ovens and on BBQs, without turning pizza night into a science project.


