

Baking Stone with Handles: Safe Use and Buying Guide
“Buy a stone with handles so you can lift it out while it's hot” is poor buying advice. Handles give you somewhere to grip, but they don't cool the ceramic, reduce its weight, or make carrying a heat-soaked slab across the kitchen sensible. Buy for controlled placement when cool, then judge heat performance and appliance fit separately.
A good baking stone with handles can make pizza night easier. The useful upgrade is fewer awkward lifts and better positioning, not permission to treat the stone like a roasting tray.
Table of Contents
- What Handles Change and What They Don't
- Oven and Grill Compatibility at a Glance
- Materials and Heat Behavior Compared
- Benefits and Drawbacks of a Handled Stone
- How to Preheat and Load the Stone
- How to Handle Hot and Cold Stones Safely
- Cleaning, Cracks and Long-Term Care
- Choosing a Handled Stone or an Alternative
What Handles Change and What They Don't
A handled baking stone is worth buying for control, not heat safety. The baking surface is a thick slab of refractory ceramic, commonly cordierite, that absorbs heat from an oven or grill and transfers it into dough. Handles change how you manage that slab, not how much heat it contains.
Think of a bicycle brake lever. It gives you control over a moving load, but it doesn't change the physics of that load. Likewise, stone handles help you position a cool slab accurately before loading dough, retrieve it after cooling, and move it into storage without pinching slippery edges.
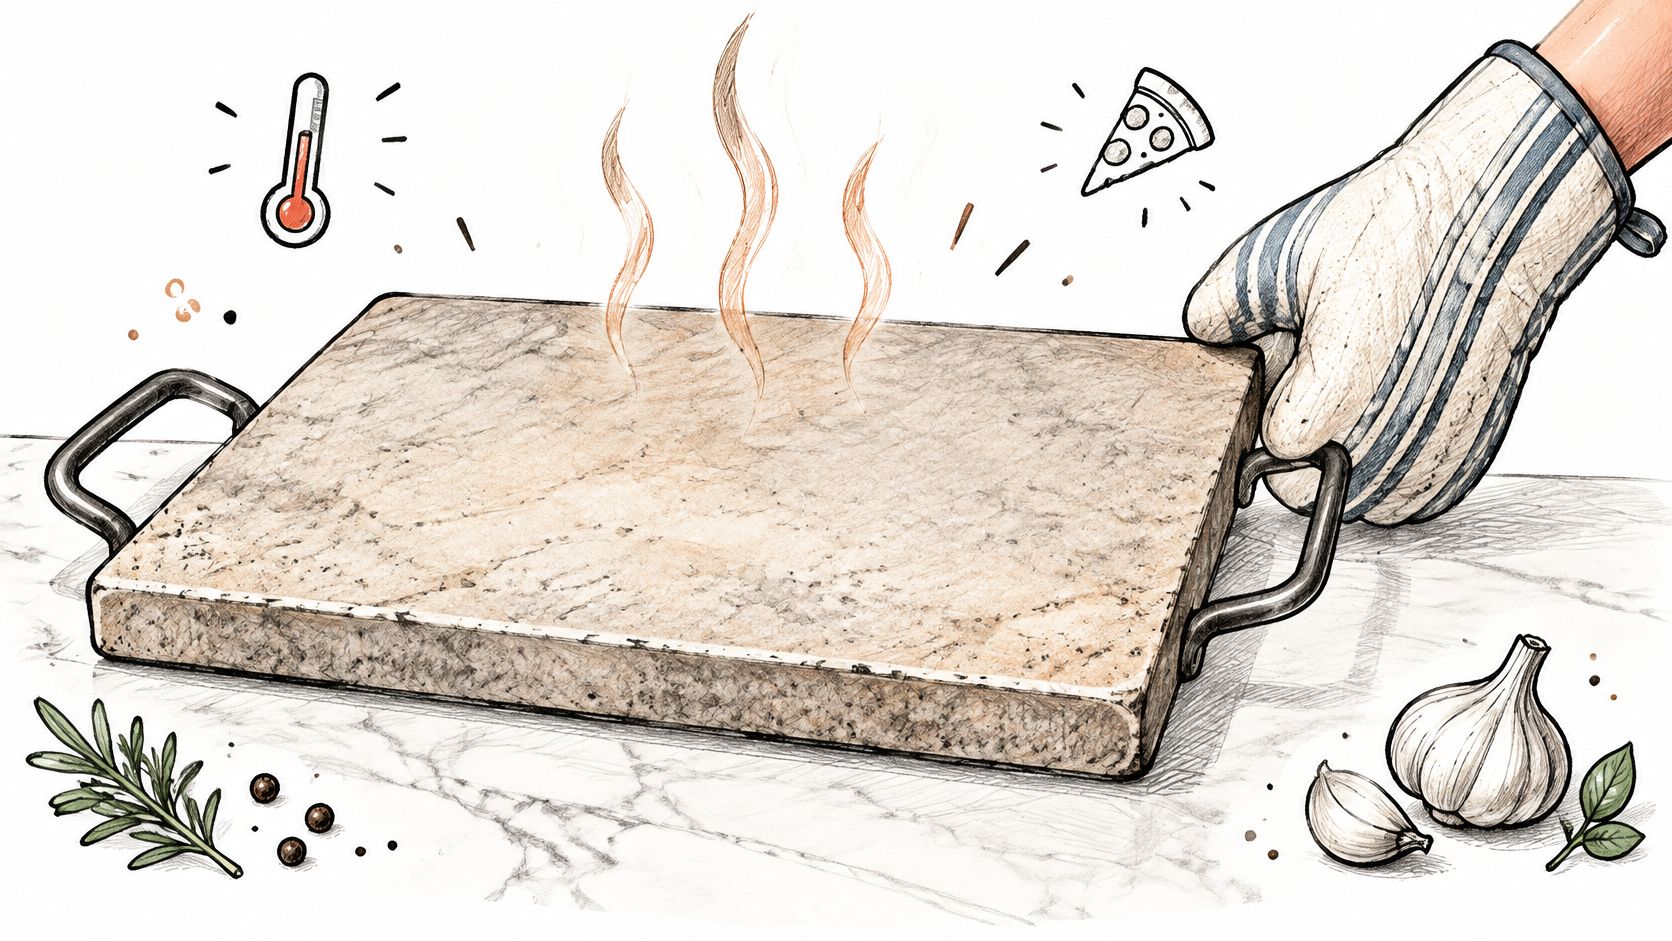
The slab still matters more than the grip
Cordierite became useful because it tolerates repeated heating and cooling better than many ordinary ceramics. Yet heat resistance and fragility can coexist, a distinction described in the commercial baking-stone patent, which addresses thermal stability and a consistent cooking surface.
That makes handle design an engineering issue, not just an accessory choice. The attachment must support movement without concentrating force at a weak edge or compromising the ceramic.
Buying verdict: Handles should make a cool stone easier to control. They should never be your reason for moving a fully heated stone.
Start with appliance fit, then judge the material and lifting weight. A comfortable grip can't rescue a stone that crowds your oven or is too heavy to place steadily.
Oven and Grill Compatibility at a Glance
| Setup | Handle clearance check | Placement |
|---|---|---|
| Electric oven, lower rack | Keep handles clear of walls, door and heating element | Centered, on a rack below the middle |
| Gas oven, lower rack | Keep handles away from the rear burner and vents | Centered, away from the rear burner |
| Convection oven | Handles must not block the fan or vent path | Centered, with handles toward open space |
| Gas grill, indirect zone | Handles clear of lid and burner covers | Indirect side, stone supported on the grate |
| Charcoal kettle, indirect zone | Handles away from the lid and hot ash | Opposite the coals |
| Direct flame, open grill | Handles sit in the heat plume | Avoid direct flame as your planned setup |
Treat these placements as starting positions, not permission to override an appliance manual. An oven with a concealed element has different clearance constraints from one with an exposed element. A kettle grill also narrows toward the lid, so a stone that fits the grate may still prevent proper closure.
The Innova cordierite-stone listing illustrates why intended appliance use belongs in the buying decision. A material description alone doesn't establish that a particular handle assembly, support arrangement, or placement suits your grill.
Check the whole installation
- Wall and door clearance: Include the outermost handle edges, not just the baking surface. Close the door with the stone cold to check the actual fit.
- Lid and burner clearance: Handles mustn't touch a grill lid, burner cover, exposed element, or other hot metalwork.
- Airflow: Leave the oven's fan path and vents unobstructed. Don't buy a slab that effectively seals the rack from edge to edge.
- Landing space: Identify a flat, dry, heatproof surface before baking. That's contingency planning, not an invitation to remove the stone hot.
Measure usable interior width and depth at the intended rack height. Subtract the handle projections from that space to establish how much room remains for the slab, or compare the seller's overall dimensions including handles directly with your measurements.
Next, test the support. The body should sit securely on the rack or grate; the handles shouldn't become improvised feet carrying the load. On a grill, check stability with the lid open and closed while everything is cold.
Durability and compatibility are separate questions. A stone can tolerate the appliance's operating heat and still be a poor fit because its handles crowd the walls or leave no room for a mitt. If you can't grip it comfortably in its cold installed position, change the placement or choose a different stone.
Materials and Heat Behavior Compared
Material choice comes down to expansion, heat transfer, and thermal-shock tolerance. Expansion describes how much the material changes size as it heats. Heat transfer describes how readily energy moves through it and into your dough, while thermal-shock tolerance describes its ability to survive abrupt, uneven temperature changes.
Published measurements in the cordierite ceramics paper report thermal expansion of approximately 1.5–4.0 × 10⁻⁶ per °C over roughly 25–700 °C. In practical terms, cordierite changes dimensions relatively little during heating, so it develops less expansion-related strain than many conventional ceramics.
| Material | Thermal expansion | Heat transfer and retention | Thermal-shock tolerance | Typical handled use |
|---|---|---|---|---|
| Cordierite | Very low | Low conductivity; steady heat once fully heated | Good for ceramic, but not crack-proof | Rectangular stones intended for ovens and grills |
| Standard stoneware or clay | Generally higher than cordierite | Retention depends on mass; thin pieces offer less reserve | More vulnerable to sudden temperature change | Budget or decorative stones, often without handles |
| Pizza steel | Greater than cordierite | High conductivity; rapid bottom browning | Tough and not subject to ceramic-style shattering | Heavy baking plates; handles help with positioning |
Choose the heat delivery you want
Cordierite suits bakers who want a thoroughly heated base with less aggressive bottom browning than steel. Standard stoneware can work, but don't assume a thick, attractive ceramic platter is engineered for pizza temperatures. Buy a product explicitly intended as a baking surface.
Steel is useful when a pale base is your recurring problem. Its weight still deserves a physical trial: a plate you can lift easily at waist height may be awkward to position inside a low oven.
The chart below offers a broad visual comparison, but don't treat its relative labels as universal material ratings. In particular, steel isn't generally more vulnerable than ceramic to thermal-shock fracture, although a plate can distort.
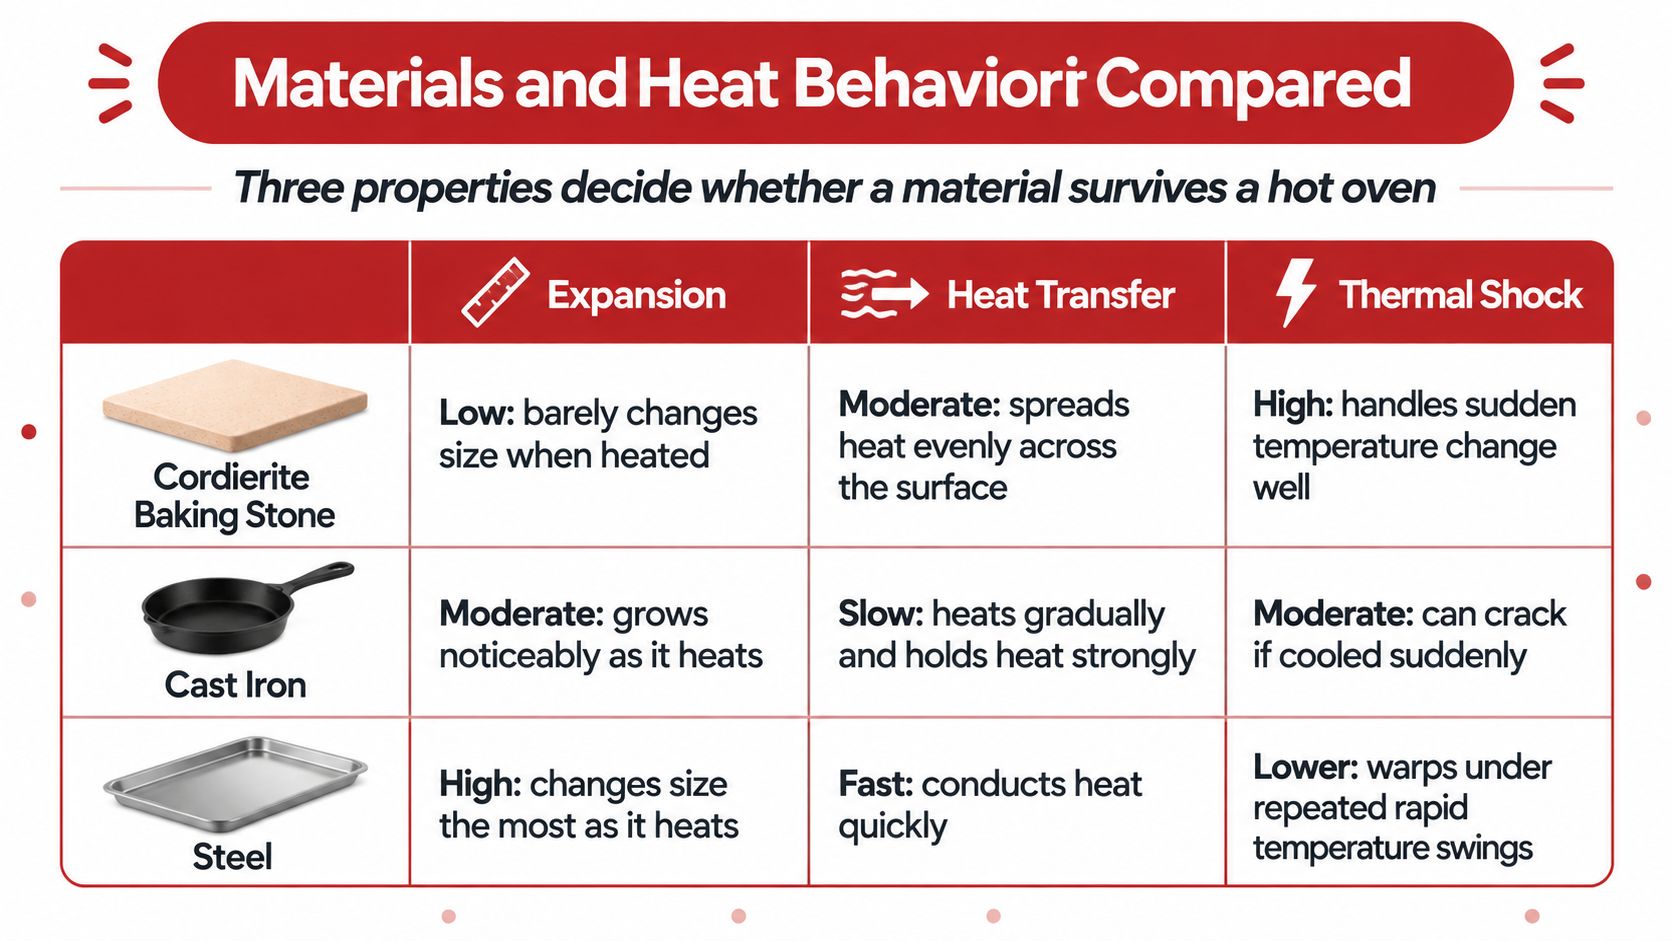
Low expansion reduces cracking risk; it doesn't eliminate it. Localized heating, impact, trapped moisture, and existing damage can still break ceramic. Cordierite is my default for a rectangular handled stone, provided its weight and dimensions suit the user.
For a closer look at composition rather than handle design, the guide to what baking stones are made of explains the material choices.
Benefits and Drawbacks of a Handled Stone
Handles earn their space when you move the stone often. They're less compelling when the slab stays on the same rack between pizza nights.
Where handles help
- Secure cool lifting: A well-shaped grip is easier to control than a broad ceramic edge.
- Accurate placement: You can center the stone without repeatedly nudging its corners against the rack.
- Predictable hand positions: Obvious grips reduce fumbling when retrieving the cooled stone.
- Storage and cleaning: Better purchase helps you move the slab onto a stable work surface without knocking an edge.
What you give up
- Extra bulk: Projecting handles occupy space that could otherwise accommodate a larger baking surface.
- Potentially more weight and cost: Compare complete products rather than assuming the handled version is a free upgrade.
- Another inspection point: Separate handles and fasteners can loosen; molded ceramic grips can chip.
- Burn risk: Exposed handles heat during baking. A familiar handle shape doesn't mean it behaves like a cool saucepan grip.
The central trade-off is thermal mass versus handling effort. For a given material and surface area, a thicker stone stores more energy and better resists the cooling effect of newly loaded dough. But you must heat that additional mass and lift it safely.
The cordierite plate technical description identifies low thermal conductivity alongside low expansion. That combination supports a steady baking surface once heated, but it doesn't reward rushed preheating. Oven air reaching its setting isn't proof that the slab is ready.
Use the heating procedure below rather than compensating for an underheated stone by moving it closer to an element mid-bake.
The strongest candidates for handles are people who regularly move a cooled stone between storage, oven, and grill. Beginners may also appreciate the more obvious grip. Someone who bakes in the same oven and leaves the stone installed gains much less, especially if the handles consume valuable clearance.
How to Preheat and Load the Stone
Heat the stone in place and move the pizza, not the slab. A peel handles loading and retrieval; the handles are for positioning the stone before the appliance heats.
This visual shows the basic sequence. Treat its temperature and timing as illustrative rather than universal, and don't interpret the mitt illustration as permission to carry a hot stone.
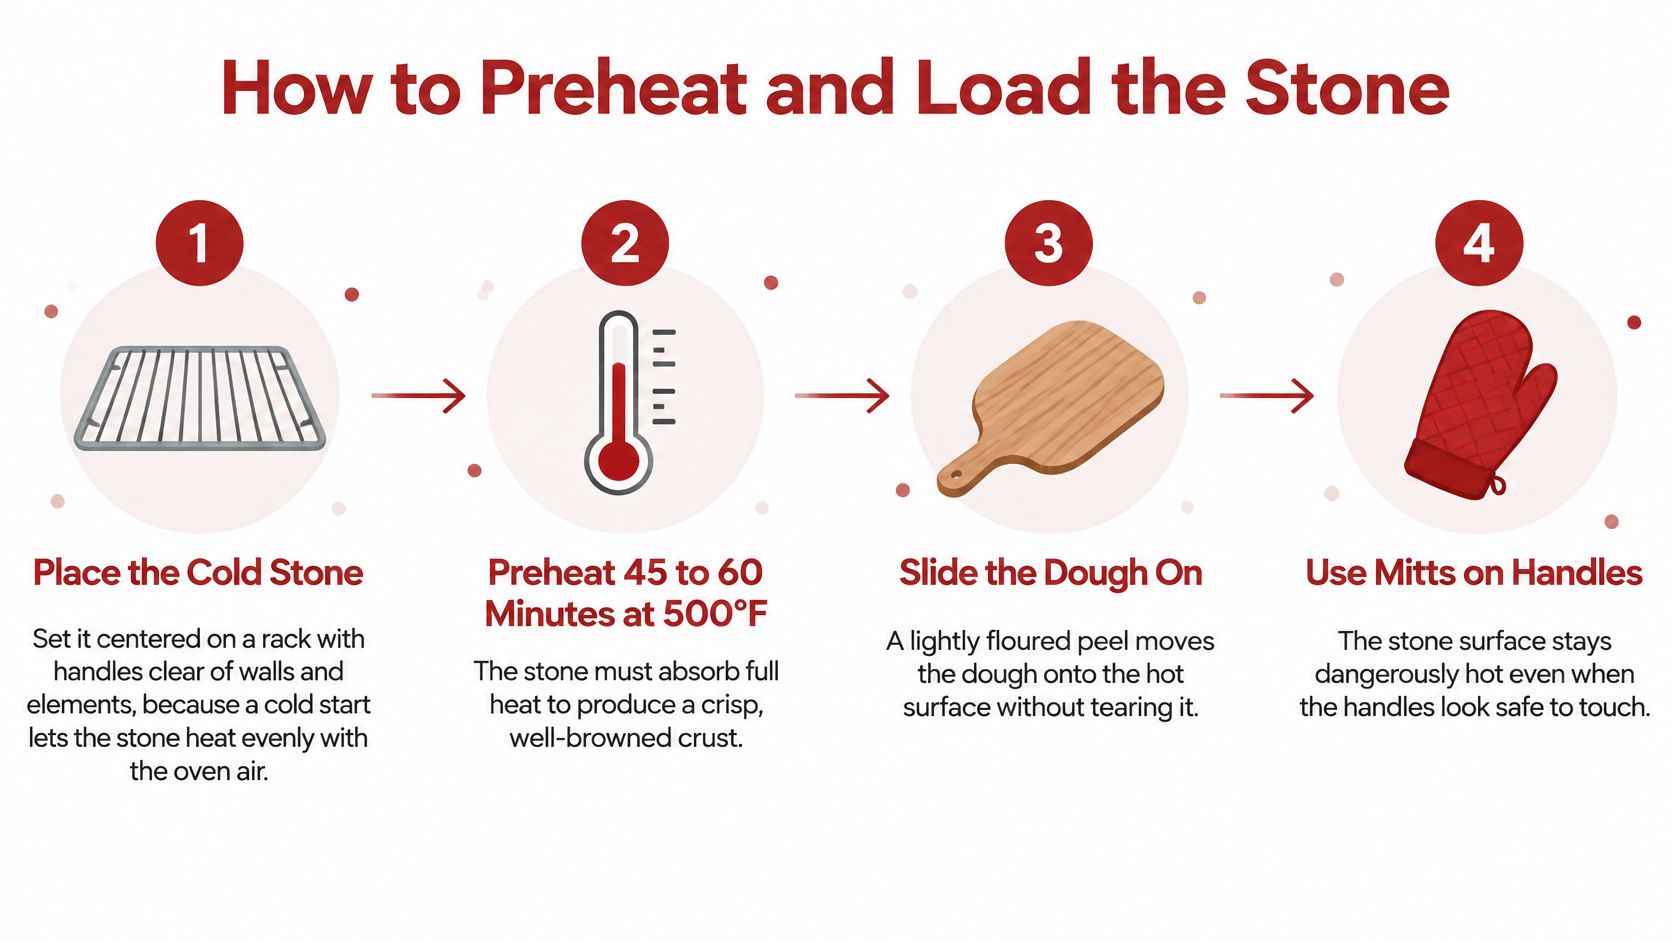
A repeatable loading routine
- Install the cold, dry stone. Place it level on its intended rack or grate with the clearances already checked. Starting the appliance with the stone inside lets the assembly warm together rather than exposing a cold slab to an already hot chamber.
- Select an approved baking setting. Use the stone maker's permitted temperature and your appliance's pizza-baking instructions, staying within the lower limit of the complete assembly. On a grill, establish indirect heat and close the lid so you aren't heating only the underside over a concentrated flame.
- Let the slab absorb heat. Complete the manufacturer's preheating period rather than launching at the first oven-ready signal. An infrared thermometer can help you compare surface readings across the stone, although it doesn't directly measure the temperature inside the slab.
- Prepare dough that will release cleanly. Use dough brought to its intended working temperature, not frozen or heavily chilled dough, and avoid wet topping puddles. Dust the peel lightly with semolina or flour, then give the assembled pizza a small shake before approaching the oven to confirm it slides.
- Launch onto the stationary surface. Set the peel's front edge near the far landing point and withdraw it smoothly beneath the pizza. Close the door or lid promptly because repeated hovering and adjustments lose heat without improving the launch.
- Retrieve the pizza and leave the stone. Slide the peel beneath the cooked base, remove the food, and turn off the appliance when finished. Let the slab cool naturally in place rather than creating an unnecessary hot-stone transfer.
For help planning the warm-up around your equipment, use the pizza stone preheating guide.
Read the pizza, not just the oven display
A properly heated surface starts setting the underside promptly. Lift an edge with the peel during baking to inspect the base instead of judging readiness solely by melted cheese.
If the top finishes while the bottom stays pale, review preheating and rack position on the next bake. If the base scorches before the toppings cook, reduce bottom-heat intensity or adjust placement once the equipment is cold.
A launch demonstration helps make the peel movement easier to understand.
How to Handle Hot and Cold Stones Safely
Can you lift a baking stone by its handles while it's hot? Don't assume so from the handles' appearance. A grip intended for cool positioning isn't automatically a load-rated hot-carry system, and heat-resistant gloves don't establish the strength of the attachment.
The Queen Mary University of London explanation of cordierite's thermal behavior describes why the material changes dimensions unusually little during heating. That material advantage says nothing about whether a particular handle can safely support a suspended stone.
Moving a cool stone from storage
Check the body, handle roots, and any fasteners before lifting. Use both hands, keep the slab level and close to your body, and support the underside where the design allows. If a grip moves independently of the body, set the stone down rather than testing it under load.
Try your mitts on the cold installed stone, too. Thick insulation may protect your skin but leave too little room to curl your fingers securely around a small handle.
Dealing with a preheated stone
Don't plan to preheat elsewhere and carry the stone into the oven. Install it cold instead. If a heated stone is already in the wrong position, stop and let it cool before resetting the arrangement.
A glove can reduce contact-burn risk, but it can't prevent a dropped slab or a failed joint. Never swing a heated stone past a rack or balance it while reaching around an open door.
The illustration highlights handling and storage hazards. For ordinary use, cooling in place remains the safer choice.
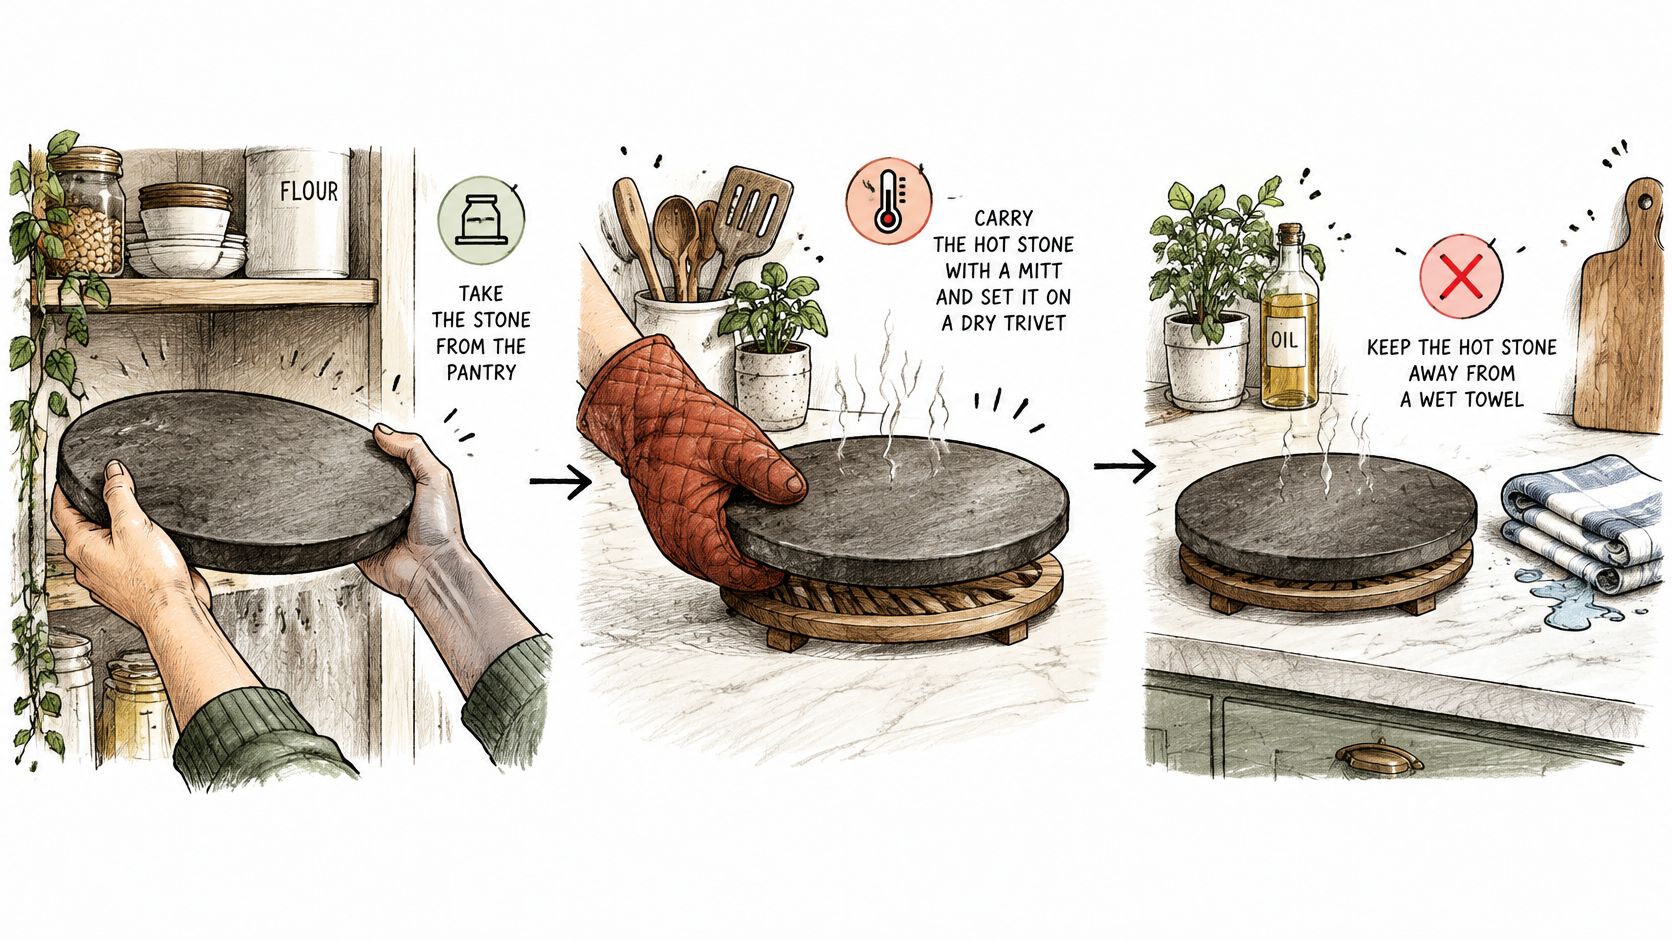
Finishing on the grill
Remove the pizza, shut down the grill safely, and leave the stone supported until it cools. Don't lift it by the handles or improvise a sliding transfer from the grate onto a nearby table.
A clear route across the patio doesn't make carrying a hot ceramic slab a good workflow.
Avoid suspending the slab from its grips, supporting only opposing corners, setting hot ceramic on wet or cold surfaces, or pouring water onto it. Before cleaning or storage, allow complete cooling; don't use a bare-hand touch as your first test of a stone that may still be hot.
Cleaning, Cracks and Long-Term Care
| Problem | Likely cause | Fix |
|---|---|---|
| Flat hairline crack that appears unchanged | Thermal stress, impact, or a possible surface mark | Stop using it until the maker confirms whether it's structural |
| Stone splits into pieces | Rapid temperature change, moisture, or impact | Replace it; don't reuse fragments |
| Dark stains or burnt residue | Cheese, sugar, or oil deposits | Scrape and brush when cool; use an approved empty bake for remaining organic residue |
| Loose or wobbly handles | Loose fasteners or a damaged attachment | Inspect hardware without overtightening; contact the seller for a defective joint |
| Flour or dough sticking to the surface | Residue, a wet dough base, or poor release | Brush the cooled surface and review peel preparation |
Clean for function, not appearance
Let the stone cool completely, then lift raised debris with a plastic scraper. Brush away loose flour and crumbs with a stiff, non-shedding brush suitable for the surface. Inspect afterward so no detached bristles remain.
Avoid soap, soaking, and dishwasher cleaning. Porous ceramic can retain cleaning residues and moisture, which makes aggressive wet cleaning a poor exchange for a brighter surface. Don't oil it as though you're seasoning cast iron.
For stubborn organic deposits, scrape first, then use an empty bake within the manufacturer's approved operating limits. Ventilate if residue smokes, allow complete cooling, and brush off the loosened material. Never use the oven's self-cleaning cycle as an improvised shortcut.
Treat cracks differently from stains
A dark patch can be cosmetic; a genuine crack changes the structural decision. Don't assume an unchanged hairline crack is safe merely because the pieces still lie flat. Photograph it, stop heating the stone, and ask the manufacturer whether replacement is required.
Retire a slab that separates, has loose fragments, or develops an opening crack. Glue, clamps, and a supporting tray don't restore the original ceramic or make fragments suitable for reuse as a handled stone.
The baking stone care guide offers a fuller maintenance routine. For storage, choose a dry, stable shelf where the slab won't be struck by heavy cookware, and keep projecting handles out of traffic.
Choosing a Handled Stone or an Alternative
| Option | Handles built in | Best for | Main drawback |
|---|---|---|---|
| Handled cordierite rectangular stone | Yes | Steady heat for thin crust in approved ovens and grills | Needs cool handling and handle clearance |
| Pizza steel with handles | Yes, on handled models | Fast bottom browning | Heavy; often costs more |
| Inverted sheet pan | Grippable rim | Occasional baking with equipment already owned | Can warp; less thermal mass |
| Cast iron skillet or griddle | Usually | Pan-style pizza and searing | Heavy; hot handles; a skillet isn't a flat launch surface |
| Perforated pizza screen | Usually none or a small rim | Supporting dough during loading and baking | Doesn't provide a stone's stored bottom heat |
A handled stone isn't the automatic upgrade. Buy it when the handling problem is real, not because the product photograph suggests convenient hot serving.
- Choose handled cordierite if you regularly move the cooled stone, have generous clearance, and prefer steady bottom heat.
- Choose steel if rapid base browning matters most and you can comfortably position the plate's weight.
- Start with a sheet pan or screen if you bake occasionally and want to learn dough handling before buying a substantial slab.
Check the listing before paying
Compare overall width and depth, including the handles, with the usable space in your appliance. Confirm that the material is explicitly identified as cordierite rather than accepting a vague ceramic description.
Look closely at the grip construction. Molded handles and separate carrying frames have different support arrangements; neither should rely on a loose, poorly explained attachment. Confirm that the complete assembly is approved for your intended appliance.
Read the warranty and return terms on the seller's current product page. Check how damage on arrival should be documented and whether the stated dimensions describe the baking area or the entire product.
Measure the oven or grill first, select the matching placement from the compatibility table, and buy the size whose handles fit comfortably. A slightly smaller stone you can position confidently is a better tool than a larger one wedged against the walls.
Hans Grill offers rectangular cordierite pizza stones and pizza-making tools for home ovens and backyard grills. Visit Hans Grill to compare the available setups, then verify the material, overall dimensions, handle design, and current warranty terms against your measurements before buying.


